How to get the perfect passport photo example
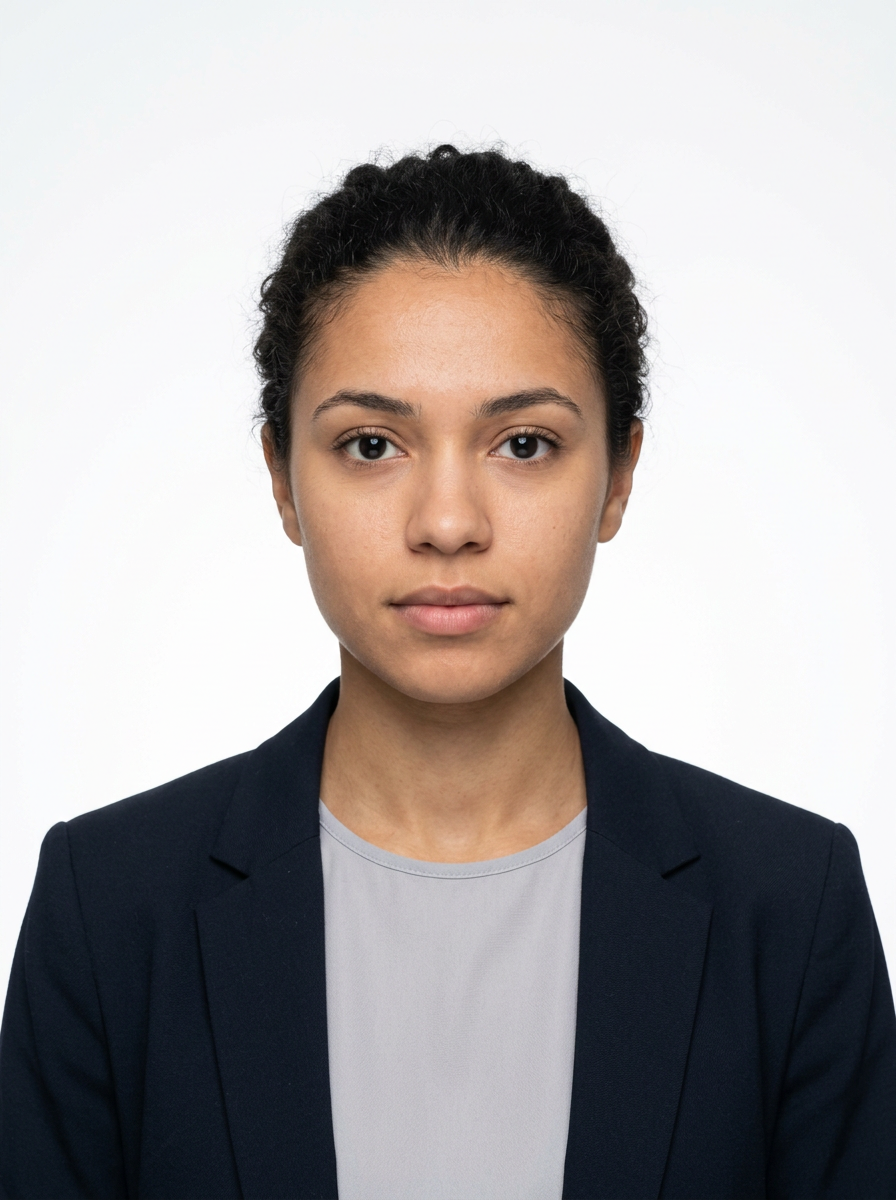
Capturing a compliant passport photo is an essential step when preparing for international travel, as government agencies maintain strict standards to ensure biometric identification accuracy. Understanding a proper passport photo example is the difference between a seamless application process and a costly, time-consuming rejection. Whether you are applying for a standard document or a specific regional requirement like a passport photo nz, the principles of lighting, composition, and head positioning remain largely universal.
Quick Summary
A passport photo must be a recent, high-quality image that provides an unobstructed view of the applicant against a plain, light-colored background. To ensure compliance, the image must feature neutral facial expressions, uniform lighting without shadows, and correct proportions that align with international biometric standards.
- Use a plain white or off-white background.
- Ensure eyes are open and looking directly at the camera.
- Avoid shadows on the face or background.
- Maintain a neutral expression or natural smile.
- Print on high-quality photo paper if submitting a physical copy.
Table of Contents
- Understanding Passport Photo Requirements
- Setting Up the Environment for Success
- Corrective Measures for Common Criteria
- Common Pitfalls and Troubleshooting
- Frequently Asked Questions
- Recommended Reads

Understanding Passport Photo Requirements
Government authorities enforce specific passport photo requirements to facilitate facial recognition software and human verification. These rules are non-negotiable; even minor discrepancies, such as an incorrect background hue or slight glare on eyeglasses, can lead to immediate rejection. When looking at a valid passport photo example, you will notice that the subject is perfectly centered, with the head occupying a specific percentage of the frame area. This consistency is vital for maintaining the integrity of digital databases.
It is helpful to consult professional resources like the general guide to passport photos to ensure you are meeting the technical specifications of your specific jurisdiction. Factors such as head height from the chin to the crown of the head, pixel dimensions for digital uploads, and the required physical print size must be verified against current regulations. Failing to meet these strict passport photo criteria is the most frequent cause for delays in passport processing times globally.
Setting Up the Environment for Success
To achieve a professional result at home, the physical environment is just as important as the camera equipment. Choose a location with a clean, light-colored wall, ensuring there are no textures, patterns, or items in the background. Lighting should be soft and diffuse to prevent harsh shadows from appearing behind the subject. Avoid using a direct camera flash, which often creates a "hot spot" or unnatural glow on the skin; instead, utilize natural window light from the front, or use two soft light sources at 45-degree angles to the subject.
Position the camera at eye level with the subject, maintaining a distance of approximately 1.5 to 2 meters to avoid facial distortion caused by wide-angle lenses. If you are struggling with framing or specific dimensions, utilizing a reliable passport photo maker can help you crop and align your image according to the required aspect ratios. Remember that the goal is a neutral representation of your features that allows for clear identification by border control officers.
Corrective Measures for Common Criteria
When reviewing various passport photo examples, you will observe that professional headshots avoid common errors such as tilted heads or occluded features. Ensure that hair is tucked away from the face, especially around the eyes and brow line. If you wear glasses, verify whether your specific national authority permits them; many countries now mandate their removal to prevent light reflections and frame interference with the iris and eye socket recognition.
Clothing should be everyday attire that contrasts well with the background without being overly distracting. Avoid uniforms or clothing that looks like a uniform, as this can cause administrative confusion. Furthermore, check the terms and conditions of your application service if you are unsure whether your specific choice of head covering for religious or medical reasons is acceptable, as there are specific exceptions to the general rules for these scenarios.
Pro Tip: If you are using a digital file for an online application, ensure you do not use photo editing software to remove blemishes or change background colors artificially. Automated verification systems can detect pixel-level manipulation and will reject the image automatically.
Common Pitfalls and Troubleshooting
One of the most frequent errors applicants encounter is an "over-exposed" image, where the background appears grey instead of white due to poor lighting balance. If your photo looks too dark, adjust your exposure settings rather than trying to brighten it later, as over-editing often results in loss of detail in the hair or skin textures. If the image is blurry, ensure you are using a tripod or placing the camera on a stable surface to avoid motion blur during the capture.
Another common issue is improper scaling. Always refer to the specific agency requirements regarding the distance between the top of the head and the chin. If you are having trouble meeting these metrics, you can contact our support team for guidance on navigating specific application challenges. Remember that the photo must have been taken within the last six months to ensure it reflects your current appearance accurately.
Frequently Asked Questions
Can I wear jewelry in my passport photo? Generally, yes, as long as it does not obscure your face or cause reflections on your skin. Keep it subtle to ensure it does not distract from your features.
Do I need to smile in the photo? Most countries require a neutral expression with the mouth closed. A subtle, natural smile is usually acceptable, but large grins or teeth showing will likely lead to a rejection.
What if my background is not perfectly white? Requirements usually state "plain white or off-white." A light grey or blue wall is often acceptable if it is uniform and light in tone, but pure white is the safest standard to aim for.
Can I use a photo taken with my smartphone? Yes, provided the smartphone camera has a high-resolution sensor and you follow the guidelines for lighting and composition. Ensure the final image meets the required pixel dimensions for digital uploads.