Newborn Passport Application Photo Checklist
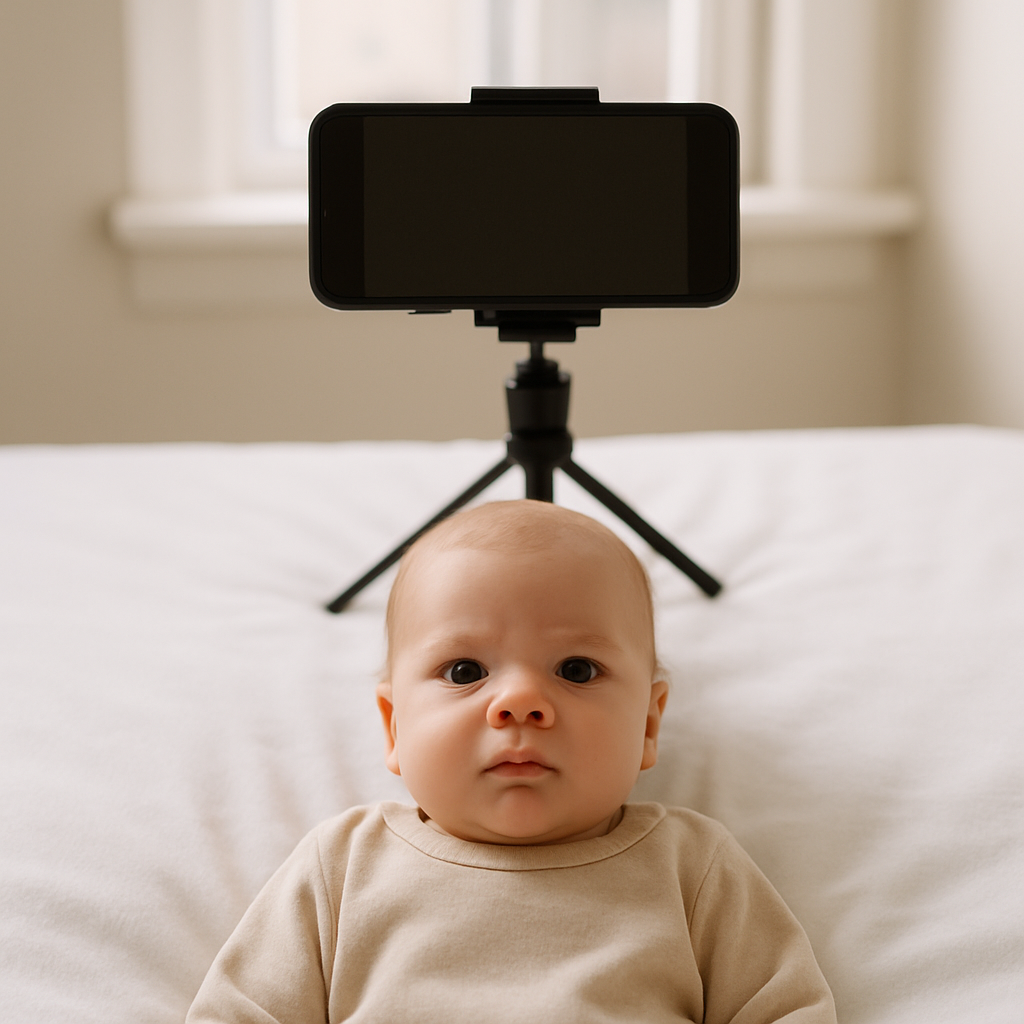
Applying for a newborn passport can feel oddly intense. It’s just a photo, right? A tiny face, a white background, click - done. Not quite. Infant passport photo requirements are surprisingly strict, and one small mistake can delay travel plans faster than a missed flight. Babies don’t exactly follow instructions, either. They wiggle. They nap. They blink at the worst possible moment. This newborn passport application photo checklist walks parents through every detail - calmly, clearly, and without the robotic jargon. Because honestly, nobody needs more stress when there’s already a diaper bag involved.
Why Newborn Passport Photos Are So Particular
Government agencies aren’t being difficult just for fun. Passport photos feed into biometric systems. That means facial recognition software measures spacing between eyes, chin alignment, head position - all of it. Think of it like a high-security ID badge. Even for someone who weighs eight pounds. A baby’s passport photo must:
- Clearly show the full face
- Have a neutral expression
- Use a plain white background
- Meet exact size and cropping requirements
Sounds simple. But if you’ve ever tried getting a newborn to “look neutral,” you already know the challenge.
Newborn Passport Application Photo Checklist
Let’s break this down into a practical, no-nonsense checklist parents can actually follow.
1. Correct Photo Size
For U.S. passports, the photo must be:
- 2 x 2 inches
- Printed on high-quality photo paper
- In color
The baby’s head should measure between 1 inch and 1 3/8 inches from chin to top of head. That precision matters. Too zoomed in? Rejected. Too small? Also rejected. It’s like threading a needle - except the needle is bureaucracy.
2. Plain White Background
No patterns. No shadows. No cute nursery wallpaper. Just flat white. A clean white sheet works well if it’s pulled tight. Wrinkles can cast shadows, and shadows equal problems. Pro tip many parents miss - avoid textured fabrics. Even subtle patterns can show up in high-resolution images.
3. Baby’s Eyes
Here’s where things get interesting. For newborns, eyes can be slightly open or even partially closed. That’s one small mercy. However:
- Both eyes should be visible
- No red-eye
- No glare
If the baby is awake, eyes must look toward the camera. No dramatic side-eye. No curious upward gazing.
4. Neutral Expression
No big gummy grins. No tears mid-cry. The baby should have a relaxed face with mouth closed. This sounds easy in theory. In reality? It’s a timing game. Parents often find that snapping several photos in quick succession increases the odds of capturing that perfect neutral moment.
5. No Hands, Props, or Accessories
This one trips people up.
- No pacifiers
- No toys
- No hands supporting the head
- No visible parent fingers
If the baby needs support, lay them flat on a white surface and photograph from above. Make sure no adult shadows creep into the frame. And yes - even a tiny fingertip in the corner can cause rejection.
6. Proper Lighting
Lighting should be even and natural. Avoid:
- Harsh flash
- Deep shadows under chin
- Yellow indoor lighting
Soft daylight near a window works beautifully. Think bright but diffused - like a calm spring morning, not a spotlight interrogation.
7. Clothing Guidelines
Keep it simple.
- No white outfits that blend into background
- No uniforms
- No hats or headbands
Dark or medium-toned clothing creates contrast. Solid colors work best. Religious head coverings are allowed, but they must not obscure the face.
Common Mistakes That Lead to Rejection
It’s rarely something dramatic. Usually, it’s a small detail that slips by. Here are the biggest offenders:
- Shadows behind the baby’s head
- Incorrect cropping
- Visible car seat edges
- Parent hands partially in frame
- Overexposed lighting
- Smiling or crying expression
Car seats deserve special mention. They seem convenient, but most photos taken in them get denied. The angle isn’t flat enough, and padding often appears in the background.
Should Parents Take the Photo at Home?
Here’s the honest answer - it depends. Taking a newborn passport photo at home saves time. It’s convenient. It’s budget-friendly. But precision matters. Cropping errors and lighting missteps can lead to delays that stretch weeks. That’s why many parents choose professional help from services like BabyPassportMaker.com. They specialize in infant passport photo compliance and know exactly how to meet official requirements. If you ask many seasoned parents, peace of mind is worth a lot when international travel plans are on the line.
Step-by-Step: How to Take a Newborn Passport Photo at Home
For families determined to DIY, here’s a streamlined process:
Step 1 - Prepare the Space
Lay a white blanket on the floor near a bright window. Remove nearby objects that could cast shadows.
Step 2 - Position the Baby
Lay the baby flat on their back. Ensure the head is straight - not tilted.
Step 3 - Adjust Lighting
Turn off overhead lights. Use natural light only if possible.
Step 4 - Take Multiple Shots
Don’t rely on a single photo. Capture 10 to 20 images quickly.
Step 5 - Review Carefully
Zoom in. Check:
- Eye visibility
- Background clarity
- Head size ratio
- Absence of shadows
Digital vs Printed Photos
Many passport applications now allow digital uploads. However, some still require printed copies. Printed photos must:
- Be on glossy or matte photo-quality paper
- Have no creases
- Remain unaltered
No filters. No smoothing apps. No background editing that looks artificial. Biometric systems can detect manipulation. And they will.
Timing Matters
Here’s something people forget - newborn appearance changes fast. If the passport application is delayed for months, the baby may look noticeably different by the time it’s reviewed. While passports remain valid, clear identification still matters. Submitting a current, high-quality photo avoids complications later.
How to Keep the Baby Calm During the Photo
Calm baby = better photo. Some practical tips:
- Feed before starting
- Change diaper beforehand
- Keep room comfortably warm
- Work quickly
Trying to force the process usually backfires. A relaxed environment produces the most compliant image.
Quick Newborn Passport Photo Checklist Recap
Before submitting, confirm:
- Correct 2 x 2 size
- Head centered and properly scaled
- Plain white background
- No shadows
- Neutral expression
- No visible hands or props
- Proper lighting
- Appropriate clothing contrast
Simple list. Serious impact.
Final Thoughts on Getting It Right
A newborn passport application photo might seem like a tiny detail in a much larger travel plan. But it’s the gatekeeper. If it doesn’t meet standards, everything pauses. Precision here prevents headaches later. Some parents tackle it themselves and succeed. Others prefer the confidence of specialists like BabyPassportMaker.com who handle sizing, formatting, and compliance with expert care. Either way, preparation is the difference between smooth approval and frustrating delay. And really - when traveling with a newborn already involves packing half the house - why add unnecessary complications? A clear checklist. A steady hand. A calm moment. That’s all it takes.