Baby Passport Photo for Dual Citizenship Applications
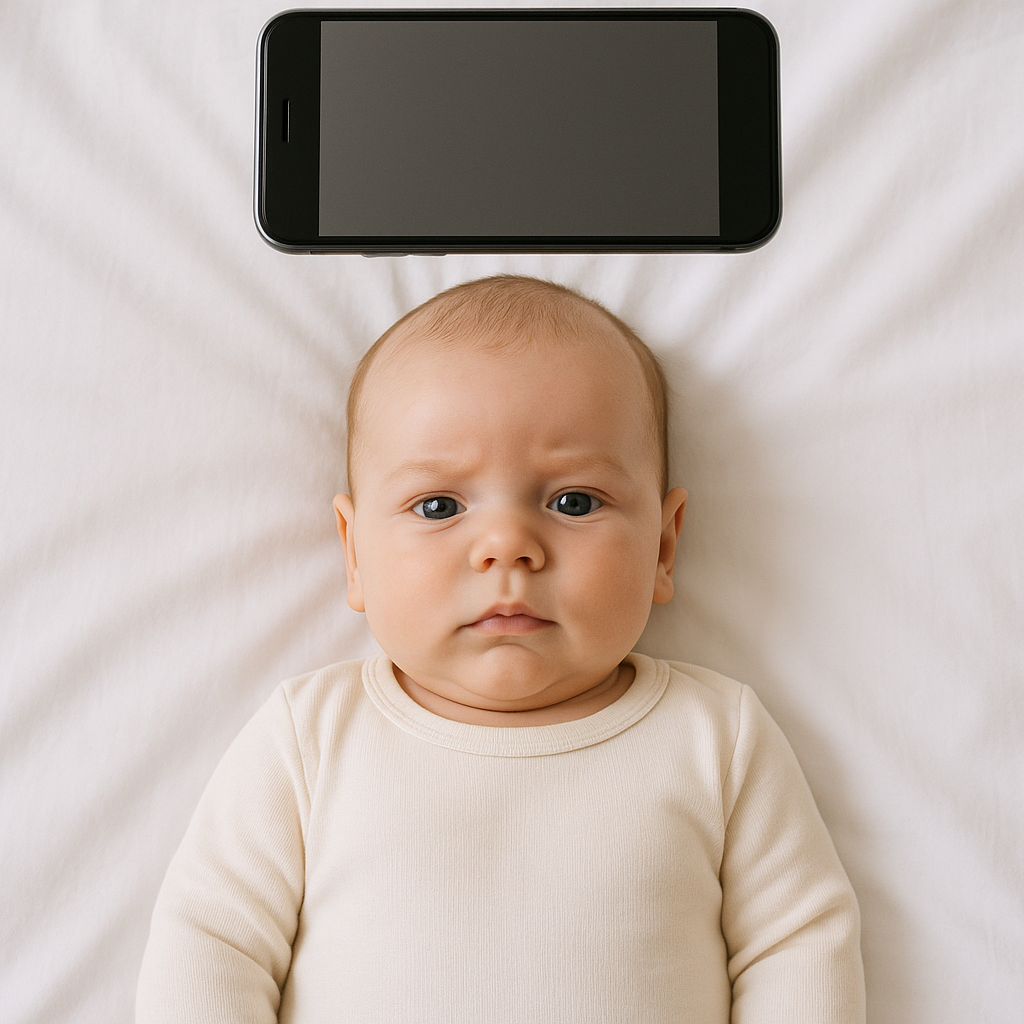
Applying for dual citizenship for a baby sounds straightforward. Fill out forms. Submit documents. Mail everything in. Done. If only. One tiny detail trips up more parents than they expect - the baby passport photo. And here’s the thing: when dual citizenship is involved, the stakes are higher. Two countries. Two sets of rules. Sometimes two different photo specifications. One small mistake can delay everything for weeks. This guide walks through exactly what parents need to know about getting a baby passport photo for dual citizenship applications - without the stress spiral.
Why Baby Passport Photos Are So Strict
Governments are not being picky for fun. Passport photos feed into biometric systems. They help verify identity, prevent fraud, and ensure travel security. Even infants must meet specific standards. Sounds intense for someone who can’t sit up yet, right? Still, immigration offices do not make exceptions just because the applicant drools. For dual citizenship applications, parents often submit:
- A passport application for Country A
- A passport or citizenship registration for Country B
- Supporting documents like birth certificates and parental IDs
Each authority may require slightly different baby passport photo dimensions, background shades, or head positioning rules. Missing even one requirement can lead to rejection. And yes, rejections happen more often than people think.
Common Requirements for Baby Passport Photos
Although every country has its own rules, most share core standards.
1. Neutral Background
Typically white or off-white. No patterns. No shadows. No textured walls. Parents sometimes use a crib sheet pinned behind the baby. Clever - but if wrinkles cast shadows, the image can fail.
2. Eyes Open (Usually)
Many countries require the baby’s eyes to be open. Some are more flexible for newborns, but assuming flexibility is risky. Waiting for that split second when both eyes are open and the baby isn’t mid-sneeze? That’s the real challenge.
3. No Hands in the Frame
No parent fingers holding the head. No visible support. Even a sliver of a hand can invalidate the photo. This rule alone causes countless do-overs.
4. Correct Size and Proportions
Dimensions vary by country. For example:
- US passport photos are 2 x 2 inches
- UK passport photos measure 45mm x 35mm
- EU countries may have specific head height ratios
Submitting the wrong size is an automatic rejection.
5. Neutral Expression
No big grins. No crying. No pacifiers. Yes, that means timing is everything.
Dual Citizenship - Double the Detail
Here’s where it gets interesting. When applying for dual citizenship, parents may assume one baby passport photo works for both countries. Sometimes it does. Often it doesn’t. Some nations require:
- Different background brightness levels
- Specific facial measurement ratios
- Matte vs. glossy print finishes
- Recent photo taken within 30 or 90 days
A photo accepted by one embassy may be rejected by another. Frustrating? Absolutely. Preventable? Also yes.
The Biggest Mistakes Parents Make
Let’s call them out clearly.
- Using old photos - Babies change quickly. A two-month-old photo may not reflect a four-month-old’s appearance.
- Poor lighting - Shadows under the chin or behind the head cause problems.
- Incorrect cropping - Cutting too close or leaving too much space above the head.
- Visible props - Car seat edges, pillows, blankets showing in frame.
- Low resolution images - Especially when printed from phones without proper formatting.
None of these errors feel dramatic in the moment. But to a passport office, they’re deal breakers.
DIY vs. Professional Baby Passport Photo Services
Parents often debate this. Should they attempt the photo at home? Or use a professional service? Taking it at home can work well if done correctly. Natural daylight near a window. A plain white sheet. A calm, well-fed baby. A steady hand. But precision matters. That’s why many families turn to specialized platforms like BabyPassportMaker.com. Services designed specifically for infant passport photos understand the tiny details - head size ratios, cropping rules, background correction, and country-specific formatting. Instead of guessing, parents upload a photo and receive a compliant image tailored to the destination country’s requirements. For dual citizenship applications, that customization is a lifesaver.
Step-by-Step - Getting It Right the First Time
Here’s a practical roadmap.
Step 1: Check Both Countries’ Requirements
Do not rely on assumptions. Visit official government websites. Confirm:
- Photo dimensions
- Background color rules
- Head size percentage
- Print finish requirements
- Recency guidelines
Write them down. Compare side by side.
Step 2: Take Multiple Shots
Expect movement. Expect blinking. Expect randomness. Capture 20 to 30 images. It sounds excessive - it isn’t.
Step 3: Ensure Proper Lighting
Soft, indirect daylight works best. Avoid overhead lights that cast harsh shadows. No flash if possible. Think of lighting like baking - too much heat ruins the cake; too little leaves it underdone. Balance matters.
Step 4: Check Composition Carefully
The baby’s head should be centered. Shoulders visible. No tilt. No rotation. It may take patience. That’s normal.
Step 5: Verify Before Printing
Before submitting anything, double-check measurements and resolution. If uncertain, use a dedicated baby passport photo tool to confirm compliance. Prevention beats resubmission every single time.
Special Considerations for Newborns
Newborn passport photos come with extra challenges. They cannot hold their heads up. They sleep often. Their facial expressions are unpredictable. Most authorities allow newborns to lie flat on a white sheet for the photo. The key is ensuring:
- No shadows behind the head
- No visible hands supporting the neck
- Face fully visible
Some countries relax the "eyes open" rule for very young infants. Still, parents should confirm this directly with the issuing office.
Printing Guidelines Matter More Than You Think
Even a perfect digital image can fail at the printing stage. Use high-quality photo paper. Confirm size accuracy with a ruler - not guesswork. Avoid home printers that distort scaling. If submitting digitally, ensure the file meets resolution and file size limits. Too compressed? Rejected. Too large? Also rejected. Details matter here. Small ones.
How Long Does the Process Take?
Dual citizenship applications often take longer than standard passport requests. Each country processes paperwork separately. Delays commonly happen because:
- Documents are incomplete
- Photos do not meet standards
- Applications are submitted during peak travel seasons
Submitting an accurate baby passport photo reduces at least one major variable. And when international travel plans are involved, every week counts.
Final Thoughts on Baby Passport Photos for Dual Citizenship
A baby passport photo may seem like a tiny square of paper. But it carries enormous weight. It represents identity. Nationality. Opportunity. For families pursuing dual citizenship, precision is not optional - it’s essential. Parents who take the time to understand both countries’ requirements, pay attention to lighting and composition, and use reliable tools when needed dramatically increase approval chances. Because let’s be honest - no one wants to redo government paperwork over a shadow on a blanket. With preparation, the right setup, and attention to detail, securing a compliant baby passport photo becomes manageable. Not effortless. But manageable. And that’s often the difference between a smooth dual citizenship journey and weeks of unnecessary delays.