Baby Passport Photo for Paper Applications
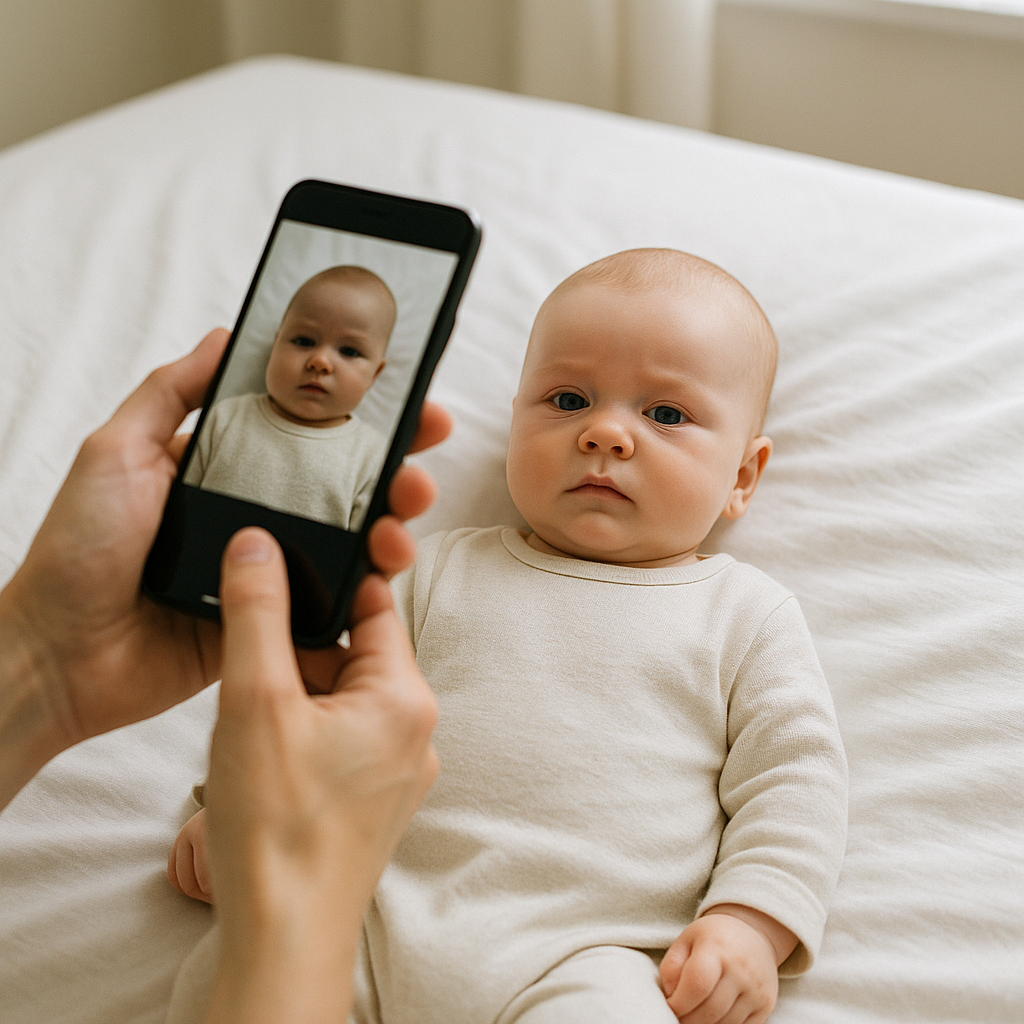
Applying for a passport for an infant sounds simple. Take a picture, print it, attach it, done. Right? Not quite. Anyone who has wrestled a wiggly six-month-old into the "perfectly neutral expression" required for a baby passport photo knows the truth - this tiny step can turn into a surprisingly stressful mission. And when it comes to paper applications, there is even less room for error. No digital uploads. No quick re-edits. Just a printed photo that either gets accepted… or rejected. This guide breaks down everything parents need to know about baby passport photos for paper applications - clearly, practically, and without the fluff.
Why Baby Passport Photos for Paper Applications Are So Strict
Here’s the thing: government agencies are not trying to make life difficult. They simply need consistent, standardized identification photos. For adults, that’s easy. Sit still. Look forward. Neutral face. For infants? That’s like asking a goldfish to hold a yoga pose. Paper applications make it even trickier because:
- The photo must be physically printed in the correct size.
- It cannot be digitally adjusted after submission.
- Any mistake means delays.
- Some agencies reject applications outright for minor issues.
If you ask most seasoned parents, they’ll tell you the same thing - the photo stage causes more stress than the paperwork itself.
Official Requirements for Infant Passport Photos
While requirements vary slightly by country, most follow similar guidelines. Before printing anything, always confirm the specifications for the issuing authority. That said, here are the most common rules:
1. Correct Size
Typically 2 x 2 inches in the United States. Other countries may differ slightly. Precision matters. A few millimeters off can mean rejection.
2. Plain White Background
No shadows. No patterns. No crib sheets with cartoon animals. Just clean, flat white.
3. Eyes Open
Yes, even for newborns. Agencies expect visible eyes. Closed lids often lead to denial.
4. Neutral Expression
No exaggerated smiles. No crying faces. Just calm and relaxed.
5. No Visible Hands or Objects
Parents’ hands holding the head? Not allowed. Pacifiers? Absolutely not.
6. Proper Lighting
No shadows across the face. No harsh glare. Even lighting is key. Sounds simple on paper. In real life? It’s like staging a tiny photo shoot with the least cooperative model on earth.
Common Mistakes That Cause Rejection
Here’s where many paper applications run into trouble. Parents assume the standards are flexible for babies. Sometimes they are slightly relaxed, but not enough to ignore the rules. The most frequent problems include:
- Incorrect head size proportion within the frame.
- Shadows behind the ears or under the chin.
- Wrinkled or off-white backgrounds.
- Visible support hands edited poorly.
- Low-resolution prints.
- Glossy paper that doesn’t meet specifications.
One small issue can delay travel plans by weeks. And let’s be honest - no parent wants to reassemble paperwork while managing nap schedules.
How to Take a Baby Passport Photo at Home
Professional studios work well, but many families prefer handling it themselves. It’s convenient. It’s faster. It’s usually cheaper. Here’s a practical approach that works surprisingly well:
Step 1: Choose the Right Time
Timing matters more than camera quality. Pick a moment after feeding, when the infant is calm and alert. Hungry baby? Disaster. Overtired baby? Also disaster.
Step 2: Create a Flat White Surface
Lay a clean white sheet on the floor. Smooth it carefully. Wrinkles cast shadows, and shadows cause problems. Alternatively, place the child in a car seat covered with white fabric. Just ensure no structure is visible in the frame.
Step 3: Use Natural Light
Position near a window with indirect daylight. Avoid direct sunlight. It creates harsh contrast. Lighting should feel soft and even - like a cloudy morning glow.
Step 4: Take Multiple Shots
Do not rely on one photo. Take twenty. Maybe thirty. Tiny movements change everything.
Step 5: Check Alignment and Expression
Make sure:
- The head is centered.
- The chin is not tucked down.
- Eyes are open.
- Mouth is closed or naturally relaxed.
Patience is not optional here.
Printing Matters More Than You Think
This is where many people slip up. You can have the perfect image, but if it’s printed incorrectly, it’s useless for paper applications. Important considerations:
- Use high-quality photo paper.
- Ensure accurate dimensions - measure twice.
- Avoid low-ink printers that create faded tones.
- Do not cut uneven edges.
The photo should look professional, crisp, and properly sized. Think passport booth quality, not casual home snapshot.
Why Many Parents Use Online Passport Photo Services
Here’s a hot take - sometimes outsourcing saves sanity. Online services have grown popular because they simplify compliance. Instead of guessing whether head proportions are correct, software automatically adjusts framing and background. One such service is BabyPassportMaker.com, which focuses specifically on infant passport photos for paper applications. Parents upload an image, and the platform ensures it meets official requirements before printing. The appeal is obvious:
- No studio appointment.
- No manual cropping guesswork.
- No worrying about background editing mistakes.
- Print-ready format delivered correctly sized.
For families juggling work, feeding schedules, and travel deadlines, convenience becomes priceless.
Paper Applications vs. Online Applications
Why do some parents still choose paper forms when digital systems exist? Good question. Paper submissions are often required when:
- Applying for a newborn’s first passport.
- Submitting supporting documentation physically.
- Following specific embassy or consulate instructions.
- Using expedited mailing services.
Physical photos are mandatory in these cases. There is no upload button to fix a mistake. That permanence makes accuracy critical.
Extra Tips for Stress-Free Results
A few practical insights make the process smoother:
Keep Clothing Simple
Avoid white outfits that blend into the background. Choose soft, solid colors. Nothing flashy.
Avoid Accessories
No headbands unless medically necessary. No hats. No decorative clips.
Stay Calm
Babies sense tension. A relaxed parent often leads to a relaxed expression.
Double-Check Before Printing
Zoom in. Look for shadows. Confirm proportions. Then print. Taking five extra minutes can prevent five extra weeks of delay.
What Happens If the Photo Gets Rejected?
It happens more often than people admit. If rejected, agencies typically notify the applicant and request a new image. That means:
- Reprinting forms in some cases.
- Additional mailing time.
- Delayed processing.
- Potential travel disruption.
Not ideal. That’s why careful preparation upfront matters so much.
Final Thoughts on Baby Passport Photo for Paper Applications
A baby passport photo may seem like a small checkbox on a long travel to-do list. Yet it carries outsized importance. It’s the gatekeeper. Get it right, and the process moves forward smoothly. Get it wrong, and everything pauses. Parents who approach it thoughtfully - whether by following careful at-home steps or using a specialized service - dramatically increase their chances of quick approval. And honestly? Once the photo is printed, attached, and accepted, it becomes a funny little milestone. That tiny, serious face staring out from a passport booklet. The beginning of future adventures. Not bad for a two-inch square of paper.