Baby Passport Photo for Student and Dependent Visas
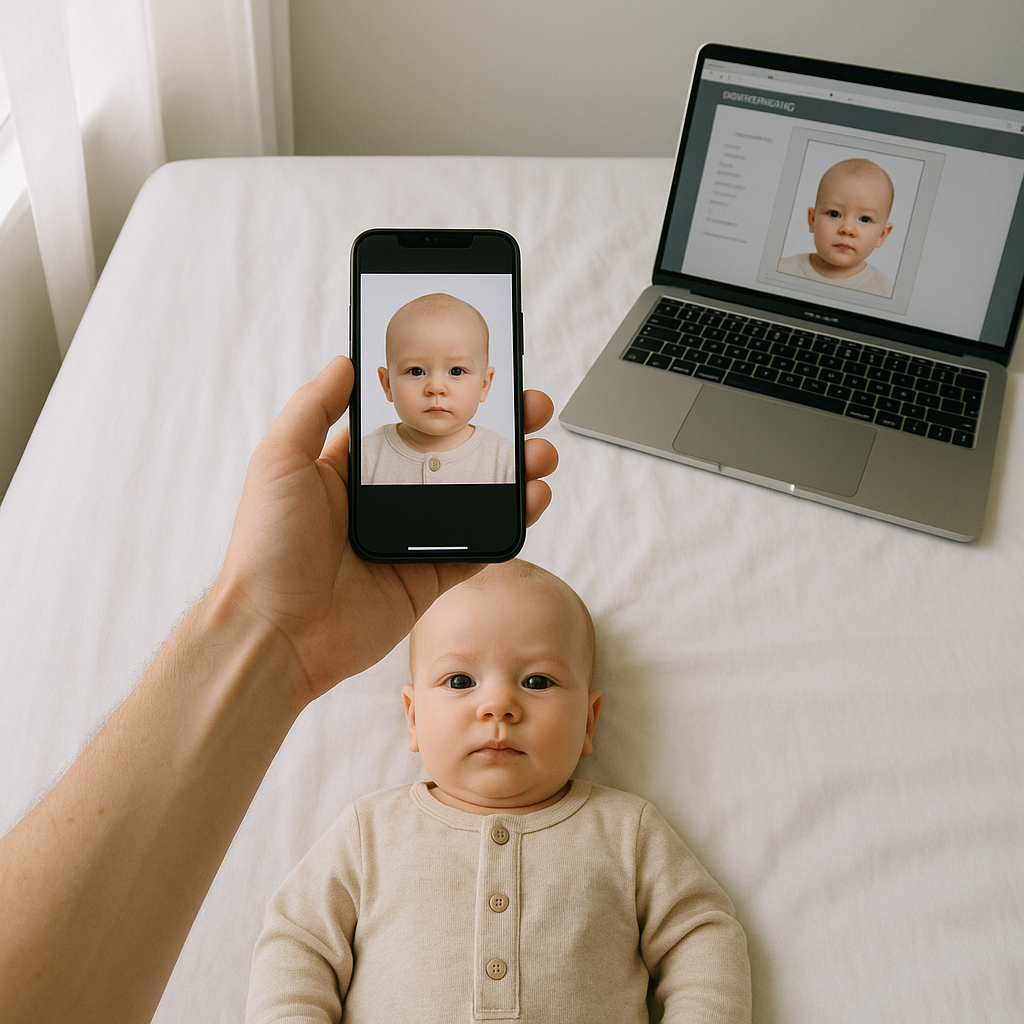
Applying for a student visa is stressful enough. Add a baby into the mix? It becomes a whole different game. One small detail - the baby passport photo - can quietly derail an entire student or dependent visa application. Sounds dramatic? Maybe. But consulates are strict, and when it comes to biometric images, "almost correct" simply does not cut it. This guide walks through everything parents need to know about baby passport photos for student and dependent visas, without the jargon and without the fluff.
Why Baby Passport Photos Matter More Than You Think
Student visas often allow dependents - spouses and children - to accompany the primary applicant. Each dependent, no matter how tiny, needs their own compliant passport and visa image. Here’s the thing: embassies use facial recognition systems. That little picture isn’t just a formality. It’s biometric data. It must meet strict technical standards. If the baby’s image is rejected, the entire application can stall. Deadlines get tight. University start dates don’t move. Flights get rescheduled. Stress multiplies. Honestly, it’s one of those small tasks that carries outsized consequences.
Student and Dependent Visa Photo Requirements
Every country has slightly different rules, but most follow similar biometric standards. Parents should always verify exact specifications for the destination country, yet these are the most common requirements:
1. Size and Dimensions
- Standard size is often 2x2 inches (51mm x 51mm) for U.S. visas - Some countries require 35mm x 45mm - The head must occupy a specific percentage of the frame - No cropping errors or uneven edges Precision matters. Even a few millimeters off can cause rejection.
2. Background
- Plain white or light off-white - No shadows - No patterns - No visible furniture Sounds simple, right? Try getting a baby to sit upright against a white wall without casting shadows.
3. Facial Expression
This is where it gets tricky. - Eyes open - Mouth closed - Neutral expression - Looking directly at the camera No smiles. No yawns. No curious sideways glances. For infants, some countries are slightly flexible about open eyes, but most still expect a clear, unobstructed face.
4. No Obstructions
- No pacifiers - No toys - No hands visible - No headbands covering hairline - No shadows across the face That means parents must stay completely out of the frame. No fingers supporting the head. No holding the baby upright in visible ways.
The Real Challenge - Photographing a Baby
Anyone who has tried to photograph an infant knows the truth. Babies do not follow instructions. They wiggle. They blink. They slump sideways. They get fussy at the exact wrong moment. Trying to meet strict visa photo standards with a moving target feels like trying to take a clear shot of a hummingbird in a windstorm. And yet, it has to be done. Here’s what typically works better than dragging a newborn to a crowded photo studio:
At-Home Setup Tips
1. Lay the baby flat on a white sheet. 2. Use natural daylight near a window. 3. Avoid overhead lighting that creates shadows. 4. Take multiple shots - dozens if necessary. 5. Ensure the camera is directly above the face, not angled. Patience becomes the secret ingredient. Even then, editing and cropping to exact government specifications can be frustrating. That’s where specialized services become incredibly useful.
Why Many Parents Choose Online Baby Passport Photo Services
Traditional studios are not always experienced with infant biometric standards. Some employees simply treat it like a regular snapshot. Here’s a hot take: convenience beats chaos. Professional online tools such as BabyPassportMaker.com are designed specifically for baby passport and visa images. They adjust background, size, head position, and alignment to match official requirements. Instead of guessing whether the image meets embassy rules, parents get a properly formatted file ready for submission. That peace of mind? Worth it.
Benefits of Using a Specialized Service
- Automatic background correction - Accurate biometric cropping - Compliance with country-specific guidelines - Digital download for online visa applications - Printable versions if required It removes the technical headache so parents can focus on the bigger move ahead.
Common Reasons Baby Visa Photos Get Rejected
Embassies rarely give detailed explanations. They simply mark the image as non-compliant. These are the most common rejection triggers: - Shadow behind the head - Red-eye effect - Baby looking slightly off-center - Visible parental hand - Low image resolution - Incorrect file size for online uploads It can feel nitpicky. Because it is. But immigration systems rely on uniform standards for security and identification.
Digital vs Printed Photos for Student Visa Applications
Many student visa applications are now online. That means digital uploads are standard. However, some embassies still request printed copies during interviews. Parents should check: - Required pixel dimensions - File format (JPEG is most common) - Maximum file size in kilobytes - Print finish - matte or glossy Missing one technical detail can delay processing. And visa timelines are rarely forgiving.
Dependent Visa Applications - Extra Things to Consider
When applying for a dependent visa alongside a student visa, consistency matters. All documents should match: - Name spelling - Passport details - Date of birth - Image standards Even though the baby is not attending university, their documentation is reviewed with the same seriousness as the primary applicant. Parents sometimes assume infant applications are "simpler." They are not. They are smaller. That’s about it.
Timing the Baby Passport Photo Correctly
Another overlooked detail? Timing. Most visa photos must be taken within the last six months. For infants, appearance changes quickly. A newborn at two weeks looks noticeably different at five months. Submitting an outdated image can create identity verification issues. It’s wise to take the picture close to submission date - but not so late that there’s no buffer for retakes. Balance is everything.
Step-by-Step Plan for Stress-Free Results
For parents juggling packing, paperwork, and academic deadlines, a simple checklist helps.
Practical Action Plan
1. Confirm the exact visa photo specifications for the destination country. 2. Set up a bright, shadow-free space at home. 3. Take multiple high-resolution images. 4. Upload to a compliant editing service like BabyPassportMaker.com. 5. Double-check digital size and format before submission. 6. Keep extra printed copies for interviews. No guesswork. No rushing the night before submission.
Frequently Asked Questions About Baby Passport Photos
Can a baby smile in a visa photo?
Generally, no. A neutral expression is preferred. Slight natural expression may be tolerated for infants, but a wide grin often leads to rejection.
Can a parent hold the baby during the picture?
Only if the parent’s hands are completely invisible and not casting shadows. Even then, many authorities discourage it.
What if the baby’s eyes are closed?
Some countries allow exceptions for newborns. Others do not. Always verify official rules.
Can the baby wear a headband or hat?
No decorative accessories are allowed. Religious head coverings may be permitted under strict conditions.
Final Thoughts on Getting It Right the First Time
A baby passport photo for student and dependent visas might seem like a tiny task in a mountain of paperwork. It isn’t. It’s a critical piece of biometric identification. Done correctly, it quietly supports a smooth relocation. Done poorly, it triggers delays, stress, and extra fees. If you ask most immigration advisors, they’ll say the same thing: follow specifications exactly. Do not improvise. Do not assume. Parents preparing for international study already carry enough responsibility. Simplifying technical requirements - especially for infant documentation - makes the transition far less overwhelming. Because moving abroad for education is a big leap. The baby’s photo should be the easy part.