Baby Passport Photo for Touch n Go and Rabbit Cards
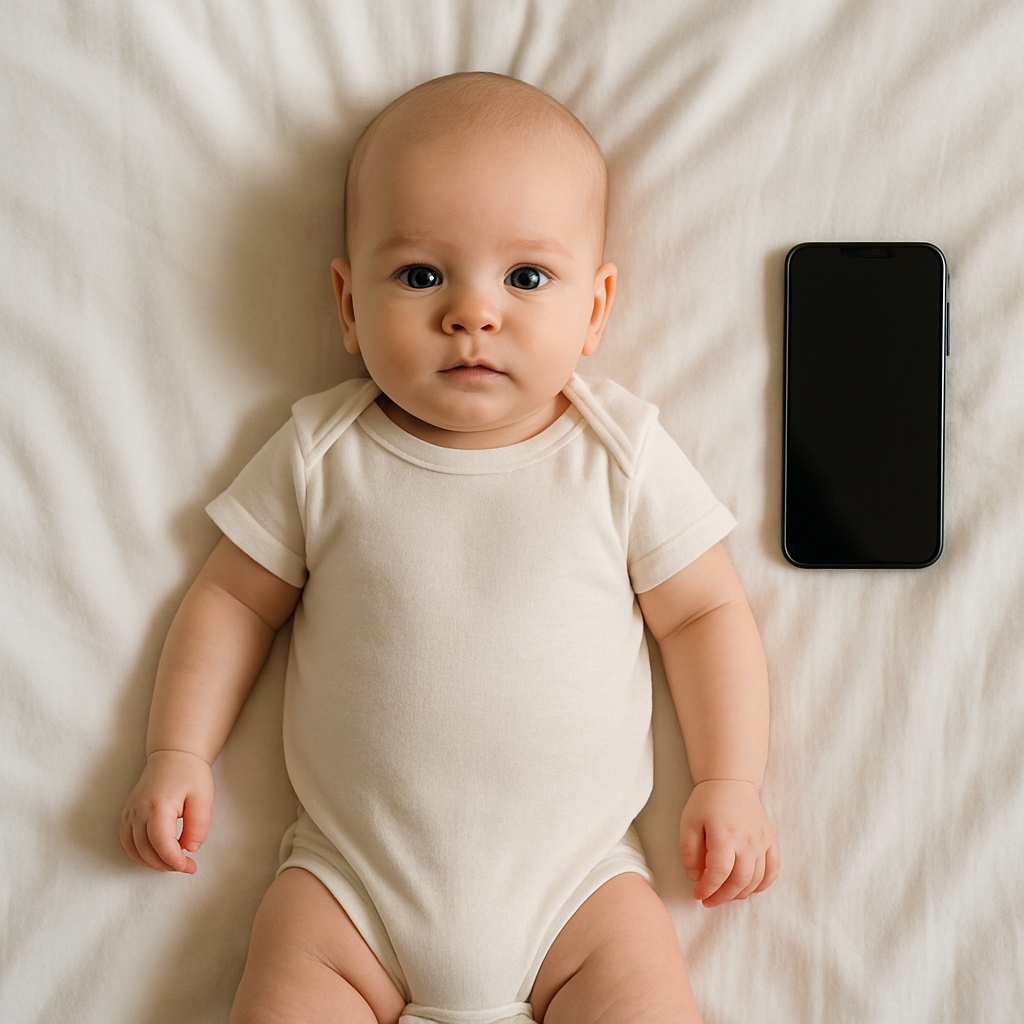
Getting a baby passport photo for Touch n Go and Rabbit cards sounds simple. Tiny face. White background. Click. Done.
If only it were that easy.
Anyone who has ever tried to photograph an infant knows the truth - babies have their own agenda. They blink at the exact wrong moment. They tilt their heads like curious owls. They decide smiling is optional. And somehow, that "perfect" photo keeps getting rejected.
This guide walks through exactly what parents need to know about baby passport photo requirements for Touch n Go and Rabbit cards, why precision matters, and how to avoid the most common (and frustrating) mistakes.
Why Touch n Go and Rabbit Cards Require Proper Baby Photos
Touch n Go and Rabbit cards are widely used transportation cards, particularly across parts of Asia. For children and infants, these cards often require registration with an official photo. That image becomes part of a digital identity system.
Sounds formal, right? It is.
The photo isn't just decorative. It helps:
- Verify identity for travel and transit access
- Prevent misuse of concession or child fares
- Streamline registration systems
- Ensure consistency across government or transport databases
Even for a baby.
And here's the thing - systems are picky. Extremely picky. The smallest shadow or head tilt can result in rejection.
Official Baby Passport Photo Requirements
Before snapping a single picture, parents should understand the typical requirements for a baby passport photo used for Touch n Go and Rabbit cards.
1. Background Must Be Plain
White or very light-colored. No patterns. No blankets with cartoon animals. No textured wallpaper. Clean and neutral.
A cluttered background is like static noise in a phone call - it distracts from what matters.
2. Baby Must Face the Camera
This is where things get interesting.
The infant's face should look straight ahead, centered in the frame. Both eyes open. Mouth closed if possible. No extreme expressions.
Easy to say. Hard to execute.
3. No Visible Hands or Props
Parents sometimes hold the baby's head for support. Understandable. But hands cannot appear in the final image.
No pacifiers. No toys. No cute headbands casting shadows.
Neutral and natural wins every time.
4. Correct Size and Dimensions
Each transport authority may specify exact measurements - often similar to passport standards. That includes:
- Specific width and height (for example, 35mm x 45mm)
- Head height ratio within the frame
- Clear visibility from chin to crown
One millimeter off? Rejected.
Common Mistakes That Lead to Rejection
Here is where many parents run into trouble.
Poor Lighting
Shadows across the baby's face. Yellow indoor lighting. Overexposed flash.
Lighting should be even and natural. Think soft daylight near a window - not harsh ceiling bulbs.
Incorrect Head Position
Babies love to tilt. But passport systems do not.
The head must be upright. Not leaning. Not rotated. Centered.
Background Texture
A white couch may look fine to the naked eye, but textured fabric shows up clearly in high resolution images.
The background should look like a blank sheet of paper. Clean. Flat. Undistracting.
Digital Editing Errors
Over-editing can cause issues. Artificially smoothing skin or cutting around hair poorly creates visible distortions.
Authorities prefer natural appearance. Minimal retouching.
The Real Challenge - Photographing an Infant
Babies do not follow instructions.
They wiggle. They blink. They suddenly decide nap time has arrived.
Getting a compliant, centered, well-lit baby passport photo can feel like trying to photograph a hummingbird mid-flight.
Some parents attempt dozens of shots. Some try balancing the infant on a white sheet on the floor. Others hold the baby upright against a wall and later crop their own hands out.
Sometimes it works.
Often, it doesn't.
Professional Help vs DIY
There are two main paths:
Option 1 - DIY at Home
This approach can work if:
- Lighting conditions are ideal
- A high-quality camera or smartphone is available
- The baby cooperates (rare but magical)
- Parents understand precise sizing rules
However, resizing and formatting correctly for Touch n Go or Rabbit card systems requires technical accuracy.
Option 2 - Use an Online Passport Photo Service
This is where specialized services come in.
For example, BabyPassportMaker.com focuses specifically on infant passport photos. The process allows parents to upload a clear image taken at home, and the system adjusts:
- Background correction
- Proper cropping
- Head alignment
- Official sizing compliance
It removes the guesswork.
Instead of experimenting endlessly with crop tools and hoping for approval, parents receive a formatted photo that meets official requirements for registration.
Step-by-Step Guide to Taking a Baby Passport Photo at Home
For those who prefer a DIY approach first, here is a practical roadmap.
Step 1 - Choose the Right Time
Photograph the baby after feeding and rest. A calm infant is far more cooperative than a hungry one.
Step 2 - Set Up the Background
Lay a smooth white sheet on the floor. Ensure no wrinkles or folds create shadows. Natural light from a nearby window works best.
Step 3 - Position the Baby Safely
Lay the infant flat on their back, looking up. Stand directly above to take the picture. Keep the camera parallel to the face.
Safety first. Always.
Step 4 - Take Multiple Shots
Don't rely on one image. Capture at least 20 to 30 photos. Blink rate alone demands redundancy.
Step 5 - Review Carefully
Check for:
- Open eyes
- Centered head
- No shadows
- No visible hands
Only then should resizing or submission begin.
Why Accuracy Matters More Than Parents Realize
A rejected baby passport photo delays card approval. That means extra trips. Extra paperwork. Extra waiting.
Time is valuable - especially for families managing school schedules, commutes, and childcare routines.
Think of the photo as a key. If the teeth of the key are slightly off, the lock simply won't turn. It doesn't matter how close it looks. Precision determines access.
Touch n Go vs Rabbit Card - Is There a Difference?
While both systems require identification photos, slight differences may exist in file format, dimensions, or submission process.
Parents should always:
- Check the official website for the most recent specifications
- Confirm digital upload requirements (JPEG, resolution, file size)
- Ensure printed versions match required measurements if submitting physically
Requirements evolve. Systems update. Double-checking prevents frustration.
Final Thoughts on Getting It Right the First Time
A baby passport photo for Touch n Go and Rabbit cards may seem minor. But it plays a meaningful role in travel and transport access.
The difference between approval and rejection often comes down to tiny technical details - background tone, head position, exact crop dimensions.
Parents can attempt the process at home with careful preparation. Many succeed. Others prefer the certainty of a specialized service like BabyPassportMaker.com, which simplifies formatting and compliance.
Either way, the goal is simple: a clear, compliant, well-framed image of a tiny human who probably had no interest in participating.
Sounds straightforward?
Yes. And no.
But with the right approach, that little photo becomes one less thing to worry about - and one smooth step closer to hassle-free travel and transit registration.