Baby Passport Photo for T-Money and Ez-Link Cards
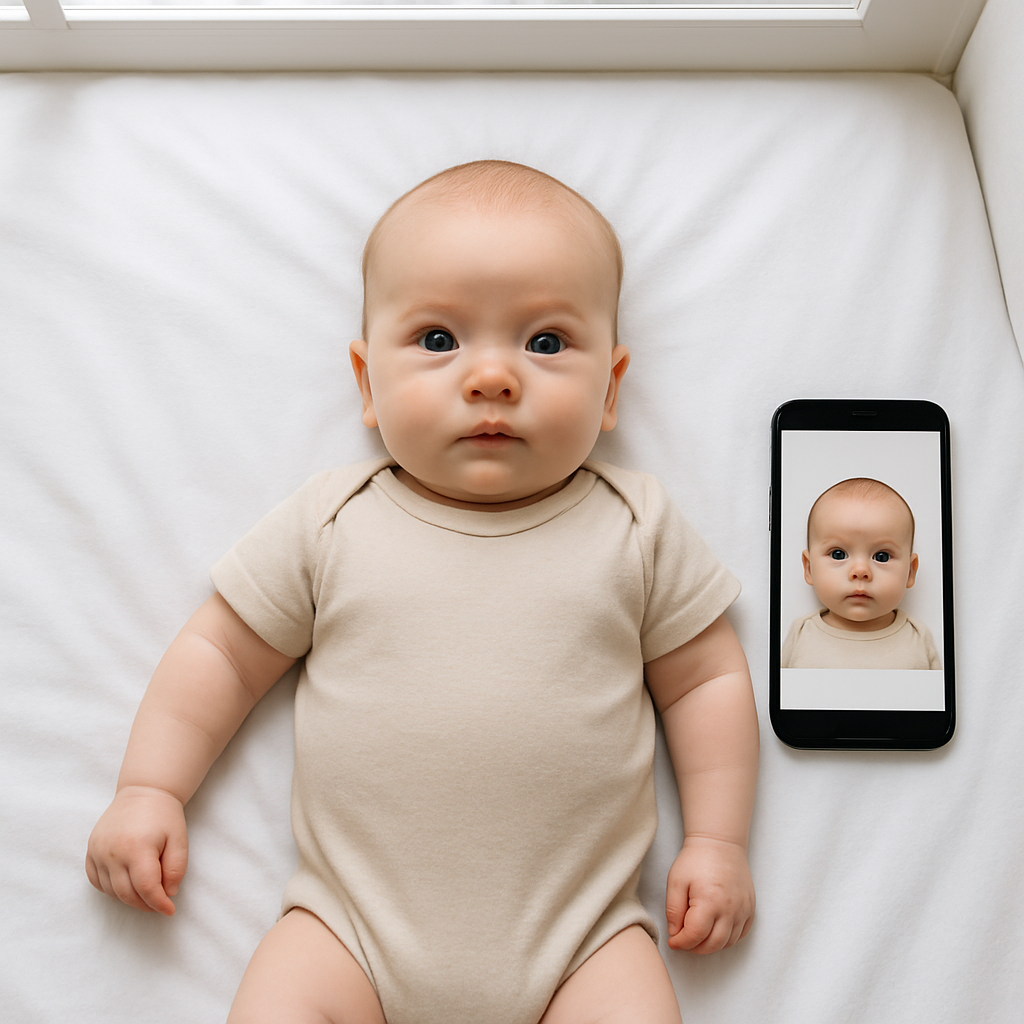
Getting around a busy city with a baby is already an adventure. Add public transportation cards like T-Money or Ez-Link into the mix, and suddenly parents are Googling one very specific thing: baby passport photo requirements. It sounds simple, right? Take a cute picture. Upload it. Done. Not quite. Transit card systems can be surprisingly strict about photo dimensions, background color, head positioning, and overall clarity - even for infants. And yes, babies don’t exactly cooperate with instructions like “Sit still” or “Look straight ahead.” This guide breaks it all down in plain language. No fluff. Just what parents actually need to know about baby passport photos for T-Money and Ez-Link cards.
Why Do Babies Need a Photo for Transit Cards?
Both T-Money in South Korea and Ez-Link in Singapore offer child concession cards. These cards provide discounted fares, which is fantastic for families. But to prevent misuse, they require a proper ID photo. That means:
- A clear, front-facing image
- Neutral background
- No shadows or distractions
- Proper head alignment
Even if the card is for a toddler who can barely say "bus," the photo still has to meet official standards. Have you ever tried photographing a baby who just discovered their toes? Exactly.
Understanding T-Money Baby Photo Requirements
T-Money child cards generally follow identification-style photo standards. While exact dimensions can vary depending on submission method, the usual expectations include:
Typical T-Money Photo Guidelines
- White or very light plain background
- Baby facing the camera directly
- Eyes open and visible
- No hats or head coverings (unless religious)
- No toys, pacifiers, or parental hands visible
- Even lighting - no harsh shadows
It sounds straightforward. In reality? It can feel like staging a tiny passport summit meeting. Babies tilt. They blink. They suddenly decide tummy time is more interesting than public transport documentation.
Ez-Link Baby Passport Photo Rules
Ez-Link concession cards follow a similar logic. The system needs a recognizable, clear image to confirm the child’s identity.
Common Ez-Link Photo Specifications
- Recent photo taken within the last 3 months
- Full face visible
- Neutral expression preferred
- Plain white or light background
- No red-eye
- Correct cropping - head and shoulders centered
Notice a pattern? Transit systems treat baby photos almost like passport images. Because functionally, they are.
The Real Challenge - Photographing a Baby
Let’s be honest. The technical requirements are the easy part. The unpredictable human? That’s where things get interesting. Babies don’t pose. They wiggle. They stare at the ceiling fan like it’s the most fascinating invention of the century. They drool. Sometimes they grin like tiny comedians. Other times they deliver a serious glare that could intimidate airport security. And yet, the photo needs to be: - Centered - Clear - Properly lit - Free from distractions It’s like trying to photograph a cloud and asking it to hold still.
DIY vs Professional Baby Passport Photos
Parents usually face two options.
Option 1 - Visit a Photo Studio
Pros: - Professional lighting - Correct sizing - Guaranteed compliance Cons: - Expensive - Time-consuming - Baby may not cooperate in a new environment
Option 2 - Take the Photo at Home
Pros: - Comfortable environment - Lower cost - Flexible timing Cons: - Risk of rejection - Editing challenges - Cropping mistakes If you ask most parents quietly, they’ll admit the studio visit sometimes turns into a full production. New place. Bright lights. Baby confusion. Cue fussiness. At home, though? Things feel calmer. More controllable.
How to Take a Baby Passport Photo at Home
Here’s a practical step-by-step method that works surprisingly well.
1. Find the Right Background
Lay a clean white sheet on the floor or over a firm mattress. Smooth out wrinkles. Natural daylight near a window works best. Avoid patterned blankets. Avoid textured walls. Keep it plain.
2. Position the Baby Safely
Place the baby on their back. Make sure their head is straight. Stand directly above with your phone or camera. No angled shots. If the child can sit unsupported, sit them against a white backdrop instead.
3. Check the Lighting
Soft daylight from the side reduces shadows. Turn off overhead lights if they create uneven tones. A good photo should look balanced, not dramatic. This isn’t a magazine cover shoot.
4. Remove Accessories
No headbands. No pacifiers. No toys. Keep clothing simple - solid colors work best.
5. Capture Multiple Shots
Take at least 20 photos. Seriously. One will eventually work.
Common Reasons Baby Transit Photos Get Rejected
Rejections happen more often than parents expect. Here are frequent mistakes:
- Shadow behind the head
- Background not truly white
- Baby looking sideways
- Blurry image
- Improper cropping
- Low resolution
It can feel frustrating. But usually the issue is technical, not dramatic.
Using Online Tools to Get It Right
This is where modern solutions make life easier. Services like BabyPassportMaker.com allow parents to upload a baby’s photo and automatically adjust it to meet official size and background requirements. Instead of guessing dimensions or manually editing, the system: - Removes background distractions - Adjusts cropping - Ensures correct head size ratio - Aligns image to specification standards Think of it like having a digital photo technician in your pocket. For busy parents juggling nap schedules, feeding times, and everything else, that convenience matters.
Tips for a Smooth Submission Process
To avoid delays with T-Money or Ez-Link applications, follow these final checks:
Quick Pre-Upload Checklist
- Confirm file size meets upload requirements
- Ensure photo is recent
- Double-check background clarity
- Verify baby’s face is centered
- Review resolution quality
It takes two extra minutes. It can save weeks of back-and-forth.
Are Baby Passport Photo Standards Too Strict?
Some parents wonder why transit cards demand such precision. After all, it’s just a bus or subway pass. But here’s the reality. Concession systems prevent fare abuse. A clear image ensures the discounted card belongs to the right child. Without photo verification, older children or even adults could misuse the benefit. So yes - the standards exist for a reason. Annoying sometimes? Sure. Necessary? Also yes.
Final Thoughts on Baby Passport Photos for T-Money and Ez-Link
A baby passport photo for T-Money or Ez-Link cards isn’t complicated in theory. It just demands patience and precision. Parents don’t need expensive equipment. They don’t need photography degrees. What they need is: - Good lighting - A clean background - Careful positioning - Proper sizing tools That’s it. Once the image meets requirements, the rest of the transit card process moves smoothly. And suddenly, family travel becomes easier - tap in, ride, go. Public transportation should reduce stress, not add to it. With the right baby passport photo prepared correctly the first time, parents can focus on what actually matters. Getting where they need to go. With a baby in tow.