How to Capture Professional Passport Photos at Home
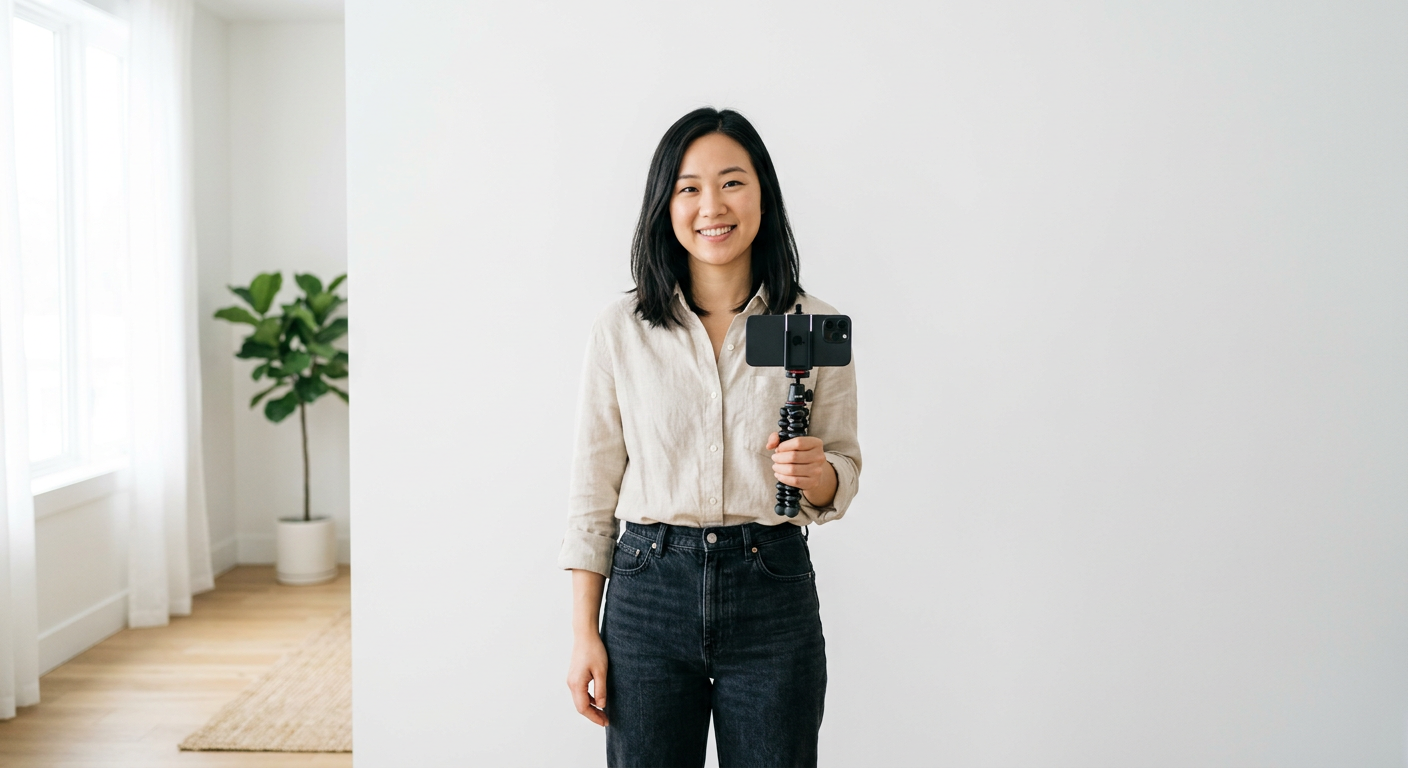
Dragging yourself to a pharmacy or a post office for a passport photo is honestly one of those life chores we could all do without. Between the long queues and the lighting that somehow makes everyone look like they just woke up from a decade-long nap, it is a recipe for frustration. Thankfully, learning how to capture professional passport photos at home is not just possible - it is incredibly straightforward if you know the right tricks. You don't need a high-end DSLR or a professional studio to get a compliant image that won't get rejected by the authorities.
Quick Summary {#quick-summary}
Capturing professional passport photos at home involves using a high-quality smartphone camera, ensuring even lighting, and maintaining a neutral expression against a plain, light background. By following official government guidelines regarding framing and resolution, you can create a perfectly valid image without ever stepping foot in a retail store.
- Find a bright, evenly lit area to avoid shadows.
- Use a plain white or off-white wall as your backdrop.
- Ensure your camera resolution is set to the highest possible setting.
- Maintain a neutral facial expression with your eyes open.
Table of Contents {#table-of-contents}
- Quick Summary
- Mastering the Passport Photo White Background
- Achieving Professional Passport Photo Quality
- How to Take the Best Passport Photo Setup
- Recommended Reads

Mastering the Passport Photo White Background {#mastering-the-passport-photo-white-background}
Getting that crisp, clean background is half the battle. If you ask me, people overcomplicate this part way too much. You do not need a professional studio backdrop kit. A plain, solid white wall in your living room works wonders. Just make sure there are no frames, posters, or weird shadows hanging out in the periphery. Honestly, even a slight shadow can trigger a rejection if the software deems the contrast too messy. If you are struggling with a slightly colored wall, you can check out the general guidance for passport photos to see how strict some jurisdictions can be regarding color casts.
Achieving Professional Passport Photo Quality {#achieving-professional-passport-photo-quality}
If you want that "professional" look, you have to treat your living room like a photo studio for ten minutes. Avoid direct sunlight hitting your face from one side, as that creates the kind of harsh contrast that makes you look like a villain in an old noir film. Instead, face a window where the light is soft and diffused. This is the secret sauce for a US baby passport photo or even an adult headshot. It fills in those pesky under-eye circles and makes your skin tone look natural and even. Have you ever wondered why photos at the store look so washed out? It is almost always because their lighting is flat and artificial. Natural light is your best friend here.
Optimal Camera Settings {#optimal-camera-settings}
When it comes to passport photo resolution, modern smartphones are more than capable. Do not overthink the tech. Just make sure you are using your rear-facing camera, which is significantly higher quality than the selfie lens. Set your phone to the highest available resolution. If your phone has a "Portrait" mode, keep it off for passport photos. Why? Because the software sometimes creates a blurry edge around your hair or shoulders, which can look weird to an automated verification system. You want sharpness from ear to ear. If you are prepping a file, ensure the file size and dimensions match the requirements you can find in the UK baby passport photo documentation.
How to Take the Best Passport Photo Setup {#how-to-take-the-best-passport-photo-setup}
So, you have the wall, you have the light, and you have the phone. Now what? Distance is the final hurdle. If you stand too close, your nose looks distorted - that classic "fisheye" effect from phone lenses. If you stand too far, you have to crop the image so much that you lose all that precious resolution. Stand about four to five feet away and use the zoom slightly if needed, or simply take the shot and crop it later. Keep your shoulders square to the camera and your expression neutral. No smiling, no smirking, just a calm, blank stare. It feels unnatural, sure, but the government isn't paying for your glamour shot. They just want to identify you. Once you have the perfect shot, you can look into how to finalize your Canadian baby passport photo using common editing tools. Remember, keep it simple, keep it compliant, and you will save yourself a trip to the post office.