How to Get the Correct Passport Size Photo in 2026: Official Guidelines and Standards
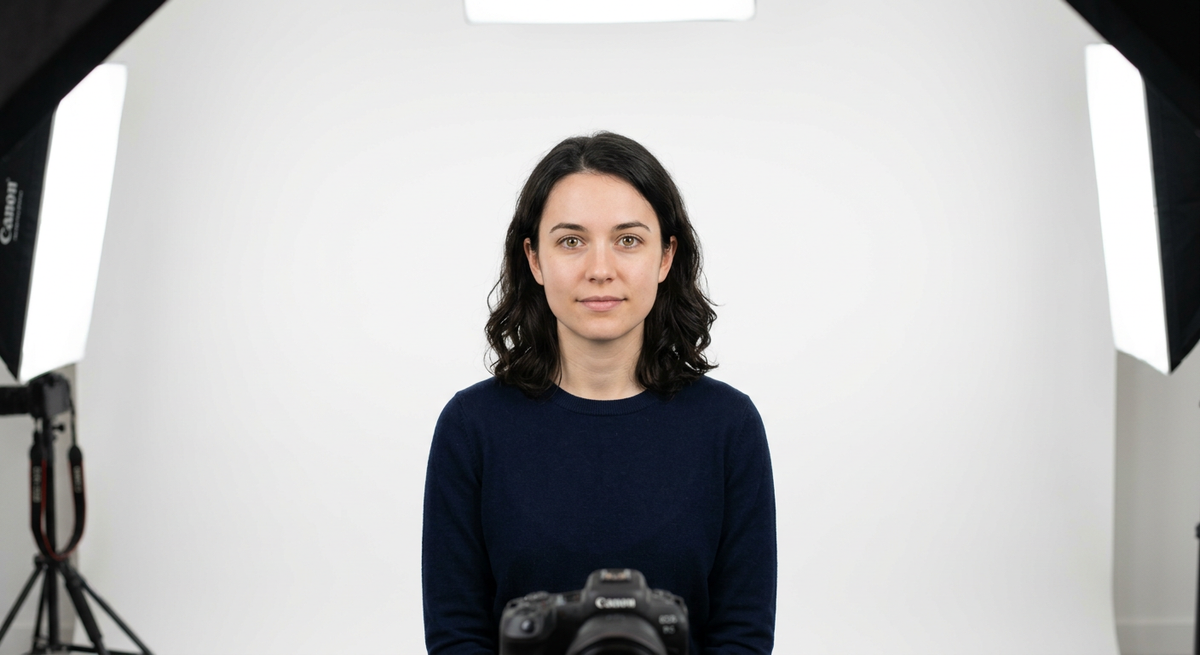
Navigating the strict requirements for government-issued documents requires precision, particularly when ensuring your passport size photo meets the international standards updated for 2026. Whether you are renewing an adult passport or preparing an application for an infant, the margin for error is non-existent. A rejected application due to non-compliant imagery leads to processing delays and unnecessary stress, making it vital to understand the technical nuances of lighting, background, and specific passport dimensions photo requirements.

Quick Summary
Securing a compliant passport photo involves adhering to specific dimensions, uniform lighting, and neutral backgrounds to ensure facial recognition software can process the image. Key takeaways include: - Standardize the passport photo size to the requirements of the issuing country. - Maintain a neutral expression with both eyes clearly visible. - Ensure high-resolution, glare-free, and shadow-free lighting. - Use a plain, light-colored background without patterns or obstructions.
Table of Contents
- Understanding Passport Dimensions Photo Requirements
- Setting Up the Environment for a Passport Size Photo
- Key Facial and Pose Standards
- Common Pitfalls and Troubleshooting
- FAQ
- Recommended Reads
Understanding Passport Dimensions Photo Requirements
Every sovereign nation sets its own passport photo standard size, and understanding these is the first step toward a successful application. While many countries utilize the 35mm x 45mm format, others, such as the United States, mandate a 2 inch by 2 inch (51mm x 51mm) square. It is critical to verify the specific passport picture size required by your destination or home country before finalizing any digital or physical image.
Beyond the total paper size, the internal composition is governed by strict proportions. Governments mandate specific head-to-chin measurements, usually requiring the head to occupy 70 to 80 percent of the vertical space. If you are preparing an Australian baby passport photo, you must ensure the baby's head is centered, even though infants may have difficulty maintaining a perfectly upright posture. These technical ratios are non-negotiable and are validated by automated systems at document processing centers.
Setting Up the Environment for a Passport Size Photo
Lighting and background consistency are the most frequent causes of photo rejection. The passport size photo size in inch specifications mean little if the background is cluttered or if the lighting casts distracting shadows across the face. For optimal results, use a plain, white, or off-white background. Avoid using a wall with texture or wall art, as the AI-driven US baby passport photo verification tools often flag these as "noise" that obscures facial features.
Lighting should be soft, even, and sourced from the front to eliminate shadows on the backdrop or the face. Avoid using a harsh direct flash, which can create glare on glasses or reflective surfaces. When photographing infants, placing them on a white sheet on the floor is a common method, provided the sheet is pulled taut to avoid wrinkles. Proper preparation of this space is essential for meeting the UK baby passport photo compliance standards, which are known for their rigorous enforcement of uniform lighting.
Key Facial and Pose Standards
To meet the criteria for a valid passport photo size, the subject's pose must be professional and neutral. The face must be pointed directly at the camera with both edges of the face visible. A neutral expression is expected, which means no smiling, frowning, or squinting. For adults, glasses should be removed if they cause reflections or obscure the eyes, as modern biometric standards are increasingly strict about eye clarity.
Pro Tip: When photographing infants or children who cannot hold a pose, take multiple bursts of photos. This increases the likelihood of capturing a shot where the eyes are open and the mouth is closed, which is a requirement for Canada baby passport photo applications.
Headwear is generally prohibited unless worn for religious or medical reasons, and even then, the entire face from the bottom of the chin to the top of the forehead must be visible. If you are unsure about the formatting for your specific needs, reviewing a German baby passport photo guide can provide insight into the universal nature of these biometric requirements, as many European standards align with international ICAO guidelines.
Common Pitfalls and Troubleshooting
One common error involves post-processing the photo using filters or editing software. Government agencies require a raw or minimally processed image; digital retouching to remove blemishes or change facial features is strictly prohibited and will lead to an immediate rejection. Another frequent issue is improper head tilt; ensure the head is level both vertically and horizontally.
If the image is rejected, check the metadata for DPI (dots per inch). Most authorities require a minimum of 300 to 600 DPI for high-quality printing. Always keep the original, unedited photo file as a backup. If you find the process of aligning proportions difficult, you can consult an expert guide on image preparation to ensure your final file meets all the technical parameters required for digital submission or print.
FAQ
- Can I wear glasses in my passport photo? Generally, glasses should be removed to avoid glare and reflections. Most countries have moved toward a strict "no glasses" policy to ensure clear visibility of the eyes for biometric scanning.
- What is the standard passport size photo size in inch? The most common international size is 35mm x 45mm, but this varies by country. For example, the United States requires a 2 inch by 2 inch (51mm x 51mm) photo.
- Why does my passport photo keep getting rejected? Common reasons include uneven lighting, shadows on the face or background, incorrect head-to-frame proportions, or an unprofessional expression.
- How do I ensure the background is compliant? Use a solid, plain, light-colored or white background. Ensure the background is free of shadows, textures, and other objects to allow for clean automated processing.