How to Get the Perfect Passport Size Photo: A Step-by-Step Guide
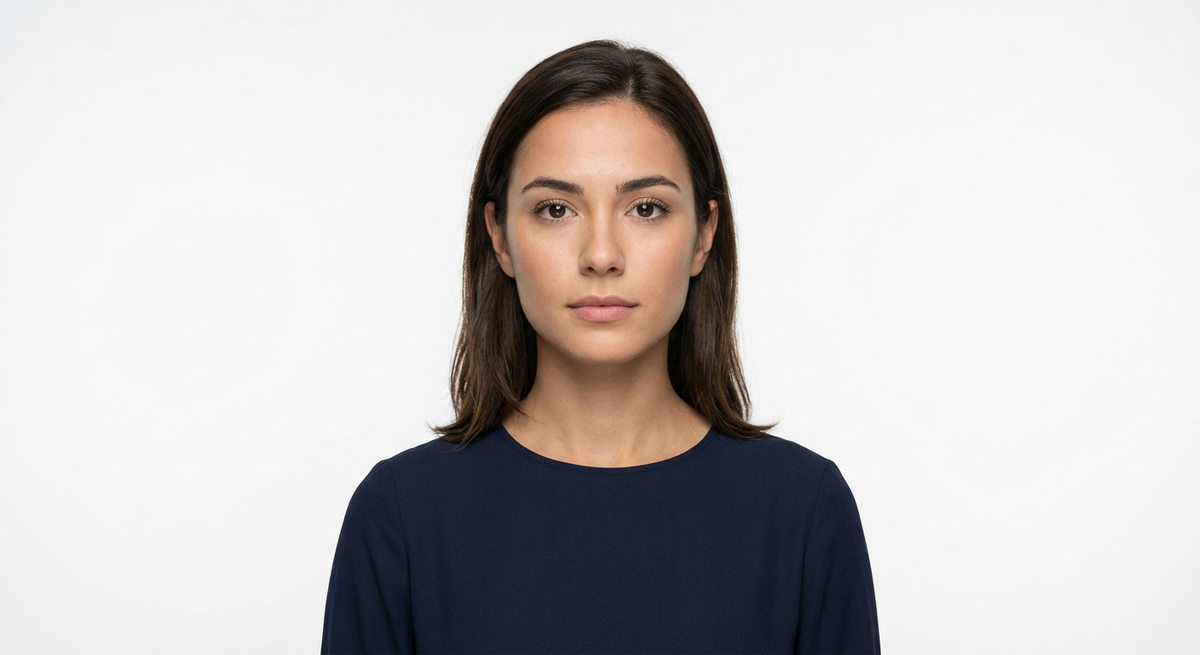
Capturing a compliant passport size photo for yourself or a family member can often feel like an exercise in frustration due to the incredibly strict regulatory requirements imposed by government agencies. Whether you are renewing your own document or require a precise us baby passport photo, understanding the core technical specifications is the primary step in avoiding application rejection. A successful image must balance professional lighting, neutral facial expressions, and exact geometric dimensions to pass automated biometric scanners.
Quick Summary
A passport size photo is a standardized biometric portrait meeting specific government-mandated dimensions and composition rules. To ensure acceptance, applicants must use a high-resolution, clear, and unedited image featuring a neutral expression against a plain white background, adhering strictly to the official passport photo standard size requirements of their issuing country.
- Ensure the image is captured in a high-resolution format with no shadows.
- Maintain a neutral expression with eyes open and visible.
- Verify the specific passport photo size requirements for your country of application.
- Remove all head coverings, glasses, or accessories that obscure facial features.
Table of Contents
- Quick Summary
- Understanding Passport Photo Dimensions
- Setting Up for a Professional Portrait
- Capturing the Perfect Passport Size Photo
- Common Pitfalls and Troubleshooting
- Frequently Asked Questions
- Recommended Reads

Understanding Passport Photo Dimensions
The most common reason for passport application rejection is an incorrect passport dimensions photo. While most countries adhere to standard international sizes, small variations in millimeter or inch requirements can invalidate an entire application. Generally, the subject's head must occupy a specific percentage of the total frame, usually between 50% and 70% of the vertical height of the image.
When preparing your file, you must recognize that passport photo standard size is not merely about the final physical dimensions of the printed output. It involves the digital resolution and the distance between the top of the head and the chin. Always consult the official guide provided by your national passport agency to confirm whether your jurisdiction requires a 2x2 inch square or a 35mm x 45mm rectangle, as these regional differences are non-negotiable.
Setting Up for a Professional Portrait
Before taking your photo, you must create a controlled environment. The most critical element is the background: it must be plain white or off-white, devoid of patterns, textures, or shadows. If you are photographing a child or infant, using a plain white sheet stretched tight against a wall is an effective, low-cost solution to achieve a professional aesthetic without requiring a studio setup.
Lighting is the second pillar of success. Natural light, such as standing facing a window during the day, is superior to harsh overhead artificial lighting. Avoid shadows falling behind the subject or across the face, as these can trigger rejection by automated facial recognition software. If you need assistance with specific formatting requirements for international travel, you can visit our about page to learn how to streamline the documentation process.
Capturing the Perfect Passport Size Photo
Once your background and lighting are set, follow these steps to capture the image:
- Position the subject: Ensure they are facing the camera directly with both ears visible. The head should be centered in the frame.
- Adjust the expression: A neutral expression with a closed mouth is required. Avoid smiling, frowning, or squinting.
- Remove obstructions: Take off glasses, hats, and non-religious headwear. If glasses are medically necessary and cannot be removed, ensure there is absolutely no glare on the lenses.
- Check the distance: Stand approximately 4-5 feet away from the subject. This minimizes lens distortion that often occurs when taking a photo from too close a range.
- Review the digital file: Inspect the image for focus. A blurry photo, even if the composition is correct, will be rejected by passport authorities.
Pro Tip: When photographing infants or small children who cannot sit independently, lay them on a white sheet on the floor. Take the photo from directly above, ensuring they are looking at the camera lens, and confirm there are no shadows on their face caused by your own body or the camera.
Common Pitfalls and Troubleshooting
One frequent issue is the "over-editing" of the photo. Never use filters, adjust skin tones, or remove blemishes using software. Authorities require a realistic representation of the applicant. Any digital enhancement, including background removal tools that leave halo artifacts around the hair, will result in an immediate rejection.
Another common mistake is the passport picture size being technically correct but the image being compressed or low-resolution. Always export your photo at the highest possible quality. If you find your photos are consistently rejected, check your local help resources to see if you have missed specific guidelines regarding file size limits or pixel density requirements.
Frequently Asked Questions
Can I wear glasses in my passport photo? Most countries, including the US, strictly prohibit wearing eyeglasses in passport photos. Unless you have a signed medical note for extreme circumstances, remove your glasses to avoid glare and frame obstruction.
What if my baby moves during the photo? It is common for infants to be restless. Use a high shutter speed or burst mode on your camera to capture multiple images in quick succession, increasing the likelihood of getting one clear, compliant shot.
Does the photo have to be in color? Yes, passport photos must be in full color. Black and white or sepia-toned images are not accepted by most international passport agencies.
Can I take a selfie for my passport? Selfies are generally rejected because the focal length of a front-facing phone camera distorts facial features. It is best to have someone else take the photo from a distance of several feet.