How to Meet Strict Government Passport Photo Requirements at Home
A traveler opens their portal two weeks before an international flight and sees the red flag: "Application rejected: Image does not meet formatting standards." Navigating government passport photo requirements is not about capturing a flattering portrait; it is about satisfying automated facial recognition algorithms. When a submission fails, assuming the camera was just low-quality is rarely accurate. Four different elements usually trigger these automatic rejections - hidden background textures, asymmetrical lighting, digital compression, or incorrect lens focal lengths - and each requires a specific structural adjustment before you try uploading again.
Quick Summary
Government passport photo guidelines dictate specific physical and digital parameters designed to map facial biometrics accurately without manual intervention. Passing the automated and manual review queues requires flat lighting, untextured backgrounds, zero digital alteration, and exact subject-to-lens distances.
- Biometric geometry: Lenses must be placed far enough away to prevent perspective distortion from altering the physical width of the nose and jaw.
- Algorithmic lighting: Illumination must be multi-directional to eliminate shadows under the chin and eyes, which software interprets as false edges.
- Data integrity: Images must be transferred without standard messaging compression, preserving the high edge contrast required for scanning.
- Background uniformity: The backdrop must be entirely smooth and matte to allow cropping algorithms to isolate the subject from the room.
Table of Contents
- 1. Map your equipment to official passport photo requirements
- Why high megapixels cannot fix poor passport photo resolution
- 2. Construct a seamless environmental backdrop
- How an uneven passport photo white background triggers algorithm rejection
- 3. Position multidirectional flat lighting
- The mechanics of hitting facial passport photo criteria
- 4. Align the geometric distance between lens and subject
- How wide-angle smartphone lenses violate passport photo rules
- 5. Execute the final validation and document formatting
- Passing the manual passport photo check and securing certification
- Common Pitfalls & Troubleshooting
- FAQ
- Recommended Reads
1. Map your equipment to official passport photo requirements
When a government portal asks for a specific file size, users often assume their modern smartphone exceeds the standard easily. This is true for pixel count, but completely irrelevant for image formatting and edge contrast. A modern phone shoots between 12 and 48 megapixels, producing dimensions vastly larger than the standard 600 x 600 pixels required by the US, or the 35 x 45 mm physical dimensions demanded by Australia and the UK. The failure mode happens entirely during the transfer and downscaling of these files.
Why high megapixels cannot fix poor passport photo resolution
The mechanics rely on DPI scaling (dots per inch). Government systems scan physical prints at a strict 600 DPI to map iris patterns and facial geometry. When submitting digitally, the file must retain uncompressed, sharp edges. When users email a photo to themselves or send it via a messaging app to print it locally, the application applies heavy JPEG compression to save bandwidth. This creates digital artifacts - blocky, blurred pixels around the jawline, ears, and eyes. The automated screening software sees these compression artifacts as a failure of focus and rejects the file.
To act on this today, check the final file size of your exported image before uploading. A heavily compressed file will sit under 100 KB and will likely fail. A clean, algorithm-ready JPEG should range between 500 KB and 2 MB before any final cropping is applied. Transfer files directly via a wired USB connection or a dedicated cloud drive that does not alter EXIF data or compress the image payload.
2. Construct a seamless environmental backdrop
Governments demand a neutral, plain background because their initial screening is performed by software that extracts the human face from the environment. Any texture, gradient, or pattern on the wall forces the algorithm to guess where the subject ends and the room begins, leading to false cropping lines.
How an uneven passport photo white background triggers algorithm rejection
Achieving the right backdrop is not about finding the brightest wall in your house. In fact, pure stark white often causes lens flare or tricks the camera into underexposing the face, making the subject look unnaturally dark. Jurisdictions like the UK and Australia explicitly prefer a light grey or cream backdrop. The mechanics involve light reflectance. A matte painted wall bounces light evenly back to the sensor, while a glossy door or a wrinkled fabric creates microscopic shadows.
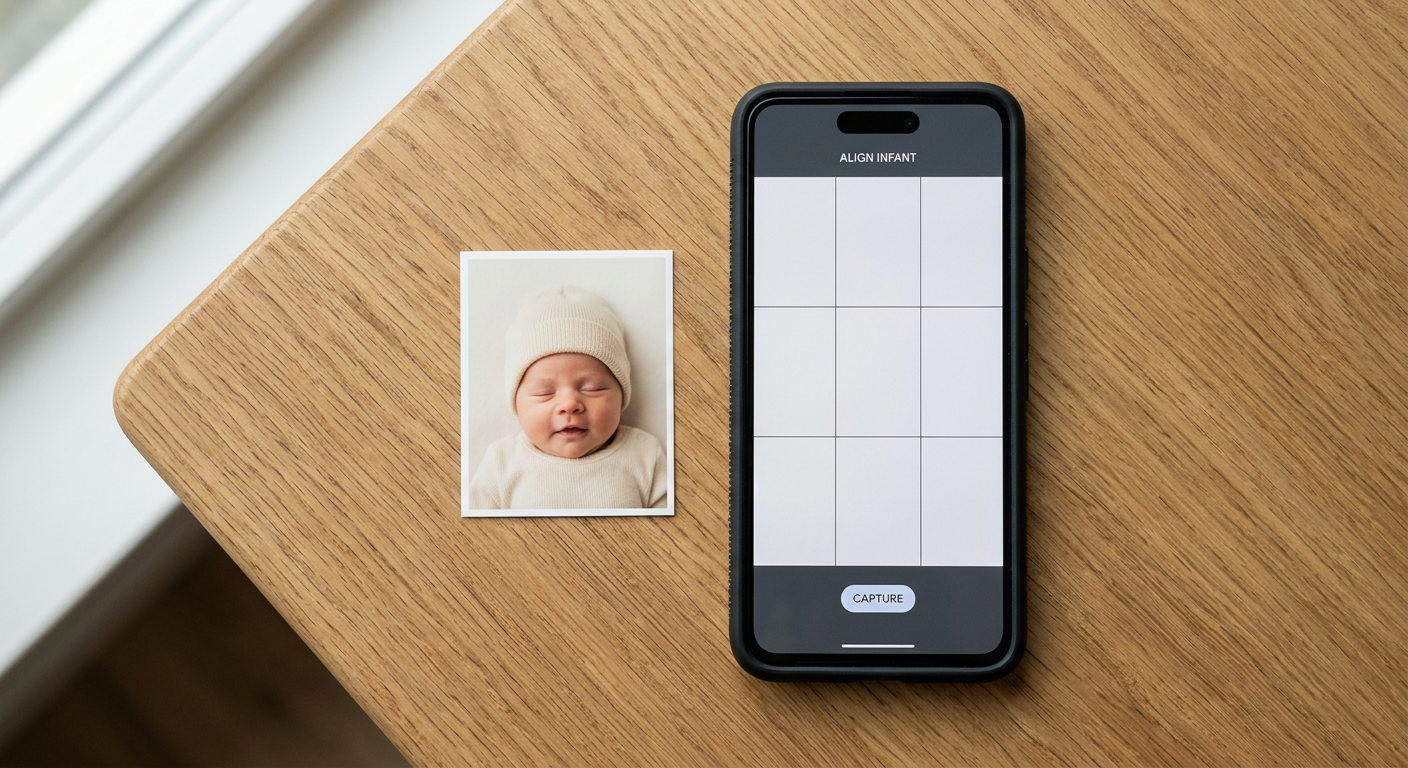
The most frequent mistake parents make when formatting an image - a common hurdle mentioned in the Australian Baby Passport Photo Guide - is lying an infant down on a crumpled bedsheet. The folds in the fabric cast dark, harsh lines that the validation software interprets as secondary objects in the frame, triggering an immediate automatic rejection.
Practical rule: Position the subject at least 40 inches (about 1 meter) away from the wall to force any body shadows to drop below the frame, leaving the background entirely uniform and shadow-free.
3. Position multidirectional flat lighting
Facial recognition software does not process portraits the way a human does; it mathematically measures the distance between high-contrast points, primarily the eyes, the bridge of the nose, and the corners of the mouth. To calculate these distances accurately, the face must be evenly illuminated with zero directional shadow.
The mechanics of hitting facial passport photo criteria
The core requirement of biometric mapping dictates flat, multi-directional lighting. A single strong light source, such as a window sitting directly to the left of the subject, leaves the right side of the face in shadow. The algorithm interprets this heavy contrast as an asymmetrical facial structure. Conversely, firing a direct on-camera flash flattens the shadows but reflects sharply off the retinas (causing red-eye) or oily skin (causing blown-out hot spots).
The mistake here is relying on a single overhead room light. Ceiling lights cast deep, dark shadows under the eyebrows, nose, and chin, effectively hiding the biometric markers the system needs to verify identity.
To fix this today, position the subject facing a large window on an overcast day, which provides massive, diffused, even light. If you must shoot in the evening, bounce a strong lamp off a white wall in front of the subject rather than pointing the bulb directly at them. Ensure both ears and the space directly under the chin are fully visible without dark color gradients.
4. Align the geometric distance between lens and subject
Focal length determines how a three-dimensional human face is mapped onto a flat, two-dimensional plane. Modern smartphone cameras default to wide-angle lenses (usually around a 24mm equivalent). When you place a wide-angle lens physically close to a subject, it distorts facial geometry. The nose appears significantly larger, the ears recede out of view, and the jawline narrows aggressively.
How wide-angle smartphone lenses violate passport photo rules
This perspective distortion violates fundamental geometric mandates. Government systems measure the specific physical distance from the chin to the crown of the head - typically requiring it to sit exactly between 25 mm and 35 mm for standard document sizes. If the lens has stretched the center of the face, the biometric ratios will fail to match the physical passport holder at border control.
The common error is taking the photo at arm's length as a selfie. Even if the final cropping looks correct to the human eye, the internal perspective distortion remains baked into the file.
To align the geometry correctly, the camera must be positioned at least 1.5 meters (5 feet) away from the subject. At this distance, the wide-angle distortion flattens out, representing the face's true proportions accurately. Use the phone's 2x or 3x optical zoom to fill the frame, rather than walking closer. Ensure the lens sits exactly at the subject's eye level; shooting from slightly above or below alters the chin-to-crown measurement entirely.
5. Execute the final validation and document formatting
Before a document is issued, the image undergoes two distinct layers of scrutiny: an algorithmic scan upon upload, and a final manual review by a processing officer. Passing both layers requires understanding what constitutes unauthorized digital alteration and how physical prints interact with scanning hardware.
Passing the manual passport photo check and securing certification
The mechanics of image validation involve checking the metadata (EXIF data) and analyzing edge contrast. When users apply "portrait mode" on their smartphones, the computational software artificially blurs the background. This algorithmic blur often clips fine details like loose hair strands or the sharp edges of clothing, leaving a visible digital halo effect. The validation software instantly flags this as a manipulated image. Any form of retouching - removing blemishes, smoothing skin, or correcting red-eye - is strictly prohibited and technically visible to scanning tools.
When navigating physical paper applications, the paper stock and ink become just as critical. Many jurisdictions require a guarantor to sign the back of the print. If you print on high-gloss paper, the ink from the pen will smudge during transit, instantly voiding the passport photo certification.
The fix is to shoot in standard photo mode with all AI enhancements and HDR settings disabled. Print on matte or semi-matte photo-quality paper. For specific crop measurements, verifying the exact dimensions beforehand is a critical step noted in the US Baby Passport Photo Guide to prevent processing delays.
Common Pitfalls & Troubleshooting
When an application bounces back, the rejection notice is rarely specific enough to tell you exactly what to change. These four distinct failures look identical from the outside but require completely different fixes.
The "Digital Alteration" Rejection (Most frequent cause) - Symptom: The portal rejects the image for "manipulation," despite you not running the file through editing software. - Real cause: Smartphones default to heavy computational photography. Features like automatic HDR, skin smoothing, and fake background blur apply post-processing that government systems flag as tampering. - Fix: Disable "Portrait Mode," turn off HDR, disable all beauty filters, and shoot using the camera's most basic default setting or a third-party manual camera app.
The "Background Interference" Flag - Symptom: The subject's face is sharp, but the system claims the background is invalid or cluttered. - Real cause: The subject is standing flush against the wall, casting a hard, dark drop shadow right behind their neck and shoulders. Algorithms read this shadow as a second object. - Fix: Pull the subject at least 40 inches forward so the shadow falls to the floor out of the frame entirely.
The "Biometric Ratio" Failure - Symptom: The upload portal states the face is too large or too small, even though it fits neatly inside the square preview box. - Real cause: You cropped the image based on the shoulders rather than the chin-to-crown measurement. - Fix: Ignore the torso. Measure strictly from the very bottom of the chin to the top of the skull (excluding the volume of styled hair), ensuring this specific measurement occupies exactly 70% to 80% of the vertical space depending on local requirements.
The "Color Washout" Rejection - Symptom: The subject's skin tone looks unusually pale, or the image lacks overall contrast. - Real cause: The camera's auto-exposure overcompensated for a bright white background, dropping the exposure on the face to balance the light. - Fix: Tap and lock focus on the subject's nose on the smartphone screen before taking the picture. This forces the camera sensor to meter for the skin tone rather than the brightly lit wall.
FAQ
Can I smile in a passport photo? No. Most international aviation organizations mandate a neutral expression with a closed mouth. Smiling alters facial biometric mapping by pushing the cheeks up, narrowing the eyes, and changing the physical distance between the nose and the corners of the mouth.
Are prescription glasses permitted? In most current frameworks, no. The US, UK, and Australia prohibit glasses entirely to prevent thick frame shadows and lens glare from obscuring the pupils. If you must wear them for emergency medical reasons, a signed doctor's certificate is generally required.
How recent must the image be? The strict industry standard is six months. However, if your physical appearance has changed significantly - due to facial trauma, massive weight loss, or transitioning - you must supply a new image regardless of the six-month window.
What clothing is strictly prohibited? Uniforms of any kind, camouflage patterns, and clothing that perfectly matches the background color are forbidden. Wear everyday clothing with a high contrast to the background to clearly define where your shoulders end and the backdrop begins.