How to Successfully Take Passport Photos at Home in 2026
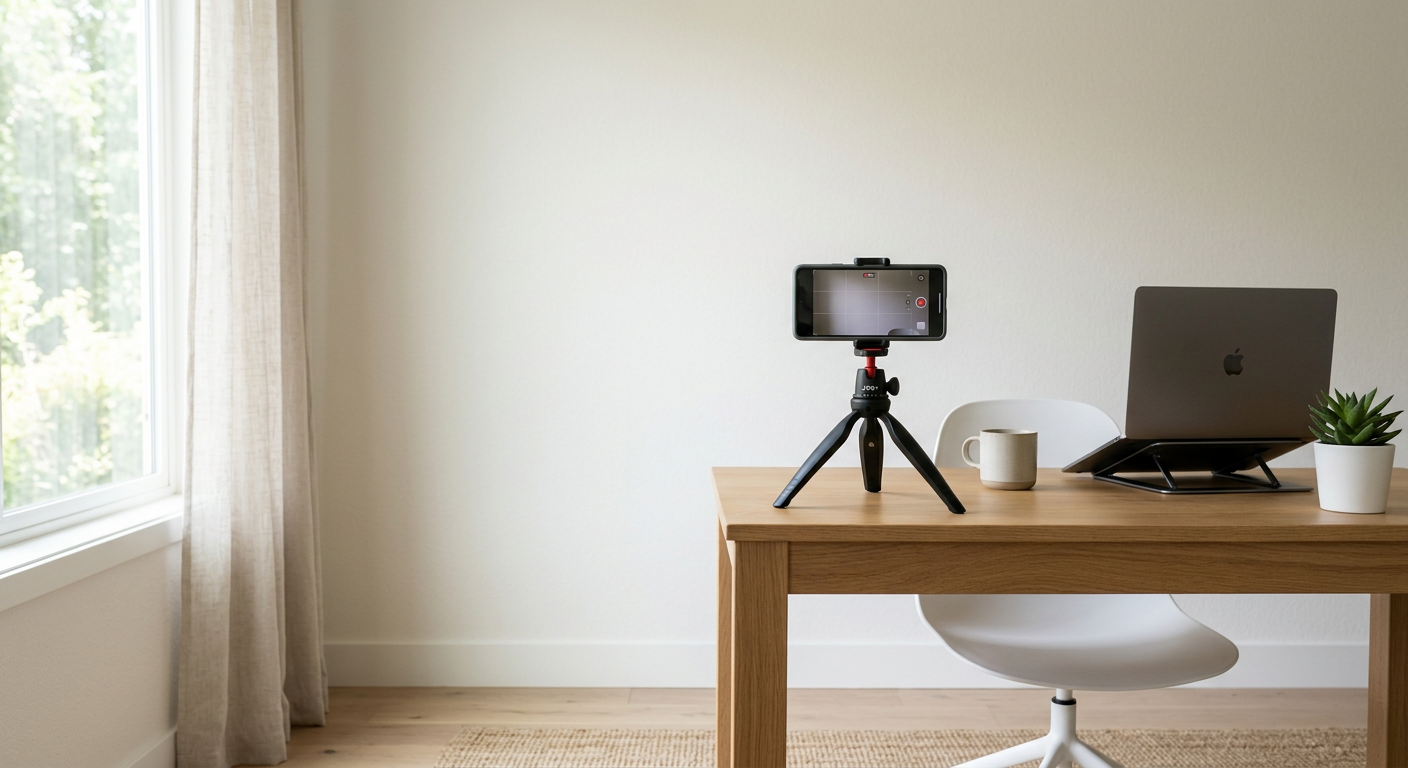
Capturing professional-grade identification images requires more than just a high-quality camera; it demands strict adherence to international biometric standards. Learning how to take passport photos at home allows families to bypass the scheduling constraints of professional studios while ensuring full compliance with government requirements for size, lighting, and facial positioning.

Quick Summary
Taking passport photos at home involves using a high-resolution camera, consistent neutral lighting, and a plain, light-colored background to meet official requirements. By utilizing a digital passport photo template and adhering to precise head-sizing guidelines, you can create valid, government-compliant imagery without the need for a professional photographer.
- Ensure even, shadow-free lighting to avoid image rejection.
- Use a plain, off-white or white background with no texture.
- Verify head-to-crown measurements against specific country standards.
- Maintain a neutral expression with both eyes fully visible.
Table of Contents
- Setting Up Your Home Photo Studio
- Essential Equipment and Software
- Step-by-Step Execution Guide
- Common Pitfalls and Troubleshooting
- FAQ
- Recommended Reads
Setting Up Your Home Photo Studio
The foundation of a compliant image is the environment. Authorities prioritize uniform illumination and clear, unobstructed views of the applicant's facial features. A cluttered background or shadows across the face are the primary reasons for rejected applications. Select a location in your home that provides consistent, indirect natural light, such as an area facing a window, but avoid direct sunlight which creates harsh, uneven contrast.
For the backdrop, a plain white or off-white wall is ideal. If a suitable wall is unavailable, hang a smooth, non-reflective white sheet, ensuring it is pulled taut to eliminate wrinkles or folds. Ensure the subject is positioned about 0.5 to 1 meter away from the background to prevent shadows from appearing behind the head, a common issue when learning how to take the best passport photo using a simple home setup.
Essential Equipment and Software
While high-end DSLRs are not strictly required, your equipment must be capable of high-resolution output. Modern smartphones are sufficient, provided the camera lens is clean and the settings are configured for maximum quality. Always use the rear-facing camera, as it typically offers higher sensor quality than the selfie lens, ensuring the necessary passport photo resolution required for crisp print quality.
Once the image is captured, you will need a reliable passport photo template or editing tool. These tools are critical for performing automated background removal and scaling the head to the specific dimensions required by the passport office. When you make passport photo files, the software should allow you to align the eyes within the mandated horizontal band, which is a common requirement across most international jurisdictions.
Step-by-Step Execution Guide
- Prepare the Subject: Ensure the face is free of hair, hats, or head coverings (unless for religious or medical reasons, which must still show the full face). Remove glasses if they cause reflections or glare.
- Position the Subject: The subject should stand or sit facing the camera directly, with shoulders square and the head neither tilted nor rotated. The gaze must be directed toward the lens with a neutral expression.
- Lighting Check: Verify that light falls evenly on both sides of the face. If one side is darker, move the subject slightly closer to the light source or use a white reflector to bounce light into the shadow.
- Capture Multiple Shots: Take several images to account for subtle movements. It is easier to pick the best shot than to attempt a re-shoot after a rejection.
- Use a passport template photo tool: Import your best image into a specialized cropping tool to ensure the final file meets the precise width-to-height ratio required for your specific country's passport application.
- Verification: Double-check the image against the official government checklist. Ensure there is no digital distortion or over-editing, as excessive airbrushing is prohibited.
Pro Tip: When photographing infants, lay a white sheet on the floor and photograph them from directly above. This ensures the background remains compliant while keeping the child safe and calm during the process.
Common Pitfalls and Troubleshooting
One of the most frequent errors is inconsistent lighting, which manifests as "hot spots" on the forehead or dark shadows under the chin. If you notice these issues, try moving the subject further from the light source or diffusing the light by hanging a thin white sheet over the window. Another common issue is improper head sizing. Most countries require the head (from the chin to the top of the crown) to occupy between 70% and 80% of the image height. Always use a grid-based template to verify these proportions before finalizing the file.
Digital artifacts or blurriness can also lead to rejection. Avoid using any digital filters or beauty enhancements, as these can obscure the biometrics of the face. If you are struggling with passport photos at home due to camera shake, use a tripod or prop your phone against a stable object to keep it perfectly level at eye level with the subject.
FAQ
- Can I wear glasses in my passport photo? Most countries strictly prohibit glasses in passport photos due to the risk of glare and frame obstruction. It is safer to remove them to ensure your application is not delayed.
- What is the best resolution for a passport photo? While requirements vary by country, 600 dpi (dots per inch) is generally considered the gold standard for high-quality, government-compliant prints.
- Do I need a professional camera? No, a modern smartphone with a high-quality rear-facing camera is sufficient if you have adequate lighting and a proper passport photo template for formatting.
- How do I fix a shadow in the background? Move the subject further away from the background wall. Increasing the distance creates a cleaner look and allows the lighting to wrap around the subject more naturally.