Reducing Glare on Baby Passport Photos Tips
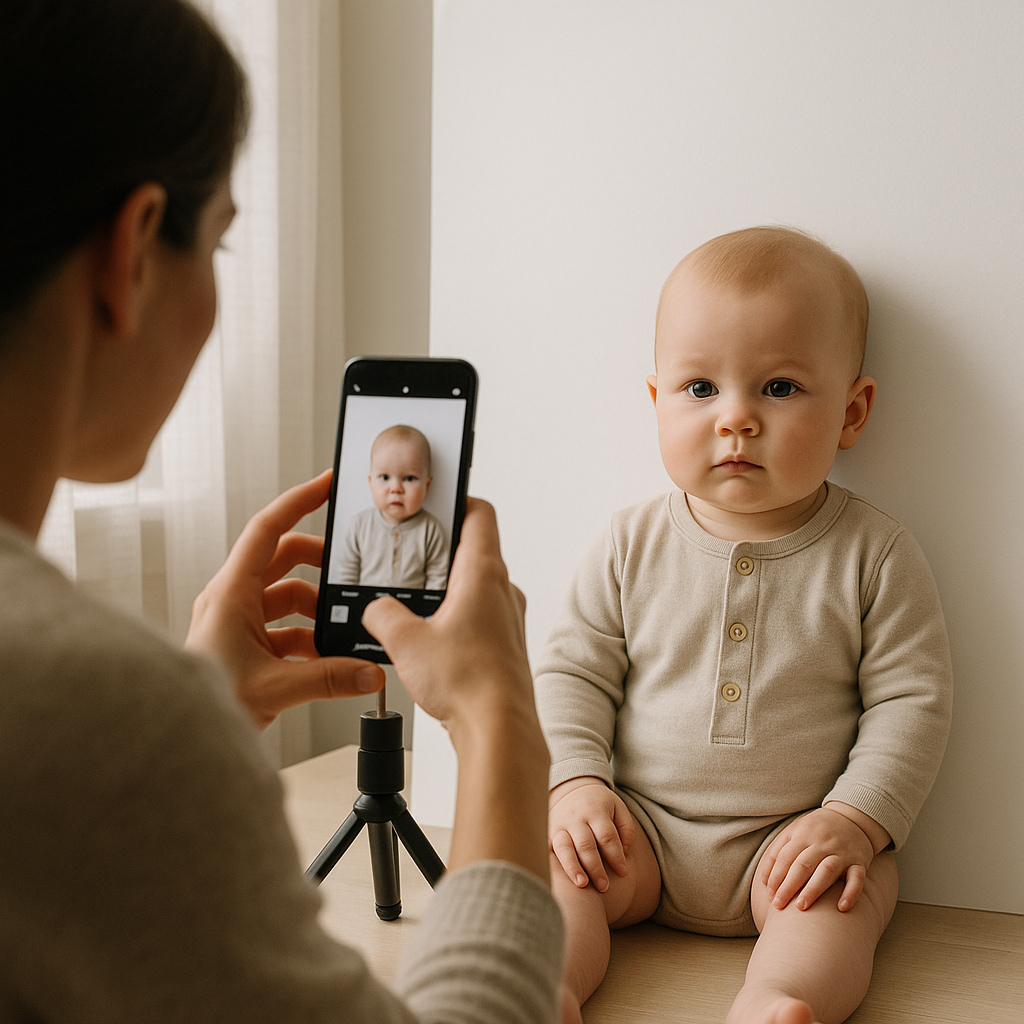
Anyone who has ever tried to take a passport photo of a baby knows the struggle is real. The lighting looks fine. The background seems perfect. The baby - well, the baby is doing baby things. And then, just when everything appears right, there it is. That annoying shine. A bright patch on the forehead. A reflection in the eyes. A glare that turns an otherwise perfect passport photo into a rejected application. Reducing glare on baby passport photos isn’t complicated, but it does require intention. Light behaves like a stubborn toddler - it goes exactly where it wants unless you guide it carefully. Let’s break this down in a way that actually helps.
Why Glare Ruins Baby Passport Photos
Glare isn’t just a cosmetic issue. Passport agencies are strict. Even small reflections can lead to rejection. That means delays. That means stress. And no parent needs more of that. Glare typically shows up as:
- Bright white spots on the forehead or cheeks
- Shiny reflections on oily skin
- Light bouncing off glasses - if applicable
- Washed-out facial features
In official baby passport photo requirements, facial features must be clearly visible. No shadows. No hot spots. No reflections that obscure the eyes. Sounds simple, right? But babies have soft skin, unpredictable movements, and zero patience for photography theory.
The Real Cause of Glare
Here’s the hot take - glare is almost always a lighting problem, not a camera problem. Harsh, direct light creates shine. Think of it like sunlight hitting a car windshield. If the light source points straight at the face, it bounces straight back into the lens. The biggest culprits:
- Direct flash
- Overhead lighting
- Strong lamps placed too close
- Glossy backgrounds
Fix the light, and most of the glare disappears.
Best Lighting Setup for Baby Passport Photos
Natural light is the gold standard. Not harsh sunlight. Not dramatic beams. Soft, even daylight.
1. Use Indirect Window Light
Position the baby near a window, but not in direct sun. The light should come from the side or slightly in front, diffused by sheer curtains if possible. Soft daylight wraps around the face like a gentle blanket. It reduces harsh highlights and keeps skin tones natural. Pro tip - avoid midday sunlight. Early morning or late afternoon light is much softer.
2. Turn Off the Flash
Flash is glare’s best friend. Even high-end cameras produce reflection when flash hits delicate baby skin. Instead, increase room brightness or adjust exposure manually. If extra light is needed, use two lamps positioned at 45-degree angles from the baby’s face. This spreads light evenly and prevents shine from bouncing directly into the lens.
3. Avoid Overhead Lighting
Ceiling lights create hotspots on the forehead and nose. Those are prime glare zones. If possible, switch off overhead fixtures and rely on eye-level lighting instead.
Camera Settings That Help Reduce Glare
Even with perfect lighting, poor camera settings can exaggerate shine. A few adjustments make a noticeable difference:
- Lower ISO if there is enough natural light
- Avoid overexposure - slightly underexposed photos can be corrected later
- Disable beauty filters or automatic smoothing
- Clean the camera lens before shooting
That last one sounds obvious. Yet it’s often forgotten. A smudged lens amplifies reflections and softens details.
Preparing Baby’s Skin to Minimize Shine
Baby skin is naturally smooth and sometimes slightly oily. Under bright light, that becomes reflective. A simple prep routine can help:
- Gently blot the face with a soft cloth before taking the photo
- Avoid applying lotions right beforehand
- Use a matte cloth background
No powder. No makeup. Passport rules are strict about altering appearance. Keep it natural. Just reduce excess moisture. That’s enough.
Background Matters More Than You Think
Glossy walls reflect light. Textured or satin finishes bounce brightness in unpredictable ways. For baby passport photos, the background should be plain white or off-white and completely matte. Poster board works well. A flat wall with no sheen works better. The goal is consistency. Light should hit the baby - not bounce around the room like a pinball.
What About Editing Glare?
Here’s where things get tricky. Minor brightness adjustments? Acceptable. Heavy retouching? Risky. Passport agencies may reject photos that look digitally altered. Removing a small highlight might be fine. Erasing reflections around the eyes can raise red flags. If editing is necessary, keep it subtle. Adjust exposure and contrast rather than manually painting over shine. Honestly, prevention beats correction every time.
When to Use a Professional Online Service
Let’s be real. Taking a compliant baby passport photo at home can feel like solving a puzzle while someone cries in the background. This is where services like BabyPassportMaker.com step in. They adjust lighting, ensure proper sizing, and check compliance before you submit. That reduces rejection risk significantly. Parents upload a photo, and the service fine-tunes it according to official requirements. It’s not about shortcuts. It’s about confidence.
Common Mistakes That Cause Glare
Parents often make the same avoidable errors. Here are the big ones:
- Standing too close with a phone flash on
- Using bright bathroom lighting
- Placing baby directly under ceiling lights
- Choosing shiny white backdrops
- Applying lotion minutes before the photo
Each mistake alone might seem minor. Together, they create a reflective mess.
Quick Checklist Before Taking the Shot
Before clicking the shutter, pause. Run through this quick mental list:
- Is the light soft and indirect?
- Is flash disabled?
- Is the background matte white?
- Is baby’s face dry and clean?
- Are there any bright spots visible to the eye?
If everything checks out, take multiple shots. Babies move. Expressions change. More options mean a better final selection.
Patience Changes Everything
Here’s something many people overlook - rushing creates technical mistakes. When parents hurry, they forget lighting angles. They ignore reflections. They accept “good enough.” But passport photos aren’t casual snapshots. They are official identification images that must pass strict guidelines. Slow down. Adjust. Observe. Light is predictable once you understand it. If shine appears on the forehead, shift the light slightly higher or further away. If the cheeks look reflective, diffuse the source with a thin curtain. Small tweaks. Big difference.
Final Thoughts on Reducing Glare
Reducing glare on baby passport photos comes down to three fundamentals:
- Control the light
- Prepare the skin
- Choose the right background
Everything else is refinement. Glare isn’t mysterious. It’s physics. Light hits a surface and reflects. Change the angle or soften the source, and the problem fades. Parents don’t need professional studio equipment. They need awareness. A window. A matte wall. A little patience. And if the process starts to feel overwhelming, services like BabyPassportMaker.com exist for a reason - to simplify compliance and reduce the guesswork. At the end of the day, a baby passport photo should look clean, natural, and evenly lit. No shine. No harsh reflections. Just a clear, compliant image ready for approval. Simple adjustments. Thoughtful setup. Calm execution. That’s how glare loses every time.