Where to Get Digital Passport Photos: A Complete Guide to Australian Submission Methods
Many applicants assume that getting a digital passport photo is as simple as cropping a high-resolution selfie or using a standard smartphone portrait filter. This assumption is a frequent cause of passport application rejections in Australia. The reality is that official document imaging is governed by strict biometric standards set by the Australian Passport Office, covering everything from face-to-frame ratios to shadow angles and specular highlights. When figuring out where to get digital passport photos that actually pass compliance checks, you must navigate a highly regulated process.
Quick Summary
Finding where to get digital passport photos in Australia involves choosing between in-store capturing at Australia Post or utilizing a compliant self-take approach at home following official guidelines. While retail options provide immediate automated pre-screening, home photography offers unmatched flexibility and comfort, particularly when photographing challenging subjects like infants.
- Australia Post provides a reliable, software-checked physical and digital photo bundle in-store for a flat fee.
- Self-Take (DIY) offers infinite retakes at home, but places the technical burden of lighting and alignment entirely on you.
- Biometric standards require a neutral expression, no glasses, a plain light-grey or cream background, and strict face-to-frame ratios.
- Focal length matters when shooting at home; use at least 50mm or zoom from 1.5 meters to prevent wide-angle facial distortion.
Table of Contents
- Where to Get Digital Passport Photos: The Core Evaluation Criteria
- 1. Australia Post In-Store Digital Passport Photo Service
- In-store verification trades absolute convenience for compliance peace of mind
- 2. Self-Take Digital Submission via Australian Passport Office Guidelines
- Direct adherence to official standards offers maximum flexibility but carries submission risk
- Buying Guide: Crucial Technical Checks for Your Digital Image
- Dimensional geometry and the 32-to-36 millimeter face rule
- Illumination without shadow is the hardest technical benchmark
- Resolution, file size, and compression parameters
- How to Match Your Personal Circumstances to the Right Service
- FAQ
- Recommended Reads
Where to Get Digital Passport Photos: The Core Evaluation Criteria
To make an informed decision on how and where to acquire your digital passport image, you must understand the criteria that actually separate these options. Rather than relying on simple feature counts, we evaluate submission methods against five critical pillars: verification accuracy, physical and digital versatility, convenience, pricing transparency, and success rates under challenging conditions (such as photographing children or infants).
| Submission Method | Digital Delivery Format | Technical Verification | Pros | Cons | Ideal Audience |
|---|---|---|---|---|---|
| Australia Post In-Store | Email link or USB storage | Pre-screened with in-store compliance software | - Instant software validation - Physical and digital copies available - No manual editing required |
- Variable operator skill levels - High ambient noise in-store makes baby photography difficult - Higher retail price point |
Applicants seeking immediate face-to-face service and digital-physical bundles |
| Self-Take (APO Guidelines) | Direct upload JPEG file | Manual alignment against official biometric criteria | - Zero cost for shooting at home - Infinite retakes in a comfortable setting - Control over lighting and expression |
- High risk of manual cropping or aspect ratio errors - No real-time compliance feedback - Rejection stalls applications by weeks |
Tech-savvy applicants, parents of infants, or those with professional photography gear |
Regardless of which path you choose, the Australian Passport Office enforces non-negotiable biometric parameters. If you are asking yourself, "how can i get a digital passport photo without risking rejection?", the safest approach is to understand the exact geometry required before capturing the image. Let us look closely at the two primary options available for Australian applicants.
1. Australia Post In-Store Digital Passport Photo Service
This is a professional physical retail service designed for applicants who prefer face-to-face verification and immediate compliance confirmation. If you are exploring where can i get a digital passport photo, this option provides a standardized, physical-to-digital pathway across an expansive retail network.
In-store verification trades absolute convenience for compliance peace of mind
- Pros:
- Real-time biometric pre-screening: Uses integrated software to check facial centering, background contrast, and expression compliance before printing or emailing.
- Dual physical and digital delivery: Provides high-quality physical prints alongside a digital file, fulfilling requirements for both online uploads and mail-in applications.
- Operator accountability: If a photo is rejected by the passport office, participating retail branches typically offer a free replacement shoot.
- Cons:
- High-stress environment for infants: Loud post office queues and bright retail lighting make keeping a baby calm and still incredibly difficult.
- Inconsistent operator technical training: Software auto-checks compliance, but manual camera positioning and lighting adjustments are still subject to human error.
- Restrictive trading hours: Requires traveling to a physical branch during standard corporate business hours, which often results in long queue times.
An australia post digital passport photo is captured in-store by an operator using a dedicated point-and-shoot camera mounted on a fixed stand. The operator positions you against a physical, matte neutral screen. Once the photo is taken, the operator runs it through proprietary verification software. This software analyzes the image against official biometric parameters, focusing on pupillary distance, horizontal eye alignment, and head-to-frame ratios. If the system flags a compliance issue, the operator must retake the photo. Once approved, the system generates a digital copy that can be delivered to your email or saved onto a customer-supplied USB drive.
However, this service has its limitations. The automated software can only analyze the image data present; it cannot fix physical lighting deficiencies inside the branch. If the post office branch has strong overhead fluorescent tubes, you may end up with high-contrast shadows under the chin or nose, which can still cause manual rejection at the Australian Passport Office later. Furthermore, photographing children under this setup is notoriously difficult. This challenge is amplified when attempting to photograph infants, as keeping a newborn still and focused on a camera lens in a public retail environment is highly stressful; checking a specialized Australian baby passport photo guide can provide practical tactics to navigate this at home.
2. Self-Take Digital Submission via Australian Passport Office Guidelines
This method involves taking your own photo at home using a digital camera or high-quality smartphone, strictly adhering to the technical specifications published by the Australian Passport Office. If you want to know "where do i get a digital passport photo when I cannot leave the house?", this is the primary alternative.
Direct adherence to official standards offers maximum flexibility but carries submission risk
- Pros:
- Zero stress environment: Take as many photos as needed in a quiet, familiar setting, which is especially beneficial for newborns and toddlers.
- Complete aesthetic control: You can capture multiple attempts to get a flattering photo that still adheres to the strict natural expression rule.
- No retail costs: Avoids retail service fees by utilizing your own household camera gear and lighting setups.
- Cons:
- No automated compliance safety net: There is no retail software checking your lighting, crop ratios, or eye alignment before you submit.
- Complex technical requirements: Requires you to manually solve issues like shadow casting, white balance distortion, and precise dimensional cropping.
- Delayed failure loop: If you make a mistake, you only find out when the Australian Passport Office rejects the application, adding weeks of delay.
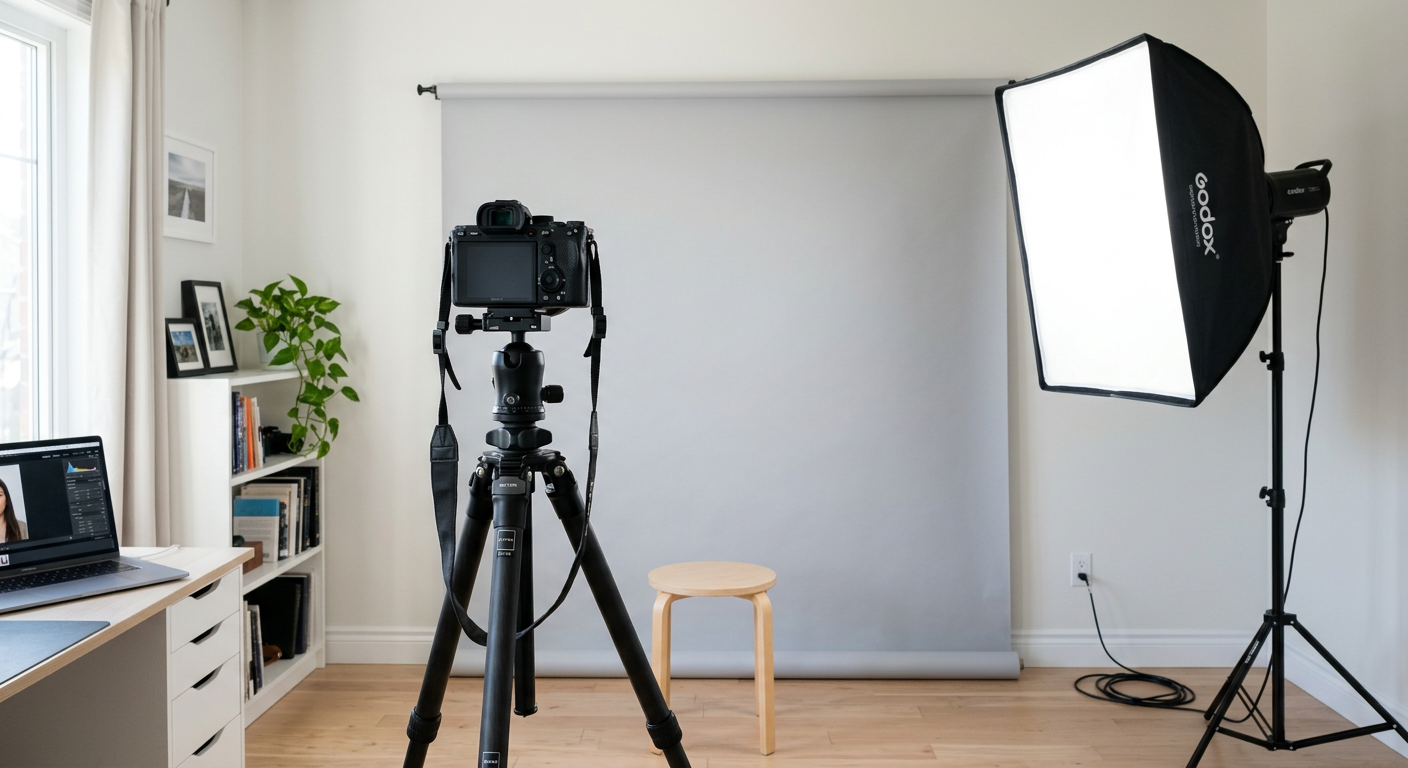
To execute this method, you must position yourself between 1.2 and 1.5 meters from a completely plain, untextured, light-grey or cream wall. The camera should be positioned at your exact eye level, roughly 1.5 to 2 meters away from you. This distance is vital to avoid perspective distortion. You must arrange light sources - preferably dual, diffused natural light from a window or softboxes - to evenly illuminate both sides of your face and eliminate background shadows. After shooting, the image must be manually cropped to the exact 35-to-45 millimeter proportion, ensuring your face occupies between 32 and 36 millimeters of the vertical height of the image.
Alternatively, parents who prefer the comfort of home can use a dedicated AI-powered baby passport photo maker to automatically handle background removal and precise scaling. The honest limit of the pure DIY approach is that the burden of quality control falls entirely on your shoulders. Minor errors, such as a slight head tilt, red-eye caused by camera flash, or a shadow cast behind the ears, will trigger a rejection. Because the official review is performed manually during passport processing, any mistake means you must start the application process over again, making this method risky for those with tight travel deadlines.
Buying Guide: Crucial Technical Checks for Your Digital Image
To ensure your digital photo passes government scrutiny, you must understand the deep technical parameters that automated scanning systems look for. Many rejections do not happen because of a bad camera, but because of a failure to understand lighting physics and geometry.
Dimensional geometry and the 32-to-36 millimeter face rule
The overall dimensions of an Australian passport photo must be exactly 35mm to 40mm wide by 45mm to 55mm high. However, the most critical measurement is the chin-to-crown ratio. The distance from the tip of your chin to the top of your skull (including hair) must sit strictly between 32mm and 36mm.
If you use a wide-angle smartphone camera lens (typically 24mm to 28mm equivalent) from a close distance, it introduces barrel distortion. This makes your nose appear larger and pushes your ears back, altering your biometric face shape. To prevent this, always shoot with a lens focal length of at least 50mm, or stand further back and use optical zoom to frame the shot.
Illumination without shadow is the hardest technical benchmark
The Australian Passport Office requires flat, even lighting. High-contrast shadows on the face, around the eye sockets, or on the background behind the head are primary reasons for application rejections.
To achieve this without professional studio gear: - Do not use a direct, on-camera flash, which causes harsh shadows and specular highlights (shiny spots on the skin). - Avoid overhead domestic ceiling lights, which cast downward shadows under the nose and chin. - Position yourself facing a large window that receives indirect daylight, and place a white foam board on the opposite side of your face to act as a reflector, filling in any subtle shadows.
Resolution, file size, and compression parameters
If you are uploading your photo digitally for an online application, the image must be high resolution, clear, and unblurred. The file format must be a standard JPEG.
Never apply digital filters, beauty smoothers, or compression tools to shrink the file size excessively. Doing so introduces compression artifacts - visible blocks of pixelation around the eyes and nose - which disrupt biometric facial mapping software. Keep your image sharp, with the camera's focus locked directly on your pupils.
How to Match Your Personal Circumstances to the Right Service
Deciding which service path to take depends on your technical confidence, schedule, and the specific family members applying.
If your bottleneck is time and convenience, and you are applying for a standard adult renewal, the in-store Australia Post digital service is the most logical path. It provides a quick, face-to-face option where compliance is verified on-the-spot by automated software. You walk out with a digital file link and physical prints, removing all technical guesswork from your plate.
If your bottleneck is photographing an infant or toddler, physical retail locations are highly inefficient and stressful. Trying to force a baby to look at a camera, keep their mouth closed, and hold their head straight in a busy, noisy post office is nearly impossible. For child applications, capturing the photo at home is vastly superior. It allows you to wait for the optimal time of day when your baby is alert, calm, and well-fed, and gives you unlimited attempts to capture a compliant image.
If your bottleneck is budget and technical capability, and you already own a DSLR or a modern smartphone with a tripod, the DIY approach based on official guidelines is highly viable. If you understand how to control lighting, eliminate background shadows, and perform precise crops, you can completely avoid retail photography fees.
FAQ
Can I wear makeup in my digital passport photo?
Yes, but it must reflect your daily, natural appearance. Avoid heavy contouring, excessive face powder that creates a chalky look under bright flashes, or glossy lipsticks that cause specular reflections. The objective is to present an accurate, unfiltered representation of your skin tone and facial structure.
Are glasses allowed in Australian passport photos?
No, glasses are not permitted in Australian passport photos unless you have a certified medical exemption. If you must wear glasses for medical reasons, you must submit a signed statement from a registered medical practitioner, and the lenses must have absolutely no glare, reflections, or frames obscuring your eyes.
What color background should I use if I take the photo at home?
Your background must be a completely plain, flat, and uniform light-grey or cream color. Do not use a bright white background, as it causes high contrast and can lead to overexposure around the hair and shoulders, making biometric edge detection difficult.
Can I edit out blemishes or background marks digitally?
No. You must not digitally alter the photo in any way. Removing scars, moles, birthmarks, or even temporary blemishes using photo editing software violates biometric document standards and will result in the immediate rejection of your application. The background must also be physically clean rather than digitally erased.