At Home Baby Passport Photo Studio Kit
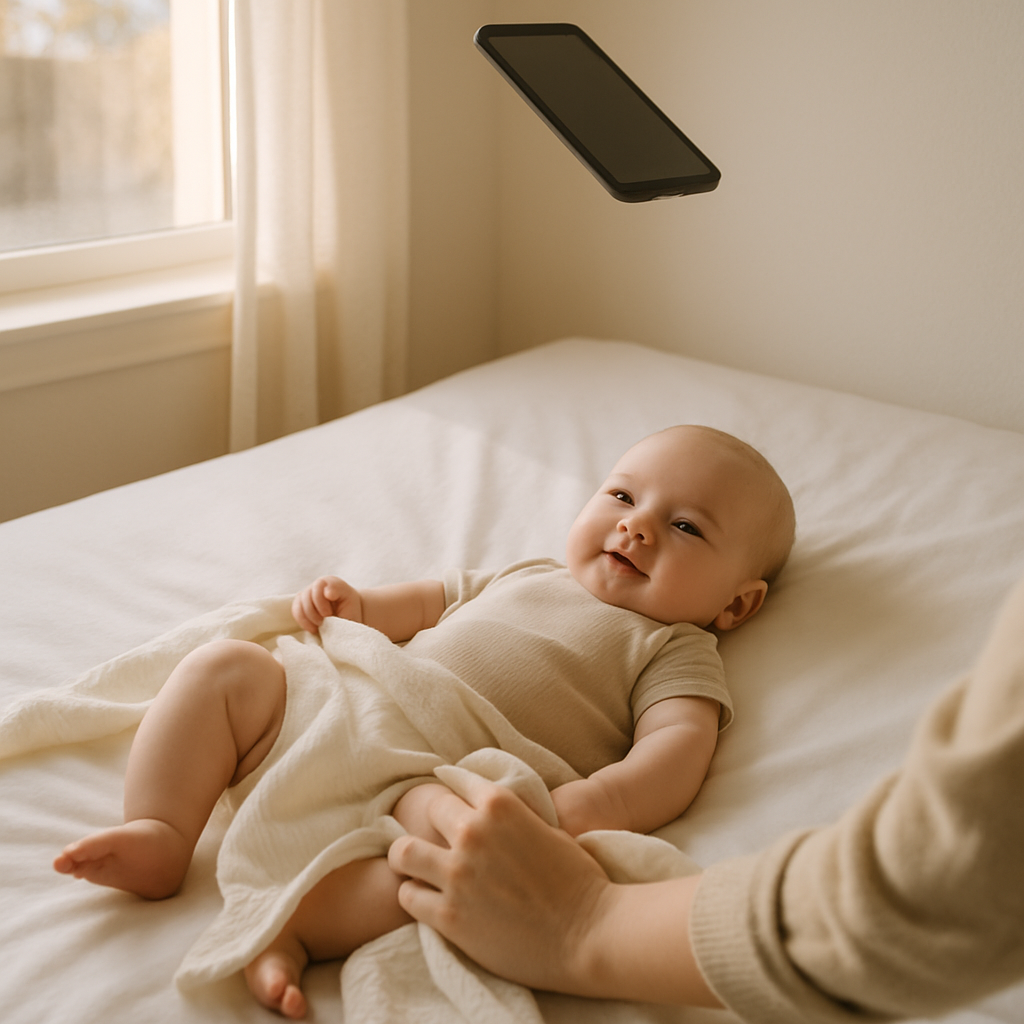
There’s something oddly stressful about getting a passport photo for a baby. The idea sounds simple - snap a picture, submit it, done. But anyone who has tried knows the truth. Babies don’t sit still. They don’t follow instructions. And they definitely don’t care about government photo requirements. So what’s the solution? An at home baby passport photo studio kit. If you ask most parents, they’ll say the same thing: convenience wins. And honestly, they’re right.
Why Parents Are Choosing At Home Baby Passport Photo Kits
Dragging an infant to a photo studio can feel like preparing for a minor expedition. Diaper bag. Extra clothes. Pacifier. Emergency snack. Backup emergency snack. Then you get there and - surprise - your baby decides this is the exact moment to melt down. An at home baby passport photo setup flips that script completely. Here’s why it’s becoming the go-to option:
- Comfort: Babies stay in a familiar environment.
- Flexibility: Take photos during the one 12-minute window they’re calm.
- Cost savings: No studio fees stacking up.
- Retakes: Unlimited attempts without awkward waiting.
Sounds simple, right? It is. But only if you know what you’re doing.
What Is an At Home Baby Passport Photo Studio Kit?
Let’s clear something up. This isn’t some complicated photography contraption with studio lights and intimidating gear. At its core, a baby passport photo studio kit at home includes:
- A clean white or off-white background
- Proper lighting - natural light works beautifully
- A smartphone or camera with decent resolution
- Editing tools that format to official passport requirements
That’s it. The magic isn’t in fancy equipment. It’s in understanding the rules. And this is where many parents trip up.
Baby Passport Photo Requirements - The Non-Negotiables
Government photo standards are strict. Not “kind of strict.” Strict. The baby must:
- Face the camera directly
- Have a neutral expression
- Keep eyes open
- Have no shadows on the face
- Appear against a plain white background
No hands holding them up in the frame. No toys. No pacifiers. No patterned blankets. Think of it like a tiny professional headshot. For someone who can’t sit upright yet. Challenging? Yes. Impossible? Not even close.
How to Create the Perfect Setup at Home
The difference between frustration and success usually comes down to preparation.
Step 1 - Choose the Right Background
A plain white sheet works wonders. Iron it if needed - wrinkles create shadows. Tape it to a wall or lay it flat on the floor if your baby can lie down safely. Pro tip: Use a firm mattress or play mat underneath for comfort.
Step 2 - Use Natural Light
Lighting can make or break your photo. Set up near a window during daytime. Avoid direct harsh sunlight. You want soft, even light - like the gentle glow on a cloudy morning. Overhead lights? Usually too harsh. Flash? Avoid it if possible.
Step 3 - Positioning Matters
Lay the baby flat on their back if they can’t sit unsupported. Make sure their head isn’t tilted too far. If someone needs to steady them, ensure hands are completely out of frame. Yes, this may require a few attempts. Or twenty.
The Secret Weapon - Digital Formatting Services
Here’s the part most parents don’t realize: taking the photo is only half the job. Formatting it correctly is the other half. Crop size, head position, spacing above the head - tiny details matter. A millimeter off can lead to rejection. That’s why many families turn to services like BabyPassportMaker.com. Instead of guessing dimensions or stressing over technical guidelines, parents upload their best photo and let professionals adjust it to meet official standards. It’s like having a photo compliance expert in your pocket. And honestly? That peace of mind is worth it.
Common Mistakes That Get Baby Passport Photos Rejected
Even well-meaning parents slip up. Here are frequent issues:
- Shadows behind the head
- Slight head tilt
- Visible hands or arms in frame
- Open mouth or big smile
- Incorrect crop size
The rejection letter feels like getting homework returned with red ink all over it. Frustrating. Time-consuming. Avoidable. A careful at home setup combined with proper formatting dramatically reduces that risk.
Is It Really Better Than a Professional Studio?
Here’s a hot take: for babies, yes. Often it is. Professional studios work wonderfully for adults who can follow directions. Babies? They operate on their own schedule. At home, parents control timing. They wait for calm moments. They pause when needed. There’s no ticking clock. No impatient line behind them. It’s photography on baby time.
Cost Comparison - Studio vs. DIY Kit
Let’s break it down. Studio visits can range anywhere from $15 to $40 per session. Add travel, possible retakes, and printing costs, and the total climbs quickly. An at home baby passport photo studio kit uses items most families already own. Sheet - already in the closet. Smartphone - in your hand. Natural light - free. Then, a small formatting fee through a service like BabyPassportMaker.com ensures compliance. The math speaks for itself.
Tips for Getting That One Perfect Shot
Because there’s always that one moment. The golden 5 seconds when everything aligns. Here’s how to catch it:
- Feed the baby beforehand
- Change diapers first
- Keep the room comfortably warm
- Use a gentle sound to grab attention
- Take multiple photos quickly
Think of it like fishing. You don’t catch the fish by casting once. Patience wins.
Why This Approach Just Makes Sense
Modern parenting is already a juggling act. Adding unnecessary errands? No thanks. An at home baby passport photo studio kit gives parents control. It reduces stress. It saves money. And when paired with professional digital formatting, it increases approval chances. That combination - convenience plus compliance - is powerful. Have you ever noticed how the simplest solutions are often hiding in plain sight? A white sheet. A window. A phone. That’s it.
Final Thoughts on Creating Baby Passport Photos at Home
There’s something empowering about handling it yourself. Not in a complicated DIY way. More in a practical, smart-parent way. The goal isn’t perfection. It’s meeting requirements while keeping your baby comfortable. And when technology fills in the technical gaps - like precise sizing and cropping - the entire process becomes surprisingly smooth. Parents don’t need a professional studio to get an approved baby passport photo. They need the right setup, a bit of patience, and the right tools. Simple. Flexible. Effective. Sometimes the best studio is the one already in your living room.