Baby Passport Photo Distance from Camera Guide
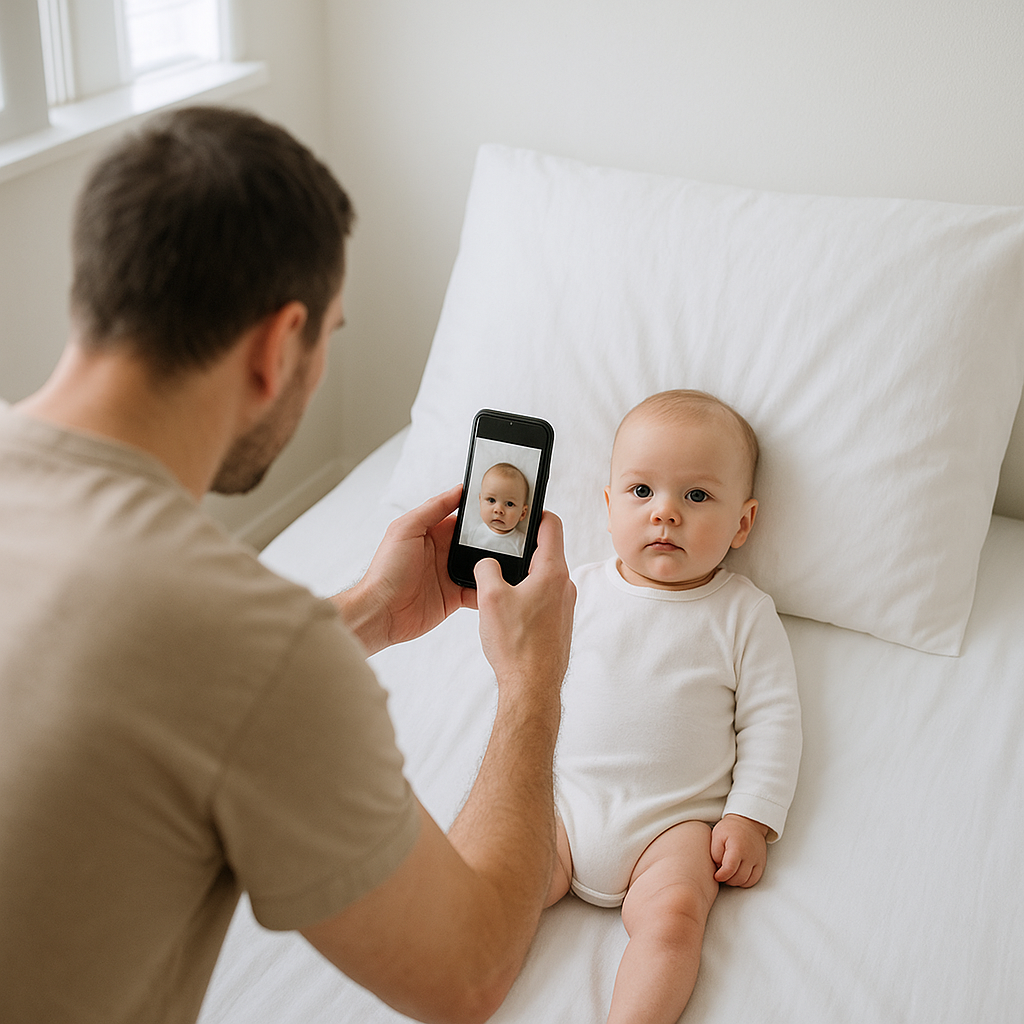
Getting a baby passport photo right can feel weirdly stressful. It sounds simple - just snap a picture, upload it, done. But then the doubts creep in. Is the baby too close to the camera? Too far? Why does the head look huge in one shot and tiny in another?
Distance from the camera is one of those tiny details that quietly determines whether the photo gets approved or rejected. And when you are dealing with passport applications, "almost right" does not cut it.
This guide breaks down the exact baby passport photo distance from camera, why it matters, and how to get it right without turning your living room into a professional photo studio.
Why Camera Distance Matters for Baby Passport Photos
Here is the thing. Passport authorities do not just want a cute picture. They want a highly specific biometric image. That means proportions must be accurate. The baby’s head size, the spacing around it, and the perspective all have to match official guidelines.
If the camera is too close, the baby’s face can look distorted. Noses appear bigger. Foreheads seem wider. It is like those funny wide-angle selfies adults take by accident.
If the camera is too far away, the baby’s head may not meet the required size ratio. And that leads to rejection. No one wants to redo this process while juggling naps and feeding schedules.
What Is the Correct Baby Passport Photo Distance from Camera?
Let’s get practical.
For most passport photo standards - including US, UK, Canada, and many EU countries - the recommended distance between the camera and the baby is typically:
- 3 to 5 feet (about 1 to 1.5 meters)
This range helps avoid distortion while keeping the baby’s head properly sized within the frame.
Sounds easy, right? But there is more to it.
Head Size Requirements
For example, in US passport photos:
- The head must measure between 1 inch and 1 3/8 inches from chin to top of head
- The photo size must be 2 x 2 inches
If the camera is positioned correctly at 3 to 5 feet and you frame the baby properly, those proportions usually fall into place naturally.
Usually. Not always.
How to Position the Baby for the Best Results
Distance is only one piece of the puzzle. Positioning matters just as much.
1. Keep the Camera at Eye Level
The lens should be directly in front of the baby’s face. Not angled down. Not tilted up. Straight on.
Tilting the camera creates perspective issues. Even a slight angle can make the head appear oddly shaped.
2. Use a Neutral Background
A plain white or off-white background is required in most countries. No patterns. No shadows. No textured blankets.
Many parents lay the baby on a white sheet and shoot from above. That works - but only if:
- The camera is parallel to the baby’s face
- The distance is maintained at 3 to 5 feet
- No shadows fall across the face
3. Avoid Wide-Angle Lenses
Smartphones automatically use wide-angle lenses in close range. That is where distortion sneaks in.
If you ask most photographers, they will say the same thing - step back and zoom in slightly instead of standing too close. It preserves natural proportions.
Think of it like looking through a window versus a peephole. One shows reality. The other exaggerates everything.
Common Mistakes with Baby Passport Photo Distance
Honestly, most rejections happen because of small, fixable errors.
Too Close to the Baby
- Facial features appear distorted
- Head looks oversized
- Edges of the face curve unnaturally
This often happens when parents lean in, worried about getting the perfect shot.
Too Far from the Baby
- Head appears too small
- Excess empty space surrounds the baby
- Image loses detail when cropped
Then comes aggressive cropping. And that reduces resolution. Another reason for rejection.
Shooting at an Angle
Even if the distance is correct, tilting the phone ruins the geometry. Passport systems are strict. They are not judging cuteness. They are measuring compliance.
Step-by-Step Guide to Getting the Distance Right
Here is a simple method that works consistently.
- Place the baby on a flat surface with a plain white sheet.
- Stand about 4 feet away - right in the middle of the recommended range.
- Hold the camera directly above or in front of the baby’s face, keeping it parallel.
- Ensure the baby’s head and upper shoulders fill most of the frame.
- Take multiple shots.
Why multiple shots? Because babies move. Blink. Wiggle. Decide that now is the moment to look dramatically to the side.
It is a bit like photographing a tiny celebrity who refuses direction.
Lighting and Distance - A Hidden Connection
Here is something people rarely think about.
The closer the camera, the more likely you are to cast a shadow on the baby’s face. Especially indoors. Standing slightly farther back - within that 3 to 5 foot range - reduces harsh shadows and creates more even lighting.
Natural daylight works best. Position the baby near a window. Avoid direct sunlight. Soft, indirect light keeps skin tones accurate and avoids contrast issues.
Can You Use a Phone Camera?
Absolutely.
Modern smartphones are more than capable of meeting passport standards - if used correctly. The key is:
- Maintain proper distance
- Avoid digital zoom that reduces quality
- Keep resolution high
- Use standard lens mode, not ultra-wide
Have you ever noticed how ultra-wide mode makes faces look slightly stretched? That subtle distortion is enough to cause issues in official documents.
Using an Online Service for Accuracy
Even with perfect camera distance, sizing and formatting can still trip people up.
This is where professional tools help. Services like BabyPassportMaker.com adjust background, crop the image to official dimensions, and ensure head size meets country-specific rules.
It is like having a digital passport photo technician double-check everything. For parents already running on limited sleep, that extra layer of certainty feels worth it.
Country Differences in Baby Passport Photo Rules
While the 3 to 5 feet camera distance works broadly, requirements vary slightly by country.
United States
- 2 x 2 inch photo
- Head height between 1 and 1 3/8 inches
- White background
United Kingdom
- 35mm x 45mm photo
- Specific crown-to-chin measurement range
- Light grey or cream background allowed
Canada
- 50mm x 70mm photo
- Neutral expression required
- Strict lighting rules
Before finalizing the image, always verify current guidelines. Regulations change. Quietly. Without warning.
Quick Checklist Before Submitting
Run through this fast checklist:
- Camera positioned 3 to 5 feet away
- No lens distortion
- Head centered and properly sized
- Plain white or approved background
- No shadows across face
- High-resolution image
If every box is ticked, approval chances increase dramatically.
Final Thoughts on Baby Passport Photo Distance
Getting the baby passport photo distance from camera right is less about technical wizardry and more about understanding proportions. Stay within 3 to 5 feet. Keep the lens straight. Avoid wide-angle distortion. That is the formula.
When done correctly, the image looks natural. Balanced. Undistorted.
And honestly, that small detail can save days of delay and unnecessary stress.
A passport photo may be tiny, but the rules around it are not. Treat the distance seriously, follow the guidelines, and the process becomes surprisingly manageable.
Simple adjustments. Big difference.