Baby Passport Photo for E-Visa Applications
Applying for an e-visa used to sound futuristic. Now it’s routine. A few clicks, a couple uploads, and you’re halfway across the world - at least on paper. But here’s the twist most parents don’t see coming: the baby passport photo.
It looks simple. Tiny human. White background. Snap and upload. Done, right?
Not quite.
When it comes to baby passport photo for e-visa applications, small details matter. A shadow in the corner. A pacifier peeking out. Eyes not fully open. These little things can stall an entire application. And nobody wants a rejected visa because their six-month-old blinked at the wrong moment.
Let’s break this down properly - without the robotic jargon.
Why Baby Passport Photos Are Different
Adults can follow instructions. Sit straight. Chin up. Neutral expression. Babies? They operate on their own schedule.
E-visa systems, however, don’t care about nap time or teething. They use automated software to scan photos. That software checks for:
- Head position
- Background color
- Lighting consistency
- Image resolution
- Facial visibility
If anything looks off, the upload gets rejected. It’s like airport security for pixels.
Here’s a hot take: the digital format actually makes baby photos more complicated than traditional paper ones. Why? Because online portals are brutally precise. They demand exact dimensions and file sizes. There’s no human clerk squinting at a printout thinking, "Close enough."
E-Visa Photo Requirements for Babies
Every country tweaks its guidelines, but most follow similar rules. Parents applying for an e-visa should double-check the specific destination, yet these basics usually apply:
1. Plain White Background
No patterns. No textured blankets. No cute nursery wallpaper. A clean white surface works best.
2. Eyes Open and Visible
Yes, even newborns. Immigration systems need to see both eyes clearly. No hands covering the face.
3. Neutral Expression
Babies don’t need to look serious - but wide laughter with squinted eyes can cause problems.
4. No Accessories
No hats. No headbands. No pacifiers. Religious head coverings are sometimes allowed, but they must not obscure the face.
5. Proper Digital Dimensions
This is where many applications fail. The file must match:
- Specific pixel size, like 600x600
- Correct aspect ratio
- File size limits, often under 240KB or similar
- JPEG or JPG format
Sounds technical? It is. But manageable.
Common Mistakes That Lead to Rejection
Honestly, most visa delays aren’t dramatic. They’re tiny errors hiding in plain sight.
Here are the usual suspects:
- Shadows behind the baby - Often caused by overhead lighting.
- Parent’s hands visible - Even a fingertip in the frame can disqualify the image.
- Overexposed lighting - Too bright and facial features wash out.
- Low resolution photos - Blurry images fail digital checks.
- Incorrect cropping - Too much space above the head or cutting off the chin.
Have you ever tried cropping a baby photo while the baby is actively rolling over? It’s like trying to frame a moving cloud.
Can Parents Take Baby Passport Photos at Home?
Short answer: yes.
Long answer: yes, but with patience.
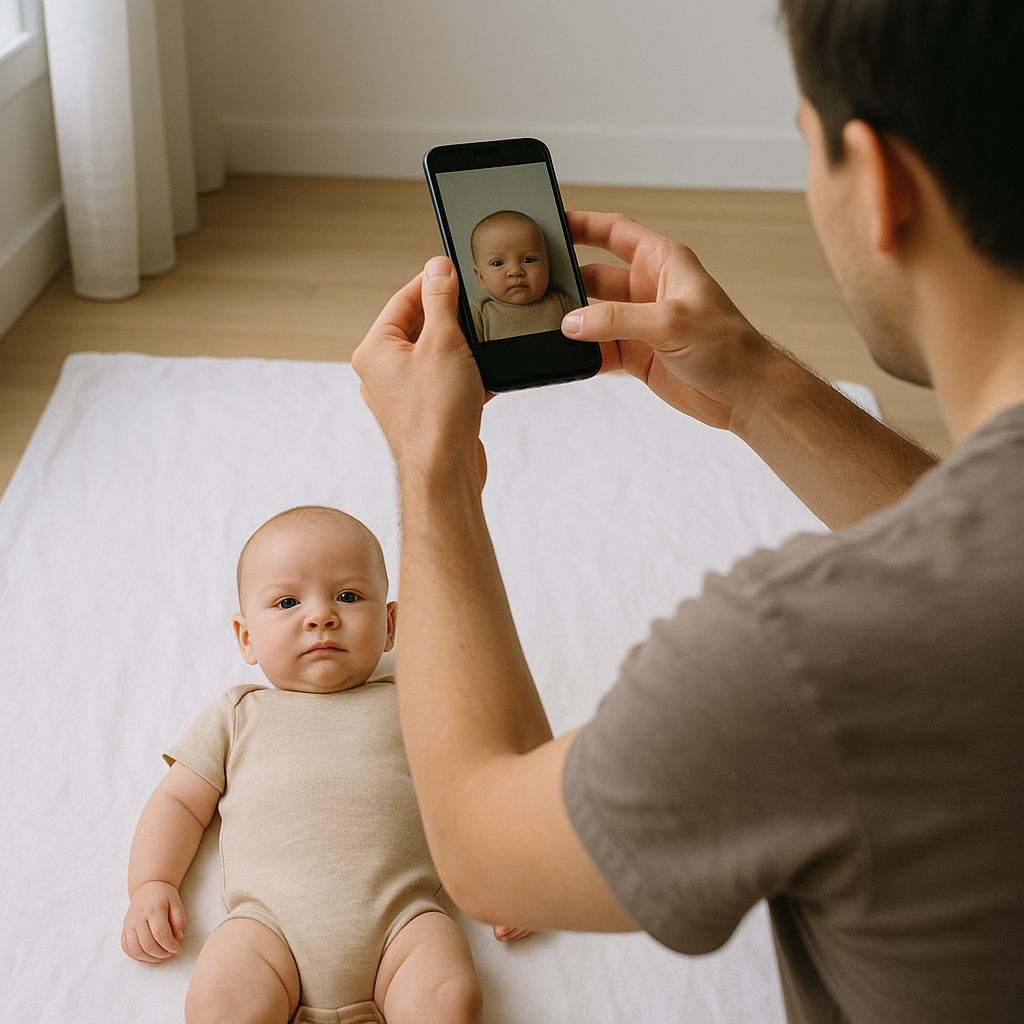
Many families choose the DIY route for convenience. No travel. No studio fees. Just a smartphone and good lighting. Natural daylight near a window works wonders. Lay the baby on a white sheet. Stand directly above. Keep the camera parallel to the face.
Still, capturing the perfect shot often takes dozens of attempts. Babies wiggle. They blink. They suddenly discover their toes are fascinating.
That’s why specialized online services exist. Platforms like BabyPassportMaker.com simplify the process by automatically adjusting size, background, and formatting to meet official e-visa requirements. Instead of wrestling with pixel measurements, parents upload a photo and let the tool handle the technical side.
If you ask most seasoned travelers, removing stress from travel paperwork is priceless.
Lighting Tips for the Perfect Baby Passport Photo
Lighting can make or break an application. Think of it like cooking - the same ingredients taste wildly different depending on preparation.
For best results:
- Use natural daylight, preferably mid-morning.
- Avoid direct sunlight that creates harsh shadows.
- Turn off yellow indoor lights that distort skin tones.
- Position the baby facing the light source.
A soft, even glow works best. No dramatic effects. This isn’t a magazine cover.
Positioning Matters More Than Parents Realize
Alignment is critical in any baby passport photo for e-visa submission.
The baby’s head should be centered. Not tilted. Not leaning. The camera must sit straight above the face if the baby is lying down. Imagine drawing a vertical line down the middle of the nose - it should be perfectly upright.
Even slight angles can trigger automated rejection systems.
And here’s something people overlook: cropping space. Most countries require a specific amount of empty space above the head and below the chin. Too tight? Rejected. Too loose? Also rejected.
Precision matters.
Understanding E-Visa Digital Photo Specifications
Digital visa systems read images like data sheets. They don’t interpret emotion. They interpret geometry.
Typical e-visa photo specifications include:
- Square format, often 2x2 inches equivalent
- Head occupying 70 to 80 percent of the frame
- Uniform background color
- No red-eye
- Recent photo taken within six months
Skipping these guidelines is like submitting a school assignment in the wrong format. The content might be fine, but it still gets returned.
How to Keep Babies Calm During the Photo
This part isn’t technical. It’s tactical.
Timing changes everything. Take the photo:
- After feeding
- After a nap
- Before crankiness sets in
A content baby equals a cooperative photo session. Usually.
Some parents use soft sounds or gentle clapping to draw attention toward the camera. Just avoid toys that block the face. Remember, nothing should obscure the features.
It’s a balancing act. Calm but alert.
Why Getting It Right the First Time Matters
E-visa processing times vary. Some approvals arrive within 24 hours. Others take several days. If a photo gets rejected, the clock resets.
For families planning international travel, delays can mean:
- Missed flights
- Rescheduled accommodations
- Extra application fees
- Unnecessary stress
And let’s be honest - traveling with a baby already requires military-level logistics. Diapers. Bottles. Sleep schedules. Adding visa complications to that mix? No thanks.
Professional Tools vs DIY Editing Apps
Editing apps are everywhere. Filters, cropping tools, background erasers. Tempting.
But here’s the issue: generic editing apps aren’t designed around official immigration standards. They focus on aesthetics. Visa systems focus on compliance.
That difference matters.
Using a specialized solution like BabyPassportMaker.com ensures the final image aligns with country-specific guidelines. It’s less about making the baby look adorable - though they probably will - and more about meeting rigid technical benchmarks.
Final Thoughts on Baby Passport Photo for E-Visa Applications
Applying for an e-visa should feel streamlined. Efficient. Modern.
Yet the smallest traveler in the family often creates the biggest paperwork challenge. A proper baby passport photo for e-visa applications isn’t just a snapshot. It’s a compliance document wrapped in a cute face.
Parents who understand the requirements, prepare the setup carefully, and use reliable tools dramatically reduce rejection risks. It’s preparation over panic.
Because when departure day arrives, nobody wants to think about pixel dimensions. They want to think about destinations. New experiences. Tiny footprints in foreign sand.
And it all starts with one small, perfectly formatted photo.