Baby Passport Photo for Oyster and Octopus Cards
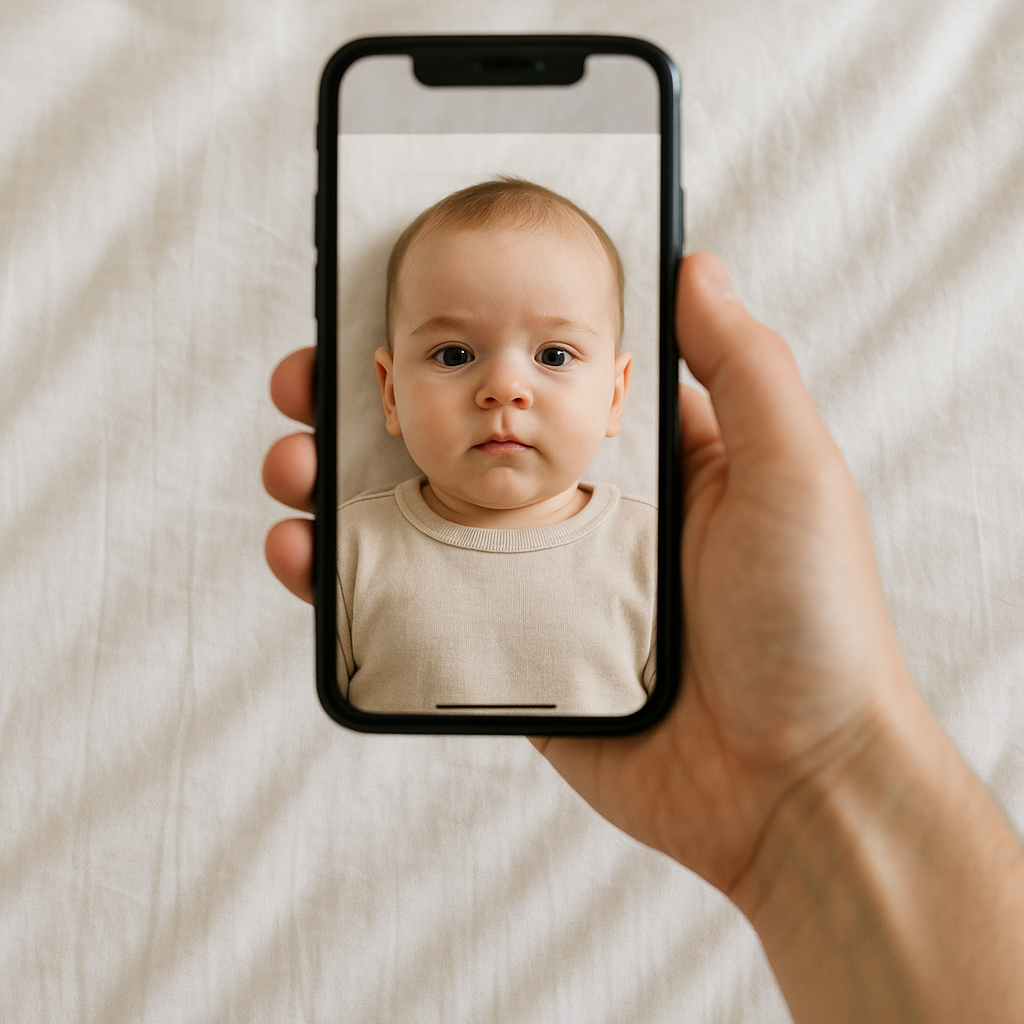
Getting around a busy city with a baby is already a juggling act. Add travel cards, photo requirements, and strict ID rules into the mix - and suddenly, something that sounds simple turns into a mini project. A baby passport photo for Oyster and Octopus cards? Yes, it matters. And yes, it needs to be done right.
Parents often assume, "It’s just a baby photo. How complicated can it be?" Honestly? More complicated than it should be. Transit authorities don’t bend the rules just because the subject is six months old and refuses to sit still.
Let’s break it down. Clearly. Practically. Without the fluff.
Why Babies Need Photos for Oyster and Octopus Cards
Both the Oyster card in London and the Octopus card in Hong Kong offer child concessions. That means reduced fares. Discounts. Sometimes even free travel depending on age.
But here’s the catch - discounted travel often requires a personalized card. And personalized means photo ID.
Authorities use the image to:
- Prevent misuse of child fare cards
- Confirm eligibility
- Link the card to one specific child
It’s not about bureaucracy for the sake of it. It’s about system control. Sounds strict? Maybe. Necessary? Absolutely.
Understanding Photo Requirements for Baby Travel Cards
This is where many parents stumble. A baby passport photo for Oyster and Octopus cards isn’t just any cute snapshot from your phone.
Common Photo Guidelines
- Plain white or light background
- Baby facing forward
- Eyes open and visible
- No shadows on the face
- No toys, hands, or parents visible
- Neutral expression
Neutral expression. For a baby. Let that sink in.
It’s like asking a puppy to pose for a corporate headshot. Technically possible. Emotionally unlikely.
The Real Challenge - Photographing a Baby
Babies don’t follow instructions. They blink. They squirm. They tilt their heads at dramatic angles as if auditioning for a shampoo commercial.
Parents often try to DIY the photo at home. Some succeed. Many don’t.
Lighting becomes the enemy. Shadows sneak in. The background isn’t quite white enough. The baby’s onesie blends into the wall. Or worse - a parent’s hand is holding the head from behind and needs editing.
Transit offices are surprisingly strict. If the image doesn’t meet standards, the application gets delayed. That means more paperwork. More waiting. Possibly higher travel costs while sorting it out.
No one wants that.
DIY vs Professional Baby Passport Photo Services
So what’s the smarter move?
Option 1 - Take the Photo Yourself
Pros:
- Free
- Immediate
- Done at home
Cons:
- High chance of rejection
- Editing stress
- Unclear sizing rules
- Time consuming
At first glance, DIY seems easy. Snap. Upload. Done. Right?
Except most parents end up taking 40 photos to get one usable shot. And even then, cropping dimensions might be wrong.
Option 2 - Use an Online Baby Passport Photo Service
This is where specialized platforms shine. Services like BabyPassportMaker.com focus specifically on infant and child photo compliance.
They handle:
- Background correction
- Precise cropping
- Lighting adjustments
- Compliance checks for official standards
If you ask most experienced parents - the small fee is worth the sanity.
What Makes Oyster and Octopus Card Photos Slightly Different?
Here’s something many overlook: not all ID photos follow identical rules.
Oyster photocard applications often require digital uploads through a portal. The system automatically checks size and positioning. If the baby’s head is too small? Rejected.
Octopus applications may have slightly different dimension or resolution requirements depending on card type and age category.
Subtle differences. Big consequences.
Think of it like baking - using salt instead of sugar doesn’t seem dramatic until you taste the result.
Step-by-Step Guide to Getting a Baby Passport Photo for Travel Cards
Let’s simplify this.
Step 1 - Choose the Right Time
Pick a moment when the baby is calm. After a nap works well. Before feeding meltdowns begin.
Step 2 - Prepare the Background
Use a plain white sheet. Lay the baby down safely. Avoid patterns.
Step 3 - Use Natural Light
Stand near a window. Avoid harsh overhead lighting that casts shadows.
Step 4 - Capture Multiple Shots
Don’t rely on one image. Take 20. Maybe 30. Variety increases success.
Step 5 - Verify Compliance
Before uploading, confirm dimensions, resolution, and head positioning meet Oyster or Octopus card standards.
Or skip steps 2 through 5 and let a professional service refine the image properly.
Mistakes That Cause Photo Rejection
This is where frustration creeps in.
- Baby looking sideways
- Mouth wide open
- Pacifier in frame
- Red-eye effect
- Shadow under chin
- Incorrect pixel size
Sounds minor, right? But automated systems don’t negotiate.
Rejections delay card approval. Delays mean paying full adult fares in some cases. Over time, that adds up.
Why Quality Matters Even for Infant Travel Cards
Some parents quietly wonder - does anyone really look that closely at a baby photo?
Yes. They do.
Transport authorities operate on consistency. Their systems are built around clear facial recognition zones. Even for infants.
A poorly aligned image can cause scanning issues later. Not common - but possible.
Think of it like setting a foundation for a house. You won’t see it daily, but if it’s crooked, everything above it feels off.
Cost vs Convenience - Is It Worth It?
Parents already budget carefully. Diapers, childcare, strollers, endless tiny socks that mysteriously disappear.
Adding photo service fees may feel unnecessary at first.
But compare:
- Cost of rejected application
- Extra transport fares
- Time spent retaking photos
- Stress level during the process
Convenience often wins.
And when it comes to managing city travel with a baby in one arm and a folded stroller in the other, convenience isn’t luxury - it’s survival.
Final Thoughts on Baby Passport Photo for Oyster and Octopus Cards
Securing a compliant baby passport photo for Oyster and Octopus cards isn’t glamorous. It’s not exciting. It won’t make the family photo album.
But it matters.
Done correctly, it ensures smoother travel, faster approval, and fewer headaches. Done carelessly, it can cause unnecessary delays.
Parents already have enough on their plates. Streamlining small administrative tasks makes a difference.
So whether choosing the DIY route with careful attention to lighting and alignment, or using a specialized platform like BabyPassportMaker.com for peace of mind, the key is simple - follow the guidelines precisely.
Because public transport with a baby should feel manageable. Not like navigating airport security every Monday morning.
And honestly, anything that makes daily travel smoother is worth doing right the first time.