Baby Passport Photo for Theme Park and Metro Cards
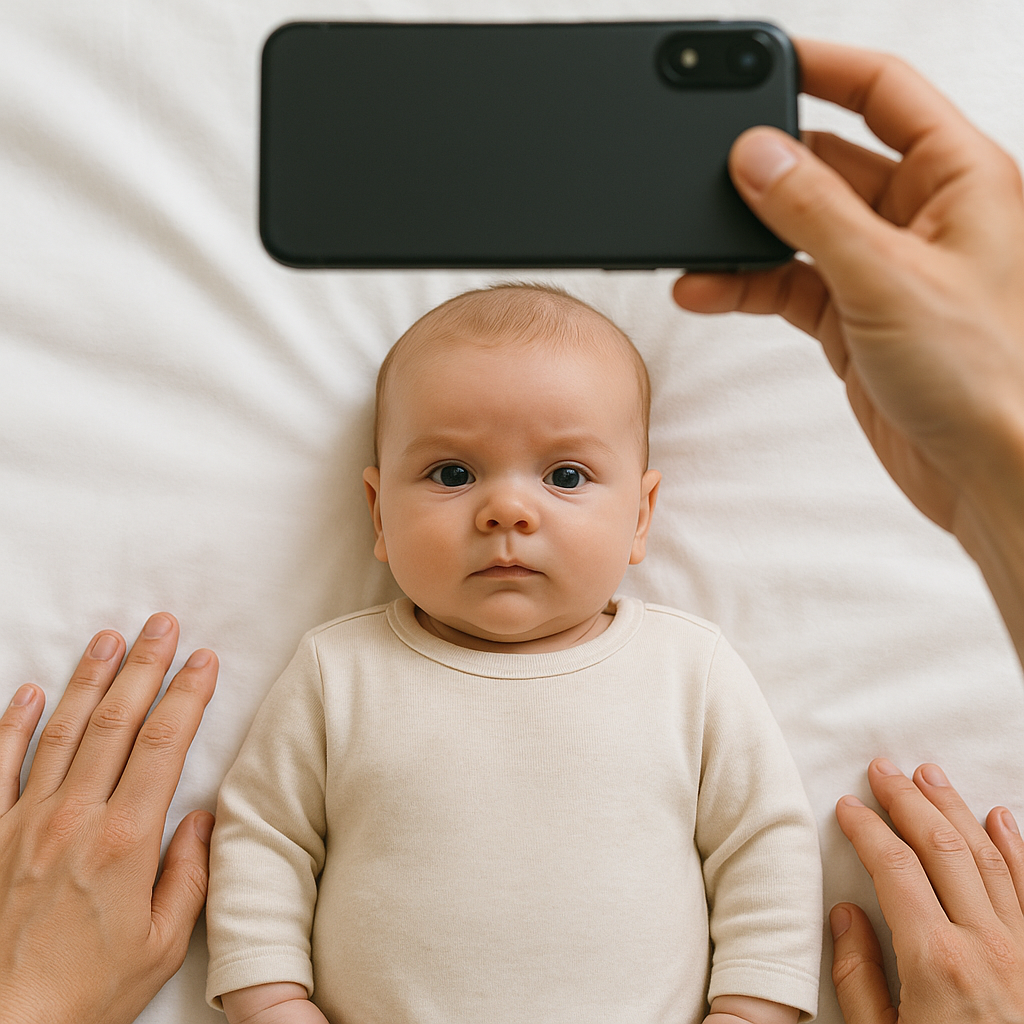
There is something oddly stressful about getting a baby passport photo. Not because it is complicated on paper - it sounds simple enough - but because babies have their own agenda. And if that photo is needed for a theme park pass or a metro card, the pressure suddenly feels very real. Parents often assume passport-style photos are only for international travel. Not quite. Many theme parks now require ID-style photos for annual passes. Some metro systems ask for child ID cards with biometric standards. That tiny square photo? It carries a lot of responsibility. So let’s break it down. Calmly. Clearly. Without the usual bureaucratic fog.
Why Theme Parks and Metro Cards Need a Baby Passport Photo
Have you ever wondered why a theme park would care about a baby’s photo? After all, it is not like a toddler is sneaking in under someone else’s identity. Here’s the deal. Many large amusement parks issue:
- Season passes
- Child safety ID cards
- Membership badges
- Re-entry passes
To prevent misuse, they attach a photo to the account. It helps staff confirm identity at the gate and ensures safety inside crowded spaces. Metro systems operate in a similar way when offering discounted fares for infants and young children. The photo verifies eligibility. Sounds straightforward, right? Well, the photo requirements usually follow official passport standards. That is where things get tricky.
What Makes a Baby Passport Photo Different?
If you have ever tried to photograph a baby, you already know the challenge. Asking them to sit upright, look directly at the camera, and maintain a neutral expression? That is like negotiating with a very small, very unpredictable CEO. A baby passport photo must typically meet these criteria:
- Plain white or light background
- No shadows
- Eyes open and visible
- Neutral facial expression
- No hats, headbands, or visible hands
- Correct size and proportions
For metro card applications and theme park passes, the dimensions might differ slightly, but most follow biometric passport guidelines. Here is the catch - babies cannot hold their own heads steady, especially newborns. Parents often try laying them on a white sheet. It works, sometimes. Other times, the sheet wrinkles. Shadows appear. Tiny fingers creep into the frame. It becomes a mini production.
The Hidden Stress Parents Don’t Talk About
No one mentions how many attempts it can take. Ten photos. Twenty. More. Lighting shifts. The baby blinks. Suddenly there is a grin the size of a sunrise when you actually need a neutral look. Or the opposite - dramatic crying right when everything else is perfect. And when the photo gets rejected? That stings. Theme parks and metro offices can be strict. They often reject photos for:
- Incorrect head size ratio
- Background color variations
- Blurry edges
- Shadows behind the head
- Improper cropping
It feels minor. It is not. A rejected application means delays, reprints, and sometimes another appointment.
DIY vs Professional Baby Passport Photo Services
Parents usually face two options.
Option 1 - Do It Yourself
Taking the photo at home seems appealing. It saves money. It feels convenient. You can snap pictures at your own pace. But here is the reality. You must:
- Understand official size requirements
- Adjust lighting correctly
- Edit without over-editing
- Ensure accurate cropping
- Print on proper photo paper
That is a lot of technical detail for something that should be simple.
Option 2 - Use a Specialized Service
This is where services like BabyPassportMaker.com come into play. They focus specifically on infant passport-style photos. Not wedding portraits. Not graduation headshots. Just babies. If you ask most experienced parents, that specialization matters. These services typically:
- Verify compliance with official biometric standards
- Correct lighting digitally while keeping natural features intact
- Adjust background to proper white balance
- Provide correctly sized prints for passport, metro, or theme park use
It removes guesswork. And honestly, removing guesswork when you are already juggling diapers and deadlines feels priceless.
How to Prepare Your Baby for a Passport-Style Photo
Preparation makes all the difference. Think of it like setting the stage before a performance. Here are practical steps that actually help:
1. Time It Right
Choose a moment after feeding and naptime. A rested baby is more cooperative. Trying right before sleep? Risky.
2. Dress Simply
Avoid white clothing if the background is white. Light pastel tones work well. No hoods. No busy patterns.
3. Keep the Face Clear
Remove pacifiers, headbands, bows, and hats. Even tiny accessories can lead to rejection.
4. Support Safely
If the baby cannot sit upright, lay them flat on a white sheet or use a car seat covered with plain fabric. Ensure no adult hands appear in the frame.
5. Capture Multiple Shots
Take several photos in quick succession. Micro-expressions change fast. It is a bit like wildlife photography. You wait. You observe. Then click at the perfect moment.
Common Mistakes That Cause Rejection
This is where many parents slip up.
Incorrect Head Size
The baby’s head must occupy a specific percentage of the image. Too small? Rejected. Too large? Also rejected.
Uneven Lighting
Shadows around the nose or behind the ears are common issues. Soft, even light works best.
Smiling Too Much
Yes, a cute grin can actually disqualify the image. Most official standards require a neutral expression.
Editing Filters
Adding beauty filters or smoothing tools may seem harmless. It is not recommended. Photos must reflect the baby’s natural appearance.
Why Getting It Right Matters
Some parents assume that because it is "just" a theme park pass or metro card, precision is optional. That assumption leads to frustration. Delays can:
- Postpone park visits
- Complicate public transport registration
- Require reapplication fees
- Create unnecessary stress before travel
And when you are planning a family day out or navigating a busy city system, stress is the last thing you need. A compliant baby passport photo is a small detail. But it unlocks bigger experiences - amusement rides, city adventures, smooth entry gates.
Choosing the Right Size for Theme Park and Metro Cards
Different organizations may request slightly different dimensions. Always confirm requirements before submitting. Common sizes include:
- 2x2 inches for standard passport format
- 35mm x 45mm for international standards
- Custom card dimensions specified by transport authorities
When in doubt, check the official website of the park or transit agency. Requirements are usually listed clearly.
The Bigger Picture
It is funny how a tiny photograph becomes a gateway to memorable moments. A child’s first carousel ride. Their first metro trip across a buzzing city. Those experiences often begin with paperwork. The photo might seem like a formality. It is more like a ticket stub before the actual ticket. Getting it right saves time. Saves money. Saves sanity. Parents do not need perfection. They need accuracy. That is why specialized platforms like BabyPassportMaker.com have gained attention. They streamline a task that feels bigger than it should. No complicated studio visits. No wrestling with photo editing software at midnight. Just a clear, compliant baby passport photo ready for submission.
Final Thoughts on Baby Passport Photos for Theme Parks and Metro Cards
Every parent wants smooth experiences. No hiccups at entry gates. No awkward rejections at service counters. No unexpected delays when a child is already excited about a day out. A proper baby passport photo removes one more obstacle. It is a small investment of time that prevents large headaches later. And honestly - when managing family logistics, fewer headaches is always the goal. The next time a theme park application or metro registration asks for that tiny square image, you will know exactly what to do. Plan ahead. Follow guidelines. Use reliable tools if needed. Because sometimes the smallest details open the biggest doors.