Baby Passport Photo for Suica and Pasmo Cards
If you have ever tried traveling around Japan with a stroller in one hand and a diaper bag in the other, you already know - convenience is everything. Suica and Pasmo cards are lifesavers. Tap in, tap out. No fumbling for coins. No juggling tickets. But here is something many parents do not realize at first: if you are setting up certain child travel passes or personalized cards linked to Suica or Pasmo, you may need a proper baby passport photo. Sounds simple, right? Not exactly. Getting a baby passport photo for Suica and Pasmo cards can feel like trying to photograph a tiny tornado. There are rules. Size requirements. Background restrictions. And babies, as we all know, are not famous for sitting still on command. Let’s break it down in a way that actually makes sense.
Why a Baby Passport Photo May Be Required
Most standard Suica and Pasmo cards do not require a photo. However, when applying for:
- Child commuter passes
- Discounted child fare cards
- Personalized IC cards
- School-related transportation passes
A photo is often necessary for identification. Transit operators use the image to verify eligibility for child discounts. It prevents misuse. It protects families. And it keeps the system fair. If you ask seasoned parents living in Japan, they will tell you this step is where things can get surprisingly tricky.
Official Baby Passport Photo Requirements
While exact measurements can vary slightly depending on the railway company, most baby passport photos for Suica and Pasmo follow similar guidelines to Japanese ID photos.
Typical Photo Specifications
- Size: Often 30mm x 24mm or similar small ID format
- Plain white or light background
- Full face visible
- Eyes open
- No shadows on the face
- No hats or head coverings unless medically necessary
- Recent photo - usually taken within the last 6 months
Here is where parents start sweating. Because how exactly does one explain "full face visible" to a six-month-old? You do not. You work around it.
The Real Challenge - Photographing a Baby
Adults can step into a photo booth, stare at a dot, and hold still for three seconds. Babies? They blink. They drool. They turn their heads at the exact wrong moment. Trying to capture a compliant expression can feel like attempting to photograph a hummingbird mid-flight. Some common hurdles include:
- Head tilting
- Closed eyes
- Half smiles
- Random arm waving
- Uneven lighting at home
And let’s be honest - traditional photo booths are not designed with infants in mind. The seats are awkward. The timing is unforgiving. The lighting can be harsh. Parents often end up paying multiple times because the first batch did not meet the requirements. Frustrating. And unnecessary.
What Actually Works for Baby Passport Photos
Instead of wrestling with a public machine, many families are turning to digital solutions. Here is what typically works best:
1. Photograph at Home in Natural Light
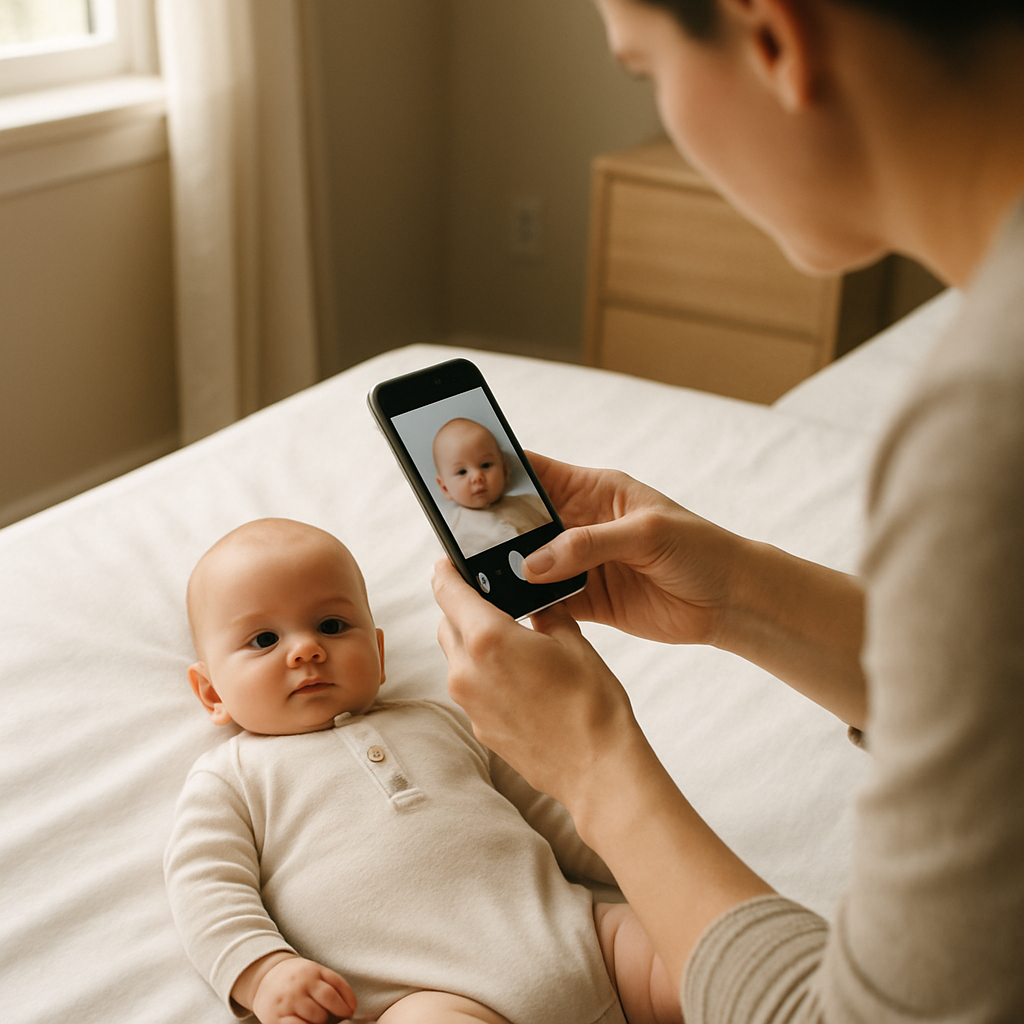
Soft daylight near a window works wonders. It avoids harsh shadows and keeps skin tones natural. Lay the baby on a white sheet or blanket for a clean background. Simple. Calm. Controlled.
2. Keep the Baby Supported but Invisible
For younger infants who cannot sit upright, lay them flat on their back. Ensure no hands are visible in the frame. If support is needed, it must stay completely out of the shot.
3. Capture Multiple Shots
Do not aim for perfection on the first try. Take 20 photos. Maybe 30. One of them will have open eyes and a centered face.
4. Use a Professional Online Tool
This is where services like BabyPassportMaker.com come into play. Instead of guessing dimensions or worrying about cropping incorrectly, parents can upload a photo and have it adjusted to meet official specifications. The background can be corrected. The sizing can be formatted properly. The end result looks compliant and professional. Honestly, this step alone saves hours.
Why Accuracy Matters for Suica and Pasmo Applications
You might wonder - does the photo really need to be that precise for a transit card? Yes. Railway offices in Japan are known for attention to detail. If the image does not meet requirements, the application may be rejected. That means another trip. Another wait in line. Another attempt. Parents already juggling childcare, work, and paperwork rarely have time for repeat visits. A correctly formatted baby passport photo ensures:
- Smooth application processing
- No unexpected rejections
- Faster issuance of child commuter passes
- Peace of mind
And peace of mind? That is priceless when traveling with a toddler.
Common Mistakes to Avoid
Even well-intentioned parents run into the same issues. Here are frequent errors that cause photo rejection:
- Busy patterned backgrounds
- Shadows behind the head
- Baby looking off to the side
- Mouth fully open
- Low-resolution images
- Incorrect print size
The wrong dimensions are especially common. A photo may look fine on a phone screen but print too large or too small. Think of it like baking. The ingredients might be right, but if the measurements are off, the cake collapses. Same idea here.
Digital vs. Photo Booth - Which Is Better?
Let’s weigh it quickly.
Photo Booth
Pros:
- Instant printed copies
- Widely available in Japan
Cons:
- Not baby-friendly
- Limited retakes
- Fixed lighting
- Higher cost for multiple attempts
Online Photo Service
Pros:
- Unlimited attempts at home
- Comfortable environment for baby
- Precise formatting
- Digital and printable versions
Cons:
- Requires printer access for physical copies
For most families, the at-home method paired with a formatting service simply makes more sense. Less stress. Better control. More flexibility.
How to Prepare Before Visiting the Transit Office
Once the baby passport photo is ready, preparation becomes straightforward. Before heading to apply for a Suica or Pasmo child card, parents should confirm:
- Exact required photo dimensions
- Number of copies needed
- Additional documents required - birth certificate, residence card, or proof of age
- Application form completion
Having everything organized prevents unnecessary delays. Transit counters can get busy, especially during school enrollment seasons. Showing up prepared is like arriving early to the airport - it just feels better.
Does the Baby Need to Look Perfect?
Here is a reassuring truth. The baby does not need to smile. The baby does not need to look thrilled. Neutral expression is completely acceptable. In fact, it is preferred. A calm, forward-facing image with open eyes is enough. No need for forced grins or elaborate setups. Sometimes the simplest shot is the winner.
Final Thoughts on Baby Passport Photos for Suica and Pasmo
Navigating public transport in Japan becomes dramatically easier with a properly issued child Suica or Pasmo card. The tap-and-go convenience feels almost magical when managing a young child. But that small plastic card often starts with a tiny photo. And that tiny photo deserves attention. By understanding the requirements, avoiding common mistakes, and using tools like BabyPassportMaker.com to format images correctly, parents can eliminate guesswork. The process becomes smoother. Faster. More predictable. Because when it comes to traveling with children, the fewer surprises, the better. Preparation is not just practical - it is sanity-saving. And honestly, anything that makes parenting logistics even slightly easier is worth doing right the first time.