Baby Passport Photo Requirements Philippines 2026
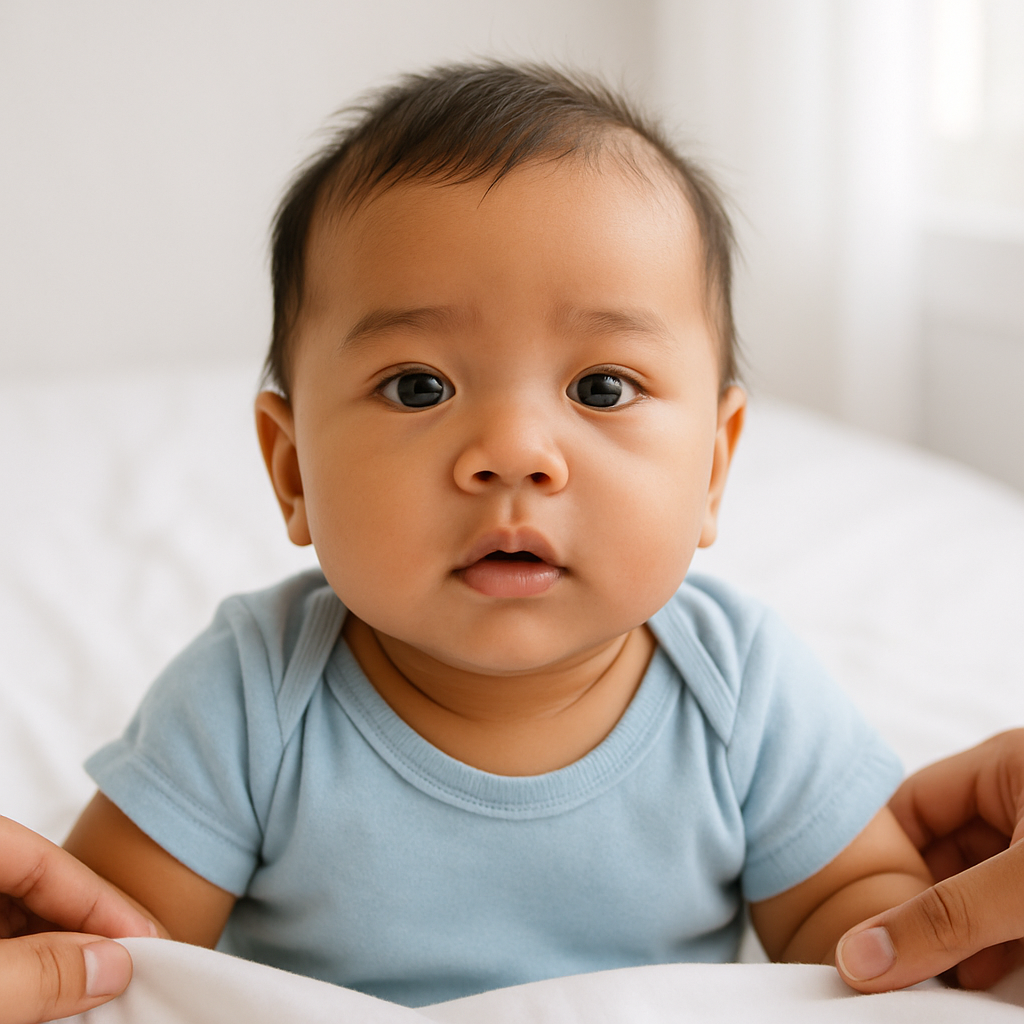
Applying for a passport for a baby sounds simple. Take a photo, submit documents, wait. Done. Right? Not quite. Parents across the Philippines quickly discover that baby passport photo requirements can feel like a tiny obstacle course designed by someone who has never tried photographing a wiggly six-month-old. The rules are strict. The baby doesn’t cooperate. And the clock is ticking. If you ask seasoned parents, they’ll tell you the same thing - the photo is the trickiest part. This guide breaks down the official Baby Passport Photo Requirements Philippines 2026, explains what actually works in real life, and shares practical advice to avoid rejection. Because nobody wants to reschedule an appointment at the DFA over a blurry image.
Why Baby Passport Photos Are So Strict
Here’s a hot take - the strict rules aren’t there to annoy anyone. They exist for security. Passport photos feed into biometric systems. Even infants need clear facial recognition. That means:
- No shadows
- No distracting backgrounds
- No odd angles
- No accessories covering features
Sounds straightforward. Until the baby decides that smiling is optional and neck control is negotiable. Still, understanding the rules makes everything smoother.
Official Baby Passport Photo Requirements Philippines 2026
Let’s break it down clearly.
1. Photo Size and Dimensions
The required size for Philippine passport photos remains:
- 4.5 cm x 3.5 cm
- Color photo
- High resolution
- Printed on quality photo paper
The baby’s head must occupy about 70-80% of the image. Not too small. Not cropped at the top. Think balanced framing. Too much space above the head? Rejected. Too zoomed in? Also rejected. Precision matters.
2. Background Requirements
The background must be plain white. Not off-white. Not cream. Not patterned. Pure white. Clean. Shadow-free. Even subtle creases in a bedsheet can cause issues. Lighting should be even, with no dark areas behind the baby’s head. Imagine a blank sheet of paper - that’s the goal.
3. Baby’s Position and Expression
This is where most parents struggle. The baby must:
- Face the camera directly
- Have eyes open
- Have a neutral expression
- Keep mouth closed
Now, does that mean a newborn must stare intensely into the lens? Not exactly. For infants, slight relaxation is acceptable. But the face must be fully visible. No laughing. No crying. No looking sideways. Easier said than done.
4. No Accessories
This rule is absolute.
- No hats
- No headbands
- No bows
- No pacifiers
- No visible hands supporting the baby
Religious coverings are typically not allowed for infants unless medically necessary. If someone is holding the baby, their hands must not appear in the frame. The image should show only the baby against a white background.
5. Clothing Guidelines
Dress the baby in simple clothing. Avoid white tops - they blend into the background. Avoid busy prints. Avoid uniforms. Solid, darker colors work best. Navy, soft gray, muted pink, light blue. Something that contrasts gently with white.
Common Reasons Baby Passport Photos Get Rejected
Rejection happens more often than people expect. Here are the usual culprits:
- Shadows behind the head
- Blurry image due to movement
- Baby looking away
- Overexposed lighting
- Visible supporting hands
- Incorrect photo size
Think of the photo like a government ID headshot - not a cute portrait for social media. The goal is clarity, not charm.
How Parents Can Take a Compliant Baby Passport Photo at Home
Professional studios are an option. But many parents now prefer doing it at home. Why? Because babies operate on their own schedule. And sometimes the best moment lasts five seconds. Here’s what works.
Step 1 - Use Natural Light
Place the baby near a window during daytime. Avoid direct sunlight. Soft, indirect light is perfect. It reduces shadows and prevents harsh highlights. No flash if possible - it creates glare and red-eye.
Step 2 - Lay the Baby Down
For newborns who can’t sit upright, lay them flat on a white sheet. Smooth out wrinkles. Stand directly above and shoot from a straight angle. The camera should be parallel to the baby’s face - not tilted. It may feel like staging a tiny photoshoot. Because it is.
Step 3 - Remove Distractions
Check carefully:
- No visible arms
- No toys
- No shadows
Zoom in and double-check before printing.
Step 4 - Use a Trusted Online Tool
Honestly, cropping and sizing can be tricky. That’s where services like BabyPassportMaker.com become incredibly useful. The platform adjusts the image to meet Philippine passport standards, aligns head size correctly, and ensures background compliance. Instead of guessing whether the proportions are right, parents get a properly formatted photo ready for submission. It saves time. And stress.
Tips to Capture the Perfect Shot
Babies are unpredictable. That’s part of their charm. But strategy helps.
- Photograph after feeding when the baby is calm
- Make gentle sounds to get eyes open
- Take multiple shots - at least 20
- Stay patient
The perfect image rarely happens on the first try. Sometimes it’s shot number 17.
What About Newborns?
Parents often ask - do newborns need open eyes in passport photos? For Philippine passports, yes, eyes should be open if possible. However, very young infants may have slight flexibility. Still, aiming for open eyes increases approval chances. Positioning is everything here. Gentle stimulation helps. Soft noises. A brief pause. Timing is half the battle.
DFA Appointment Considerations
Even though DFA offices often capture passport photos on-site, infants may still require submitted photos depending on specific branch procedures or system downtime. Checking the appointment confirmation is essential. Better to prepare a compliant image in advance than scramble last minute.
Printing Guidelines for Baby Passport Photos
Once the digital image is correct, printing matters too.
- Use high-quality photo paper
- Ensure colors are accurate
- Avoid ink smudges
- Do not fold the photo
A perfect digital file can still be rejected due to poor printing quality. It’s like baking a cake perfectly and then dropping it on the way to the table.
Quick Checklist Before Submission
Before heading to your DFA appointment, confirm:
- Correct dimensions - 4.5 cm x 3.5 cm
- Plain white background
- Face centered and visible
- No accessories
- Eyes open
- Printed clearly
Five minutes of checking can save weeks of delay.
Final Thoughts on Baby Passport Photo Requirements Philippines 2026
Applying for a passport for an infant is a milestone. It signals travel plans, family visits, new experiences waiting ahead. The photo might seem like a small detail. It isn’t. It’s the gateway to approval. Approach it with patience. Use proper lighting. Follow official guidelines carefully. And when in doubt, rely on tools designed specifically for baby passport photos. Because at the end of the day, parents deserve a process that feels manageable - not overwhelming. And yes, it’s absolutely possible to get that perfect shot. Even if it takes twenty tries.