How to take baby passport photo for 12 month old
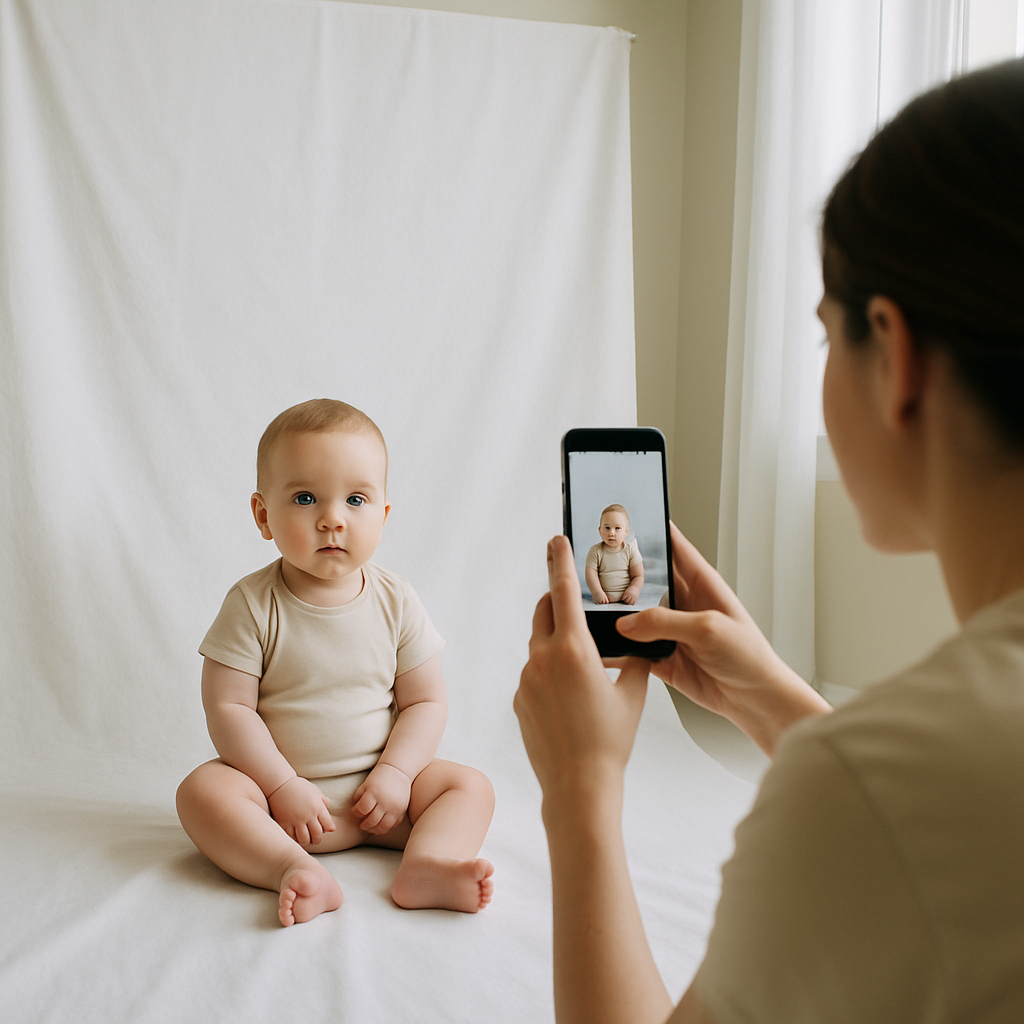
Taking a passport photo of a 12 month old can feel like trying to photograph a hummingbird. One second they are still. The next? A blur of giggles and wiggly arms. And yet, somehow, that tiny face needs to appear calm, centered, and regulation ready on an official document. Sounds simple, right? Not quite. But it is absolutely doable - with the right setup, timing, and a little patience. This guide walks through exactly how to take baby passport photo for 12 month old children without losing sanity or missing important requirements. It breaks down lighting, background, positioning, common mistakes, and even digital options that make the process easier than most parents expect.
Understanding Passport Photo Requirements for a 12 Month Old
Before grabbing a camera, it helps to know what officials are actually looking for. Infant passport photos follow strict guidelines. They might be small humans, but the rules are not small. Here is what typically matters most:
- Neutral facial expression
- Eyes open and visible
- Mouth closed
- No shadows on the face or background
- Plain white or off white background
- No toys, hands, or objects visible
- Head centered and facing forward
Can a 12 month old truly look neutral? Within reason, yes. A soft, relaxed expression works. No need for a serious stare worthy of a courtroom drama.
Setting Up the Perfect Spot at Home
Professional studios are helpful. But many parents successfully take passport photos at home. The key is environment.
Choose the Right Background
A plain white wall is ideal. If that is not available, use a white sheet taped flat against a wall. Make sure there are no wrinkles or visible patterns. Texture might look harmless to the eye but cameras pick up everything. Lay the sheet tight and smooth. Think hospital corner neat.
Use Natural Light
Lighting makes or breaks the photo. Position the child facing a window with indirect daylight. Avoid direct sunlight - it creates harsh shadows and squinting. Overhead lights can cast weird tones, so turn them off if possible. Soft daylight is your best friend here. It flatters. It evens things out. It reduces shadow drama.
How to Position a 12 Month Old for Passport Photo
Now comes the tricky part. At 12 months, most children can sit independently. That helps. A lot.
Option 1 - Sitting Upright
Place the child on the floor against the white background. Make sure the head is straight and not tilted. The camera should be directly in front at eye level. No angled shots. No cute side glances. Straight on.
Option 2 - Lying Down Method
If sitting still feels impossible, lay the child flat on a white sheet placed on the floor. Stand above and take the photo looking straight down. Be careful to avoid casting a shadow. Keep arms out of frame. It sounds unconventional. It works surprisingly well.
Getting That Neutral Expression
Here is the honest truth - you are not aiming for perfection. You are aiming for compliance. Avoid:
- Big open mouth smiles
- Visible teeth
- Crying or frowning
- Looking off camera
A calm, slightly curious look is ideal. Parents often find success by making a soft sound right before snapping the photo. Not a full laugh trigger. Just enough to get attention. Timing is everything. Try taking the photo after a nap and feeding. A rested, comfortable child is far more cooperative. Overtired equals chaos.
Camera Tips That Make a Huge Difference
Most modern smartphones have excellent cameras. That is good news. Still, technique matters more than device.
Keep the Camera Steady
Use both hands. Brace elbows against your body. Even small movements can blur the image.
Check Resolution
The image must be clear and high quality. No filters. No portrait mode blur. No fancy enhancements. Plain. Sharp. Accurate.
Frame Correctly
The head should occupy a specific portion of the frame, usually between 1 inch and 1 3/8 inches from chin to crown in a 2x2 inch photo. Always double check official measurement requirements for your country. Cropping incorrectly is one of the biggest reasons applications get delayed.
Common Mistakes Parents Make
Mistakes happen. It is part of parenting. But some errors can cost time and money. Here are the most frequent ones:
- Shadows behind the head
- Parent hands visible holding the child
- Using patterned blankets as background
- Red eye from flash
- Hair covering eyes
- Digital alterations or smoothing filters
If you ask most passport officers, shadows are the silent application killer. They seem minor. They are not.
Using Online Tools for Accuracy
Editing and sizing can feel overwhelming. That is where digital services come in handy. Platforms like BabyPassportMaker.com allow parents to upload a photo and automatically adjust it to meet official standards. This saves time. It reduces guesswork. It increases acceptance rates. Instead of manually measuring pixel dimensions or worrying about background brightness, the system guides the process. Honestly, for busy families, that kind of help can be a relief.
Step by Step Summary - Quick Checklist
For those who prefer a clear plan, here it is:
- Find a plain white background
- Use soft natural light
- Position child sitting upright or lying flat
- Ensure neutral expression and open eyes
- Keep camera level and steady
- Avoid shadows and visible objects
- Verify correct sizing and cropping
- Use a passport photo tool if needed
Simple steps. Powerful difference.
What If the Baby Refuses to Cooperate?
It happens. Sometimes the little one just will not sit still. Or keeps crawling away. Or decides today is dramatic expression day. Take a break. Trying to force the moment rarely works. Come back later. A few short sessions are better than one long, frustrating attempt. Patience beats pressure every time.
Why Getting It Right Matters
A rejected passport photo means delays. Missed travel plans. Extra fees. Stress. And when international travel involves an infant, logistics are already complicated enough. Getting the photo correct the first time saves more than just money. It saves energy. Think of the passport picture as a tiny gatekeeper. If it checks out, everything moves forward smoothly. If not, the entire process stalls. No parent wants paperwork holding up family plans.
Final Thoughts on Taking a Passport Photo for a 12 Month Old
Taking a passport photo for a 12 month old is not about perfection. It is about preparation. Control the environment. Keep lighting soft. Stay calm. Follow official guidelines carefully. The process might take a few tries. That is normal. A little persistence goes a long way. With the right setup and tools, even the most energetic toddler can end up with a passport photo that passes inspection. And once it is done? One more item checked off the list. One step closer to new adventures. Not bad for a two inch square photo.