How to take baby passport photo for 6 month old
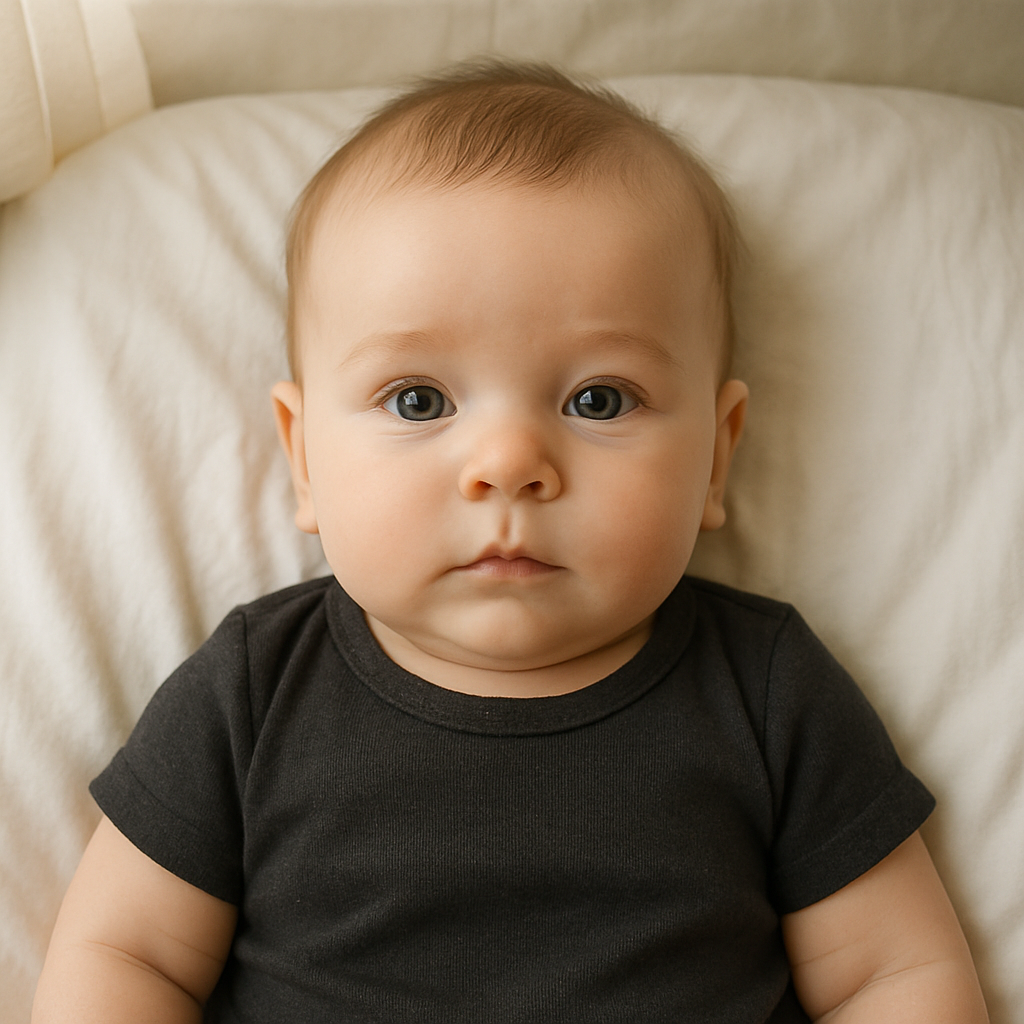
Taking a passport photo for a 6 month old baby can feel like trying to photograph a tiny celebrity who refuses to cooperate. They wiggle. They drool. They blink at exactly the wrong moment. And somehow, the one second they look perfect - you miss it. Still, it’s absolutely doable. With a little patience, decent lighting, and a few practical tricks, parents can capture a passport-ready image at home without turning the living room into a full-blown photo studio. Let’s break it down step by step.
Why Baby Passport Photos Are Tricky
Adults can follow instructions. Babies? Not so much. A 6 month old doesn’t understand “look straight at the camera” or “keep your head still.” At that age, they’re learning to sit, fascinated by everything, and rarely interested in holding a neutral expression for more than half a second. Passport regulations, however, are strict. The photo must:
- Have a plain white or off-white background
- Show the baby facing forward
- Have eyes open
- Show a neutral expression
- Contain no shadows or objects
- Include no parent hands or props visible
Sounds simple, right? In reality, it’s a small performance art piece starring someone who just discovered their toes.
Best Setup for a 6 Month Old Passport Photo
Preparation is everything. The smoother the setup, the less stressful the actual photo session will feel.
1. Choose the Right Time of Day
This matters more than people think. A well-rested, fed baby is far more cooperative than one who just woke up cranky or is fighting a nap. The sweet spot? About 30 minutes after feeding. Not immediately - milk dribbles happen - but not too long after either. If you ask most experienced parents, they’ll tell you timing is half the battle.
2. Create a Simple White Background
You don’t need professional equipment. A plain white sheet works perfectly. Smooth it out on the floor or over a firm mattress. Avoid wrinkles as much as possible. Shadows can cause rejection. Some parents prefer laying the baby flat on their back. Others use a car seat covered with a white cloth. Both methods work - as long as no straps or edges are visible in the final image. Think clean. Think minimal. Think passport office approval.
3. Use Natural Light
Flash is risky. It creates harsh shadows and red-eye. Instead, position the baby near a window during the day. Soft, indirect daylight is ideal. Avoid direct sunlight hitting the face - that creates glare and uneven tones. Lighting should feel even, like a cloudy morning. Bright, but gentle.
How to Position a 6 Month Old Baby
Positioning can make or break the photo. At 6 months, some babies can sit with support. Others cannot. That’s okay. Here are two reliable methods:
Method 1 - Lying Down
- Lay a white sheet on a flat surface
- Place the baby on their back
- Stand directly above them
- Hold the camera parallel to their face
Make sure the baby’s head is straight - not tilted to one side. Passport offices are surprisingly strict about alignment.
Method 2 - Supported Sitting
If the baby can sit upright:
- Use a firm pillow behind them
- Cover everything in white fabric
- Ensure no hands are visible in the frame
Sometimes another adult sits in front of the baby and makes gentle sounds to get their attention. A quiet whistle. A soft "psst." Nothing too exciting - remember, neutral expression. That’s the tricky part.
Getting That Neutral Expression
Let’s be honest - babies either look confused, ecstatic, or mildly offended. The goal isn’t a poker face. It’s simply a relaxed, natural look with eyes open and mouth closed. A few helpful tricks:
- Remove pacifiers a few minutes before shooting to avoid lip marks.
- Use a quiet sound to draw their gaze toward the lens.
- Take multiple shots in quick succession.
- Stay calm - babies sense stress instantly.
Here’s a hot take: the more serious you are about getting the “perfect” shot, the harder it becomes. Sometimes the best passport photos happen in between attempts.
Common Mistakes That Get Baby Passport Photos Rejected
Nobody wants to redo this process. Yet rejections happen all the time because of small technical errors. Watch out for these:
- Shadows behind the baby’s head
- Parent fingers barely visible at the edge
- Head tilted or rotated
- Baby looking slightly off-camera
- Overexposed lighting washing out facial features
- Wrinkled background fabric
It’s a bit like baking. Miss one ingredient, and the whole recipe collapses.
What Should Baby Wear for Passport Photo?
Clothing matters. Avoid white tops. They blend into the background. Darker solid colors work best - navy, soft gray, muted pastels. No hats. No headbands with bows. No large collars. Keep it simple. The focus must remain entirely on the baby’s face. And yes, drool stains are noticeable in high-resolution photos. Quick wardrobe check before snapping.
Using Online Tools for Perfect Sizing
Even if the photo looks great, sizing and cropping must meet official requirements. This is where online services can save a surprising amount of frustration. For example, BabyPassportMaker.com helps parents format baby passport photos correctly, ensuring proper dimensions, background compliance, and positioning standards. Instead of guessing pixel ratios or worrying about measurement guidelines, the platform adjusts everything automatically. It’s like having a quiet expert double-check the work before submission. And honestly, that peace of mind? Worth it.
Step-by-Step Summary - How to Take Baby Passport Photo for 6 Month Old
Let’s simplify everything into a quick action plan:
- Feed the baby and wait about 30 minutes.
- Set up a plain white sheet in natural light.
- Lay the baby down or sit them upright with hidden support.
- Stand directly in front or above for a straight-on shot.
- Ensure eyes are open and expression is neutral.
- Take multiple photos.
- Upload to a formatting service for proper sizing.
That’s it. Not complicated. Just a little patience required.
Extra Tips Parents Often Overlook
Sometimes it’s the small details that make everything smoother.
- Turn off ceiling lights to prevent overhead shadows.
- Use burst mode on your phone.
- Clean the camera lens before starting.
- Keep the room comfortably warm so the baby stays relaxed.
- Take the photo at eye level - not from an angle.
Have you ever noticed how a slight camera tilt makes a face look completely different? Passport systems notice too. Precision matters.
Is It Better to Go to a Professional Photographer?
That depends. Professional studios can be helpful, especially for parents who prefer zero hassle. But many photographers aren’t specialists in infant passport requirements. Surprisingly, home setups often work just as well - sometimes better - because babies feel comfortable in familiar surroundings. And comfort leads to cooperation. At least occasionally.
Final Thoughts on Taking Baby Passport Photos
Photographing a 6 month old for official documents isn’t glamorous. It’s not artistic. It’s not Pinterest-worthy. It’s practical. The process may require 50 photos to get one usable image. That’s normal. Completely normal. Patience is the real secret ingredient. With soft light, a smooth white background, and realistic expectations, parents can absolutely take a compliant baby passport photo at home. Add a reliable formatting service like BabyPassportMaker.com to double-check the technical details, and the entire experience becomes far less intimidating. And once it’s done? One more milestone handled. On to the adventure that passport is meant for.