How to take baby passport photo with eyes open hack
Taking a passport photo of a baby with eyes open can feel like trying to photograph a squirrel mid-espresso. One second they’re calm. The next? A blur. A yawn. A dramatic head flop. And yet, those tiny eyes need to be open. Fully open. Looking straight ahead. Sounds simple, right? Not quite. Parents often assume baby passport photos require a professional studio, bright lights, and a miracle. Here’s the truth - it’s absolutely doable at home. With the right setup, timing, and a few clever hacks, getting that perfect baby passport photo becomes less of a battle and more of a strategic mission. Let’s break it down.
Why Eyes Open Matters for a Baby Passport Photo
Official passport guidelines in many countries require the baby’s eyes to be open and visible. No shadows. No red-eye. No squinting. For newborns, some countries allow exceptions. But for infants older than a few months? Open eyes are typically mandatory. Think of it like this: the passport photo is the government’s way of saying, “Yes, this tiny human matches this document.” Closed eyes make that confirmation tricky. So the goal is clear - capture a neutral expression, mouth closed, eyes open, facing forward. Easy on paper. A little chaotic in real life.
The Ultimate Baby Passport Photo Hack
Here’s the trick seasoned parents swear by:
Timing Beats Technique
The biggest hack isn’t a camera setting. It’s timing. Photograph the baby right after a nap and right after a feeding. Why? Because a well-rested, full baby is far more cooperative. Trying to snap photos when they’re sleepy or hungry is like negotiating with a tiny dictator. Parents who succeed treat the session like a window of opportunity - 10 to 20 golden minutes when the baby is alert but calm. Miss that window? Reset and try later.
Step-by-Step: How to Take a Baby Passport Photo at Home
Let’s get practical.
1. Choose the Right Background
The background must be plain white or off-white. No patterns. No textures. No adorable nursery wallpaper. Many parents lay a clean white sheet on the floor and place the baby on their back. This works beautifully for younger infants who can’t sit up yet. Another option? Drape a white blanket over a car seat. The key is smooth fabric without wrinkles casting shadows.
2. Use Natural Light - Not Flash
Flash is the enemy. It creates red-eye, harsh shadows, and startled expressions. Instead, position the baby near a window with soft daylight. Indirect light is best - think bright but not blinding. Mid-morning usually works well. Lighting should fall evenly across the face. No dramatic side shadows. This isn’t a movie poster.
3. Positioning Is Everything
For newborns and small infants: - Lay them flat on a white blanket - Make sure their head is straight - Ensure shoulders are visible - Keep hands away from the face For babies who can sit independently: - Sit them upright against a white background - Make sure no one is supporting them in the frame - Keep posture straight No tilting. No leaning. The head must face forward.
4. The Eyes Open Trick
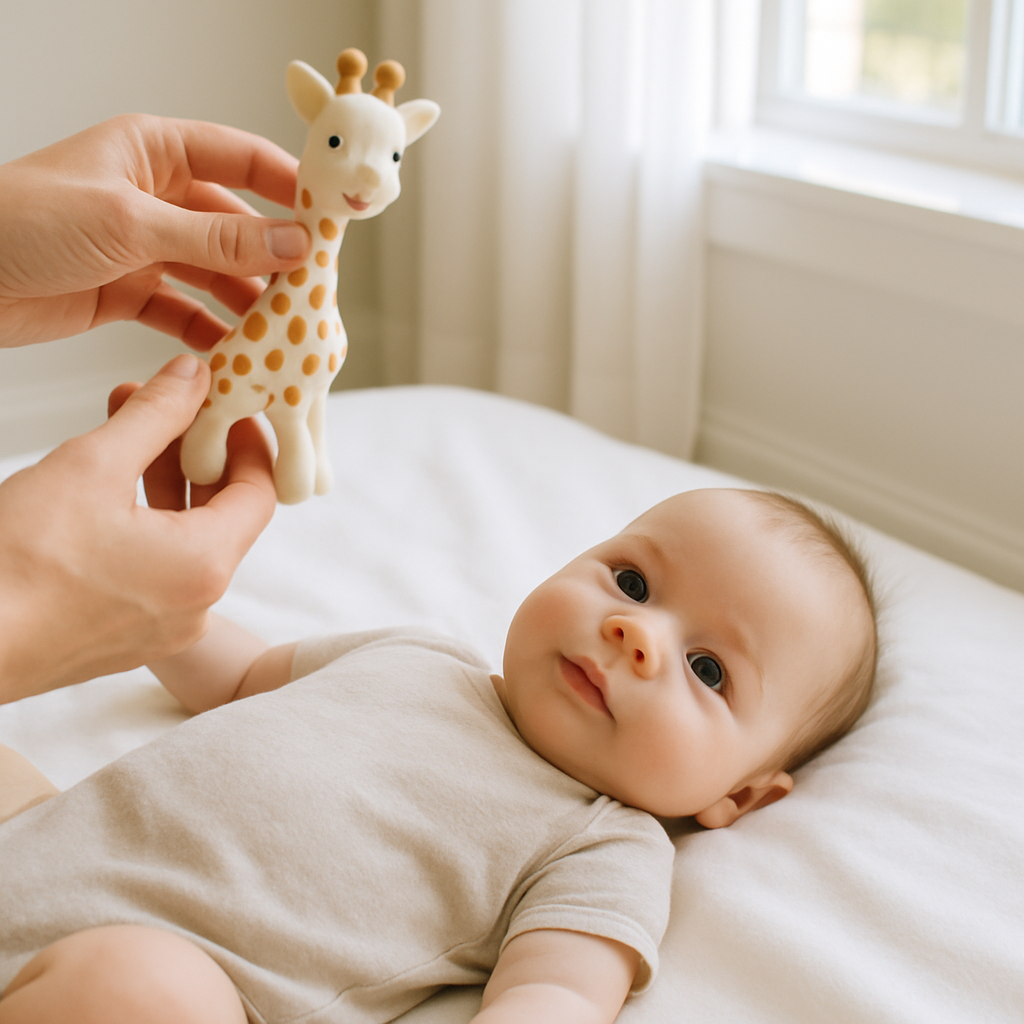
Now for the part everyone struggles with. How do you get a baby to open their eyes and look forward? Here are proven tricks: - Make a soft clicking or popping sound behind the camera - Hold a favorite toy directly above the lens - Use gentle, unexpected sounds - a whistle, a light clap - Call their name in an upbeat tone Avoid loud noises. The goal is alert curiosity, not tears. Some parents even switch their phone to selfie mode briefly so the baby sees their reflection near the lens. Curiosity kicks in. Eyes widen. Snap the photo. Quick hands win.
Common Mistakes That Get Baby Passport Photos Rejected
Here’s where many well-meaning attempts go wrong: 1. Shadows behind the head 2. Baby smiling too widely 3. Pacifier in mouth 4. Parent’s hand visible in frame 5. Head tilted slightly to one side 6. Eyes partially closed Rejections delay applications. Nobody wants that before a planned trip. If uncertainty creeps in, many parents use BabyPassportMaker.com to crop, adjust, and format the image correctly. It simplifies sizing and ensures the photo meets official passport requirements. Think of it like having a digital passport photo assistant - without the expensive studio visit.
How to Keep Baby Calm During the Photo
Energy matters. Babies pick up on stress faster than adults realize. If the room feels tense, they react. A calm setup helps: - Quiet space - Comfortable temperature - No sudden movements - Familiar surroundings Some parents turn the session into a mini game. A few giggles. A pause. A quick snap. Repeat. It doesn’t need to be perfect on the first shot. Actually, it rarely is. Expect to take 20 to 40 photos before getting the keeper. That’s normal.
Camera Settings That Actually Work
You don’t need a professional camera. Modern smartphones work beautifully if used correctly. Tips: - Use the rear camera for better resolution - Turn off beauty filters - Ensure high resolution mode is enabled - Hold the camera at baby’s eye level - Keep about 2 to 3 feet distance Focus should be sharp on the face. If the image looks slightly blurry, retake it. Clarity matters.
Clothing Tips for Baby Passport Photos
Simple is best. Avoid white clothing that blends into the background. Light pastel colors work nicely. No hats. No headbands. No bows covering the forehead. Even if it’s the cutest accessory ever. Religious head coverings may be allowed depending on country regulations, but facial features must remain fully visible. When in doubt, keep it minimal.
What If the Baby Keeps Closing Their Eyes?
It happens. Especially with newborns. Here’s a gentle workaround: Wait until the baby naturally wakes up and becomes alert. Instead of trying to stimulate them awake, capture the moment right after they open their eyes from a nap. That natural transition phase often gives the most relaxed, wide-eyed expression. Parents who try to force alertness usually end up with fussiness. Patience wins.
Editing and Cropping the Right Way
Passport photos have strict size requirements. Common guidelines include: - Specific dimensions (such as 2x2 inches in the U.S.) - Head size ratio requirements - Neutral background - No digital alterations to facial features Basic brightness and contrast adjustments are fine. Changing eye color? Absolutely not. Using tools like BabyPassportMaker.com ensures: - Proper cropping - Correct proportions - Printable format - Digital file compliance It removes the guesswork. And honestly, that alone reduces stress.
Final Thoughts on Getting the Perfect Baby Passport Photo
Taking a baby passport photo with eyes open isn’t about luck. It’s about strategy. Timing. Lighting. Calm energy. Quick reflexes. Parents who approach it like a short, flexible session instead of a high-pressure event tend to succeed faster. It may take a handful of tries. It may take a reset nap. That’s okay. In the end, the perfect shot usually appears suddenly - eyes open, face relaxed, expression neutral. Click. Done. And when that little passport arrives weeks later, it becomes more than just a document. It’s the beginning of adventures. All from one well-timed photo. Not bad for a moment that lasted less than a second.