How to take baby passport photo without crying tips
Taking a baby passport photo sounds easy. Lay the infant down, snap a picture, done. Right? Not quite.
Anyone who has tried capturing a newborn’s photo for official documents knows it can feel like negotiating with a tiny, unpredictable boss. One minute there’s a gummy smile. The next - full meltdown. The stakes feel oddly high too. This isn’t just another cute snapshot for the camera roll. It’s a passport photo. It has rules. Very specific ones.
So how do parents actually take a baby passport photo without crying - either the child or themselves? Let’s break it down in a way that feels realistic, practical, and doable.
Understanding Baby Passport Photo Requirements
Before even thinking about lighting or timing, it helps to understand the official guidelines. Passport authorities are not known for flexibility. The photo must meet strict standards.
Basic Baby Passport Photo Rules
- Plain white or off-white background
- No shadows on the face or backdrop
- Eyes open and visible
- Neutral expression - no exaggerated smiles or tears
- No hands, toys, or pacifiers in the frame
- Head centered and facing forward
Sounds simple. In reality, getting a newborn to stare calmly at a camera against a white background can feel like trying to photograph a cloud - soft, shifting, and completely uninterested in cooperating.
Timing Is Everything
If there’s one golden rule for baby passport photos, it’s this: choose the right moment.
Trying to snap a picture when the child is hungry, overtired, or overstimulated is practically asking for tears. Smart parents plan the photo session right after a feeding and nap. That sweet spot - when the baby is calm, alert, and comfortable - is pure magic.
Some caregivers even describe it as catching a rainbow. Brief. Beautiful. Worth the wait.
Best Time of Day
- Morning - when the baby is freshly rested
- After feeding - but before getting sleepy again
- During calm, quiet periods at home
Rushing never helps. Building in extra time reduces stress, which surprisingly affects the little one too. Babies sense tension like tiny emotional radar systems.
Create the Perfect Setup at Home
A professional studio isn’t required. Many families successfully take a baby passport photo at home with simple tools.
How to Set Up the Background
Use a plain white sheet or blanket. Lay it flat on the floor or drape it over a firm surface. Smooth out wrinkles. Creases can create shadows that cause rejection.
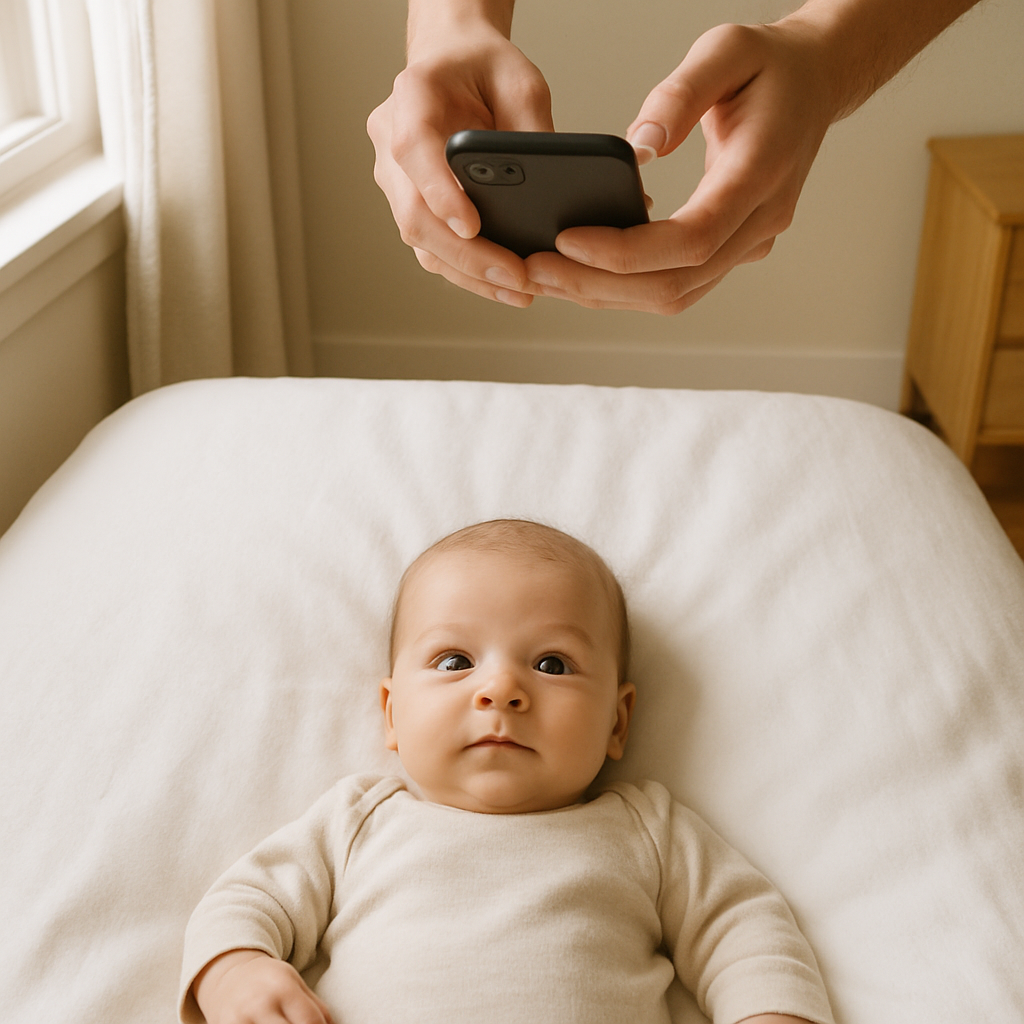
For newborns who can’t sit up, placing them on their back works well. Make sure no one’s hands are visible in the photo. If support is needed, it must remain completely hidden.
Another option is placing the infant in a car seat covered with a white blanket. This keeps them slightly upright and comfortable while maintaining a clean background.
Lighting Matters More Than You Think
Natural light is the secret weapon.
Position the setup near a window with indirect sunlight. Avoid harsh beams that create strong shadows across the face. Overhead lighting can cast dark areas under the chin or eyes - not ideal.
Think soft, even illumination. Like a cloudy day that flatters everyone.
Keeping Baby Calm During the Photo
This is where strategy meets creativity.
Most babies cry because they are uncomfortable, startled, or confused. The goal is to make the moment feel ordinary. Almost boring.
Proven Calming Techniques
- Feed and burp beforehand
- Change diapers before starting
- Keep the room warm and cozy
- Use gentle white noise
- Have a familiar voice nearby to hold attention
Parents often stand behind the camera making soft sounds to encourage the baby to look forward. Not loud. Not silly. Just enough to draw focus.
And here’s an underrated trick - patience. Taking multiple shots increases the chance of capturing that perfect neutral expression.
Common Mistakes That Cause Rejection
Nothing is more frustrating than submitting a photo only to have it rejected. It wastes time and adds stress to travel plans.
Here are mistakes that trip people up:
- Visible hands supporting the head
- Shadows on the background
- Closed eyes
- Open mouth with visible tongue
- Overexposed or dark images
Passport agencies follow strict biometric guidelines. Even small issues can result in a denial.
This is why many parents choose to double-check their image using professional online tools like BabyPassportMaker.com. It helps ensure the photo meets official standards before submission, saving time and frustration.
How to Position a Newborn Correctly
Newborn passport photos require extra care. Since infants cannot hold their heads up, positioning is critical.
Step-by-Step Positioning Guide
- Lay a smooth white blanket on a flat surface.
- Place the baby on their back, head centered.
- Stand directly above to take the picture.
- Ensure the face is fully visible with no shadows.
- Take several shots in quick succession.
It may take ten photos. Or twenty. That’s normal.
Some parents feel discouraged if the first few attempts fail. But passport photography for infants isn’t about perfection on the first try. It’s about persistence.
Clothing Tips for Baby Passport Photos
Wardrobe matters more than people expect.
Since the background is white, avoid dressing the baby in white outfits. Light pastel shades work beautifully. Soft blue, gentle pink, or subtle gray provide contrast without violating guidelines.
Avoid hats, headbands, or large bows. Even if they look adorable. Official photos require the head to be uncovered.
Keep it simple. Minimal patterns. No distracting graphics.
What If the Baby Won’t Stop Crying?
Sometimes, despite perfect planning, tears happen.
When that occurs, pause. Take a break. Forcing the session rarely ends well.
Walk around. Soothe. Try again later. Babies operate on their own internal schedule, and pushing against it usually backfires.
If repeated attempts at home feel overwhelming, professional services exist specifically to simplify the process. Digital tools can guide cropping, background adjustment, and sizing to ensure compliance without endless retakes.
Why Doing It Right the First Time Matters
Travel documents are time-sensitive. A rejected passport photo can delay processing for weeks.
For families planning international travel, that delay can mean missed flights, rescheduled trips, and unexpected costs.
Think of the passport photo as the key that unlocks future adventures. It might seem small, but it carries real weight.
Quick Recap - Stress-Free Baby Passport Photo Checklist
- Choose a calm, well-rested moment
- Use a plain white background
- Rely on natural, even lighting
- Keep the baby comfortable and fed
- Take multiple photos
- Double-check compliance before submitting
Simple steps. Big difference.
Taking a baby passport photo without crying - from either side - isn’t about luck. It’s about preparation, patience, and a bit of strategy.
Parents who approach the task calmly tend to get better results. Babies mirror energy. A relaxed environment encourages a neutral expression. And sometimes, that neutral look appears for just a second. Click. That’s the shot.
With the right setup, thoughtful timing, and careful review, capturing a compliant infant passport photo becomes manageable. Not effortless. But manageable.
And once it’s done? That tiny document opens the door to big journeys ahead.