Indian Passport Photo Requirements: 5 Steps to Application Approval
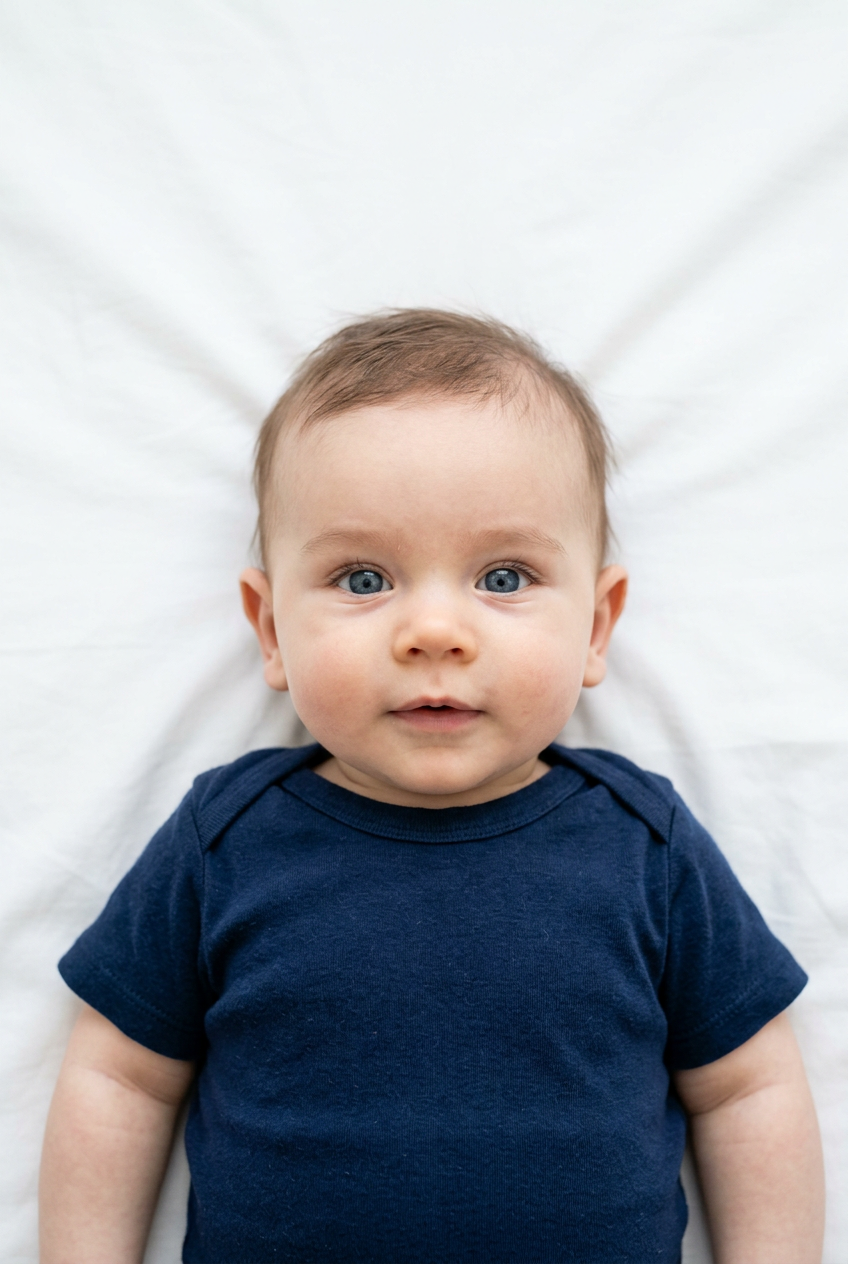
An applicant slides their paperwork across the consulate processing desk, only to watch the agent pull out a transparent plastic template, place it over the photograph, and immediately reject the entire application. The subject's head in the image was two millimeters too wide. Biometric processing systems do not negotiate, and getting the indian passport photo requirements right on the first attempt is the only way to avoid weeks of administrative delays. A rejected photograph does not just require a new picture; it frequently forces you back to the end of the appointment queue.
Quick Summary
The Indian government demands strict physical and digital biometric standards for all passport and OCI card applications. These specifications govern everything from physical sizing to subject positioning and background contrast, ensuring the image can be read by automated facial recognition software.
- Physical dimensions: Prints must be exactly 51x51 mm (2x2 inches) in a strict 1:1 square ratio.
- Head proportion: The chin-to-crown distance must measure between 35 mm and 40 mm.
- Background: The background must be pure, solid white without patterns, textures, or shadows.
- Digital specifications: Uploads must be strictly between 10KB and 300KB in standard JPEG format.
- Subject posing: Subjects must face forward with open eyes, neutral expressions, and both ears clearly visible.
Table of Contents
- 1. Interpreting the Core Indian Passport Photo Requirements
- Why traditional European dimension cuts fail the biometric scanner
- 2. Managing Background Contrast and Exposure
- Computational photography artifacts ruin facial edge detection
- 3. Controlling the Subject Position and Head Angle
- A tilted facial plane distorts the mandated chin-to-crown measurement
- 4. Dressing to Accommodate Algorithm Compliance
- White clothing creates a floating head failure during automated processing
- 5. Formatting the Image for Physical Print and Digital Portals
- Basic file compression permanently destroys mandatory biometric data
- Common Pitfalls & Troubleshooting
- FAQ
- Recommended Reads
1. Interpreting the Core Indian Passport Photo Requirements
The foundational metric for this application is the physical dimension of the print. The standard requires an exact 51x51 millimeter square, which is equivalent to 2x2 inches. Within that strictly square frame, the subject's head - measured from the very bottom of the chin to the top of the head (the crown) - must occupy between 35 mm and 40 mm. This means the head takes up roughly 70 to 80 percent of the total image height.
Why traditional European dimension cuts fail the biometric scanner
The mistake most applicants make is walking into a local pharmacy or photo booth and simply asking for "a passport photo." In many regions, automated booths default to a 35x45 mm rectangular print. Submitting this rectangular format for an Indian application results in immediate rejection at the processing desk. The required 2x2 inch dimension is identical to the standard described in the US baby passport photo guide, but entirely different from the formats used in the UK, Europe, or Australia.
Automated biometric scanners map the geometry of the face based on the expected 51x51 mm boundaries. If you attempt to trim a standard 4x6 inch print into a 2x2 square manually, you almost always throw off the internal head proportions. A head that measures 42 mm inside the frame is flagged as "too close," while a 32 mm head is flagged as "too distant." You can check this today: before leaving for your appointment, lay a physical ruler over your printed photo. The distance from the bottom of the chin to the top of the hair must fall entirely inside the 35 mm to 40 mm window, and the overall paper cut must be a perfect 51 mm square.
2. Managing Background Contrast and Exposure
The background for an Indian passport application must be pure white. It cannot be off-white, cream, light blue, or textured. This rule exists because the government's digital processing system automatically attempts to strip the background away from the subject to isolate the facial profile. To do this accurately, the software requires high contrast between the edge of the subject's hair, their clothing, and the environment behind them.
Computational photography artifacts ruin facial edge detection
When parents attempt to take infant passport photos at home using a standard smartphone, they often rely on the phone's native "portrait mode" to blur out wrinkles in a white bedsheet. This is a severe mechanical error. Smartphone portrait modes use computational algorithms to artificially separate the foreground from the background. This aggressive digital processing frequently eats away at the edges of the subject's hair or leaves a faint, blurry halo around the ears.
When the Indian consulate's biometric software scans an image with digital halos, it registers the file as artificially altered or corrupted, leading to an automatic rejection.
To prevent this, turn off all artificial depth-of-field or portrait settings on your camera. Place the subject at least two feet away from the white background to prevent their body from casting a hard shadow against the wall. Use flat, indirect window light rather than an overhead ceiling bulb. Overhead bulbs cast deep, dark shadows under the nose and chin, which the biometric scanner misinterprets as physical facial deformities. You can verify your lighting setup immediately by zooming into the digital file on your computer monitor: if you see a sharp, distinct line where the hair ends and the white wall begins, your contrast is correct. If the edge looks muddy or blurred, you must shoot it again with more ambient light.
3. Controlling the Subject Position and Head Angle
The orientation of the head dictates whether the automated systems can map the required biometric landmarks: the distance between the pupils, the width of the jaw, and the symmetry of the nose. The subject must face the camera directly, and the camera lens must sit exactly at eye level.
A tilted facial plane distorts the mandated chin-to-crown measurement
The failure mode here almost always involves the vertical angle of the lens. When photographing infants, parents often stand over a crib and point the smartphone downward. This creates a tilted facial plane. Shooting from above artificially enlarges the forehead and causes the chin to recede into the neck. When the processing desk measures the printed photo, the distorted perspective pushes the chin-to-crown measurement outside the acceptable 35-40 mm range.
Practical rule: If you cannot see both of the subject's earlobes equally in the final image, the head is rotated slightly off-axis and the application will be denied.
For infants who cannot support their own heads, lay them flat on a rigid surface covered by a taut, unwrinkled white sheet. Do not place a thick pillow under their neck. A pillow pushes the chin forward into the chest, hiding the jawline entirely. Instead, roll up two small white towels and place them under the sheet alongside the baby's ears to keep the head pointed straight up. The person holding the camera must lower the device until it is perfectly parallel to the baby's face, rather than shooting at a downward angle.
4. Dressing to Accommodate Algorithm Compliance
Clothing choices for government document photographs are strictly utilitarian. The goal is to provide a stark, undeniable visual boundary between the applicant and the pure white background. Uniforms, camouflage patterns, and clothing with large, distracting logos are strictly prohibited by the application guidelines.
White clothing creates a floating head failure during automated processing
The most common error applicants make is wearing a white collared shirt or dressing an infant in a white onesie. When a subject wears white against a pure white background, the camera's sensor fails to distinguish where the shoulders end and the background begins. During the automated scanning phase at the consulate, the software strips away the white background and accidentally erases the subject's shoulders along with it. This creates a "floating head" effect in the digital system. The file is immediately flagged and rejected because the software cannot verify the width of the torso.
To pass the automated checks, the subject must wear dark, solid colors - navy blue, black, or dark gray - to guarantee a sharp outline. Glasses must be removed entirely. Even if you wear prescription glasses daily, the glare from the lenses and the shadows cast by the frames will cause the scanner to fail when it attempts to map the eye sockets. Religious headgear is permitted, but it must not cast any shadows on the face, and the hairline at the top of the forehead down to the bottom of the chin must remain completely visible. Before approving your image, check the shoulder contrast: if the clothing color blends into the background anywhere along the perimeter, change the garment.
5. Formatting the Image for Physical Print and Digital Portals
The physical print is only half the battle. Many Indian passport and OCI applications now require you to upload a digital copy of the photograph to an online portal before your in-person appointment. The digital constraints are just as rigid as the physical ones. The digital image must be exactly 600 by 600 pixels, saved in JPEG format, and the final indian passport photo size must fall between 10KB and 300KB.
Basic file compression permanently destroys mandatory biometric data
A major pitfall occurs when applicants transfer the photo from their smartphone to a computer for upload or printing. If you send the photo to yourself via WhatsApp, iMessage, or a social media messenger, the app automatically compresses the file to save bandwidth. This compression strips out pixel density and drops the resolution well below the required 300 DPI (dots per inch).
While a heavily compressed image might look fine on a tiny mobile phone screen, uploading it to the consulate portal will trigger a "Resolution Too Low" error. Even worse, if you attempt to print a compressed file, the physical photograph will appear pixelated, blocky, or blurry. The biometric scanner cannot process blurry images. Unlike the narrower Australian baby passport photo guide requirements, which demand a different aspect ratio, the Indian application portal relies heavily on the strict 1:1 square ratio. If your image is rectangular (like a standard 4:3 smartphone photo), the portal's auto-cropping tool will indiscriminately slice off the top of the hair or the bottom of the chin to force it into a square.
Always transfer your files using email (selecting the "Actual Size" or "Original" attachment option) or via a direct USB cable. Right-click your final file on your computer, view the properties, and verify that the dimensions are exactly square and the resolution sits at or above 300 DPI before you submit.
Common Pitfalls & Troubleshooting
Three distinct failures cause the vast majority of rejections at the processing desk. They often look like generic "bad photos" to the untrained eye, but they trigger specific mechanical failures in the biometric system.
1. The "Invalid Aspect Ratio" Portal Rejection * Symptom: You attempt to upload your file to the online application portal, and the system instantly returns a red error message stating the dimensions are invalid, refusing to let you proceed. * Diagnosis: Your camera produced a rectangular image (typically 4:3 or 16:9), but the portal requires a mathematical 1:1 square. The system will not accept rectangles. * Fix: Use a photo editing tool to crop the image exactly into a square before attempting the upload. Ensure the face remains centered during the crop so the chin-to-crown ratio is preserved.
2. The "Shadows on Face" Desk Rejection * Symptom: The physical print is clear, but the agent at VFS Global hands it back, stating there are shadows obscuring the features. This is the most frequent cause of in-person rejection. * Diagnosis: You used a direct camera flash in a dark room, or you stood directly underneath a strong ceiling light. This casts a hard, black shadow under the nose, which the scanning software registers as a physical obstruction. * Fix: Turn off the camera flash and all overhead lights. Have the subject face a large window during daylight hours. The soft, horizontal light will illuminate the face evenly and eliminate under-chin shadows.
3. The "Eyes Closed" Infant Rejection * Symptom: An infant's application is delayed because the baby's eyes appear partially shut or they are looking away from the lens. * Diagnosis: The parent took a single photograph, catching the baby mid-blink, or distracted the baby from the side of the camera. * Fix: Ensure the infant is well-rested and fed. Hover the camera directly above them and hold a high-contrast object (like a black-and-white card) directly next to the camera lens. Use your phone's "burst mode" to capture 10-15 frames in one second, ensuring at least one frame catches the eyes wide open.
FAQ
Can an infant have their eyes closed in the photo? No. While some countries are lenient with newborns, Indian passport regulations require the subject's eyes to be open and clearly visible. If the infant is sleeping, you must wait until they wake up to take the photograph.
Am I allowed to wear prescription glasses? No. Glasses of any kind - including clear prescription lenses - are prohibited. Glare on the glass and shadows cast by the frames interfere with the automated mapping of the eyes and cheekbones.
Does the print need to be on matte or glossy paper? The photograph can be printed on either high-quality matte or glossy photo paper, provided there are no ink smudges, physical creases, or tears. Standard printer paper is never accepted.
Can I digitally alter the background to make it white? Using AI tools to aggressively cut out a busy background and replace it with a white block is risky if done poorly, as it often leaves jagged edges around the hair. However, professional background removal tools that preserve natural hair gradients and edge contrast are acceptable, provided the final background is pure white.