Mastering the NZ Passport Photo Requirements for Infants in 2026
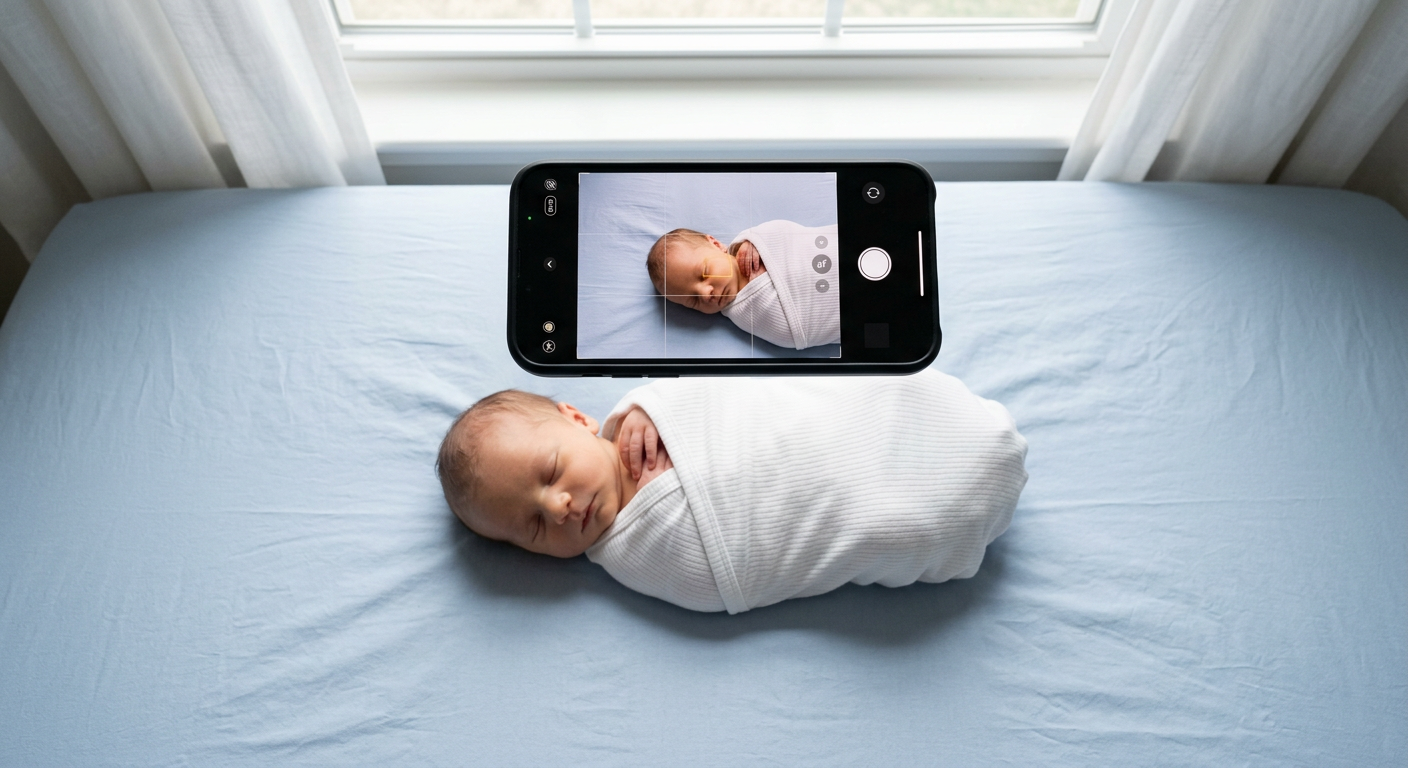
A tired parent lays their newborn on a white blanket, snaps a dozen photos, and hits upload - only for the Department of Internal Affairs portal to instantly reject every single file. "The website did not work" is not a diagnosis. Four different technical errors happen in this exact scenario, and they require completely different fixes. Understanding the strict nz passport photo requirements is not about capturing a flattering picture of your baby; it is about providing a flat, dimensional data map that government facial recognition software can read without interference.
Quick Summary
A compliant New Zealand passport image requires precise biometric mapping, balanced lighting, and specific digital formatting that meets automated government scanning standards. Getting an approved file means abandoning traditional portrait photography habits and focusing entirely on dimensional accuracy.
- New Zealand uniquely demands a plain, light-colored background, but strictly prohibits pure white or dark colors.
- Smartphones must be held at least 1.5 meters away to prevent wide-angle lens distortion from altering facial proportions.
- Biometric approval relies on clear visibility of the irises, empty space around the head, and zero background shadows.
- Digital submissions must maintain a 4:3 portrait aspect ratio and fall between 250KB and 10MB in total file size.
Table of Contents
- 1. Choosing the Right Background Color
- Pure white backgrounds trigger automated system rejection
- 2. Managing Light to Eliminate Shadows
- Overhead directional light creates false facial contours
- 3. Positioning and Supporting the Infant
- Visible hands or props invalidate the biometric crop space
- 4. Capturing the Correct Facial Expression
- An open mouth stretches the jawline and fails the template match
- 5. Controlling Camera Angle and Focal Length
- Wide-angle lenses distort the inter-pupillary distance
- 6. Sizing and Pre-Verification
- Native smartphone cropping destroys the required aspect ratio
- Common Pitfalls & Troubleshooting
- FAQ
- Recommended Reads
1. Choosing the Right Background Color
Pure white backgrounds trigger automated system rejection
The most common mistake parents make is placing their baby on a pristine white bedsheet. Automated edge detection software works by finding the contrast boundary between the subject's skin, hair, and the environment behind them. When you use a pure white background, ambient light bounces off it and clips the highlights on the camera sensor. Fair hair or lighter skin tones instantly blend into this blown-out white background. When the automated cropping tool attempts to isolate the subject, it cannot locate the edge of the cheek or the top of the head, resulting in an immediate rejection.
New Zealand's official rules specifically dictate a plain, light-colored background that is neither white nor dark. The mechanism here relies on providing enough contrast to isolate the head without plunging the background into shadow.
To fix this, swap the white sheet for a pale blue, light gray, or cream-colored fabric. Use 100% cotton rather than synthetic blends like satin or polyester. Cotton absorbs light smoothly, whereas synthetic fibers create micro-reflections that register as textured noise on a digital scan. Iron the fabric completely flat before laying the infant down; deep wrinkles cast their own miniature shadows, which the software interprets as structural objects invading the frame.
2. Managing Light to Eliminate Shadows
Overhead directional light creates false facial contours
Biometric scanners map a face by analyzing its physical depth - specifically the distance from the tip of the nose to the cheeks, and the depth of the eye sockets. Shadows break this map. If a ceiling light casts a dark shadow under the baby's nose, the software reads that shadow as a physical extension of the lip. If one side of the face is brighter than the other, the software assumes the face is structurally asymmetrical.
This happens when parents place the baby in the center of a room at night and turn on the overhead lights. The light source is small, directional, and highly intense. You need soft, diffused light that wraps evenly around the entire face, filling in the eye sockets and illuminating both ears equally.
Turn off every artificial light in the room to prevent color temperature mixing (which causes yellow and blue color casts). Place the baby on the floor near a large window during the day, preferably when the sky is overcast. The window acts as a massive softbox. Position the baby so the light flows from the top of their head down toward their feet. If you place them parallel to the window, one side of the face will fall into heavy shadow.
Practical rule: Hold your hand flat against the background sheet next to the baby's head. If your hand casts a hard, defined line of shadow, the light is too direct. Move further away from the window until the shadow blurs into a soft gradient.
3. Positioning and Supporting the Infant
Visible hands or props invalidate the biometric crop space
Infants lack the neck muscle control to sit upright for a photograph. Laying them flat on their back is the standard workaround, but it introduces a structural problem: gravity pulls the baby's head to one side, breaking the vertical axis alignment required for an official nz passport photo. The chin must sit perfectly centered over the chest.
Parents frequently attempt to fix this by sliding a hand behind the baby's neck to support the head. Even if the palm is hidden, adult thumbs or knuckles usually remain visible near the infant's shoulders. The digital scanning software looks for specific skin tones to map a single human face. When it detects a second set of skin-toned objects (your fingers) inside the required crop zone, it aborts the scan, flagging the image for containing multiple subjects or foreign objects.
Instead of using your hands, manipulate the environment under the background layer. Take two small hand towels and roll them into tight cylinders. Place these rolled towels on the floor, spaced slightly apart, and lay your light-colored background sheet smoothly over them. This creates a hidden, U-shaped channel. When you lay the baby down, the back of their head rests in the gap, and the elevated fabric on either side gently stops their head from rolling left or right. The support mechanism remains completely invisible to the camera.
4. Capturing the Correct Facial Expression
An open mouth stretches the jawline and fails the template match
The facial recognition algorithm calculates a mathematical template based on the spatial relationship between the pupils, the bottom of the nose, and the corners of the mouth. If a baby is crying, yawning, or laughing widely, the jaw drops. This stretches the lower half of the face and completely alters the spatial template. Similarly, if the eyes are closed, the system cannot measure the inter-pupillary distance - the most critical metric in the entire scan.
Achieving a neutral expression with a newborn requires timing, not force. Do not squeeze the baby's cheeks to close their lips, as this contorts the natural shape of the face. Do not dangle brightly lit, noisy toys directly over the lens, as this causes the baby to widen their eyes artificially and drop their jaw in surprise.
The mechanical fix relies on capturing the photo during the brief window of post-nap lethargy. Feed the baby, let them sleep, and prepare the setup. When they wake, lay them down immediately. Newborns typically stare blankly for several minutes after waking before they become active or fussy. To direct their gaze straight up at the lens without causing a reaction, hold a high-contrast, black-and-white graphic card right next to your smartphone camera. An infant's developing vision tracks high-contrast geometric shapes naturally without triggering an emotional response.
5. Controlling Camera Angle and Focal Length
Wide-angle lenses distort the inter-pupillary distance
Modern smartphones default to wide-angle lenses (usually a 24mm or 26mm equivalent focal length). When you hold a wide-angle lens 30 centimeters away from a baby's face to fill the frame, optical physics takes over. The lens creates barrel distortion: the center of the image (the baby's nose) bulges forward and magnifies, while the edges of the image (the ears and cheeks) recede and shrink.
The scanning software measures the width of the face from ear to ear. If barrel distortion has pushed the ears backward out of visibility, the photo will be rejected for an incomplete facial outline.
To eliminate focal distortion, you must change your physical distance, not just your framing. Stand a minimum of 1.5 meters away from the infant. Ensure the back of your smartphone is perfectly parallel to the floor; if you tilt the top of the phone down toward the baby, you will enlarge their forehead and shrink their chin. At 1.5 meters away, the baby will look tiny in the frame. Switch your smartphone camera to its optical "2x" or "3x" telephoto lens (typically a 50mm or 77mm equivalent) to re-frame the shot. This combination of physical distance and optical zoom flattens the perspective, rendering the facial proportions exactly as they exist in physical reality.
6. Sizing and Pre-Verification
Native smartphone cropping destroys the required aspect ratio
Once you have a technically sound image, the final hurdle is formatting. The digital upload portal requires a strict 4:3 portrait aspect ratio. It also enforces a minimum file size of 250KB and a maximum of 10MB, demanding JPEG format.
The mistake occurs when parents use their smartphone's native photo gallery to crop the image. Manually dragging the corners of a crop box almost never results in a precise 4:3 ratio. Worse, sending the file from one parent's phone to another via a messaging app like WhatsApp or iMessage will automatically compress the file, strip the EXIF metadata, and drop the resolution below the required 900x1200 pixel minimum. The portal will reject the compressed file instantly.
You must preserve the original, unedited file straight from the camera roll. Transfer it using a cloud drive or direct email. To ensure the crop meets the exact spatial requirements - where the head occupies a specific percentage of the total frame - use a dedicated formatting tool. Consulting the NZ Baby Passport Photo Guide | BabyPassportMaker allows you to process the raw file through an automated system that handles the strict 4:3 digital crop and compression limits without relying on guesswork.
Common Pitfalls & Troubleshooting
When a file is rejected, the government portal rarely explains the exact mechanical failure. These four distinct errors look identical from the outside but require completely different troubleshooting steps.
The Subject is Washed Out (Highlight Clipping) - Symptom: The face looks completely flat, the nose bridge disappears into the cheeks, and the file is rejected for low contrast. - Diagnosis: The room was too bright, or the camera overexposed the image to compensate for the light background. - Fix: Tap the baby's face on your smartphone screen to lock focus, then manually drag the exposure slider down slightly before taking the shot. The skin tones should look slightly darker on screen than they do in real life.
Red-Eye Auto-Correction Artifacts - Symptom: The file is rejected for "software manipulation" or "altered biometric data." - Diagnosis: You left the smartphone flash on auto. The flash caused red-eye, and your smartphone's background processing automatically painted black pixels over the retinas to hide it. The government scanner detects this digital alteration instantly. - Fix: Turn the flash completely off. Never use a software filter or redeye removal tool. If the eyes reflect ambient room light naturally, that is acceptable; digitally painted retinas are not.
Uneven Background Illumination - Symptom: The photo is rejected for "shadows on the background" even though the baby is evenly lit. - Diagnosis: The light source is hitting the background sheet from a severe side angle, illuminating one half of the fabric while the other falls into shadow. - Fix: Move the baby further from the window. The light must fall evenly across the entire surface of the sheet. If one side remains dark, use a large piece of white cardboard on the opposite side to bounce window light back onto the darker half of the background.
Off-Axis Alignment - Symptom: Rejected for "head tilted" or "facial features not level." - Diagnosis: You held the camera slightly to the left or right of the baby's center line, capturing more of one cheek than the other. - Fix: Do not trust your eyes alone. Turn on the "Grid" feature in your smartphone camera settings. Align the center crosshair directly over the bridge of the baby's nose, ensuring the vertical grid line splits the face perfectly in half.
FAQ
Can a newborn have their eyes closed in a New Zealand passport photo? No. The eyes must be open. While the processing department allows slight leniency for infants under one year regarding how wide the eyes are, closed or sleeping eyes will trigger an automatic biometric rejection because the system cannot measure the iris distance.
How much of the baby's shoulders must be visible in the frame? The final crop must show the top of the shoulders and leave clear negative space above the crown of the head. This provides the software with the spatial context needed to confirm the vertical alignment of the neck.
Can I use a dummy or pacifier if it keeps the baby calm? No. The mouth, lips, and entire jawline must remain completely unobstructed. Any object covering the lower half of the face renders the biometric template unreadable.
What is the correct physical size for a printed passport photo nz? If you are submitting a physical application, the printed photo must measure exactly 35mm wide by 45mm high. The face itself, measured from the bottom of the chin to the crown of the head, must take up between 32mm and 36mm of that vertical space.