Professional Infant Passport Photos for Less than $10
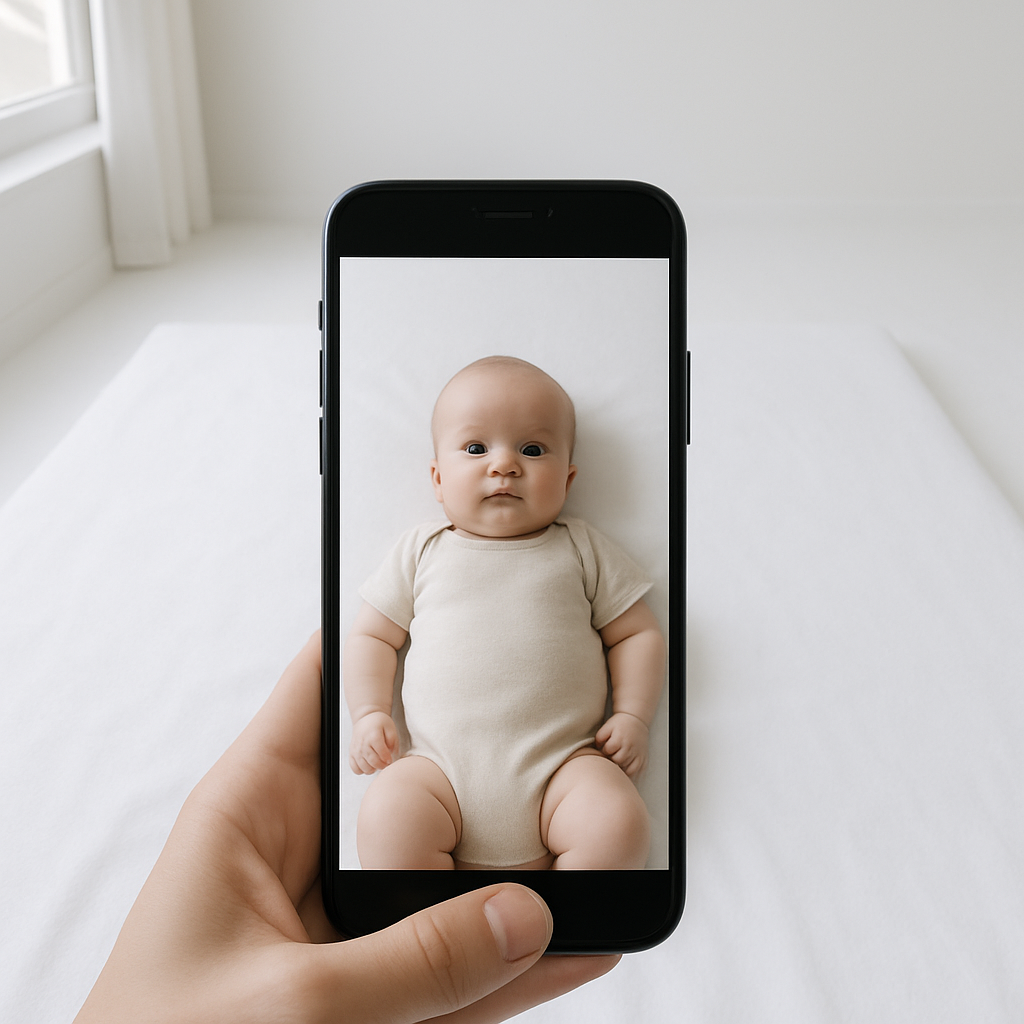
Getting a passport photo for an infant shouldn’t feel like organizing a movie shoot. Yet somehow, it often does. Bright lights. Perfect posture. Neutral expression. No shadows. No hands. No pacifiers. And definitely no tears. Sounds simple, right?
Parents quickly discover that professional infant passport photos can cost anywhere from $15 to $40 at local pharmacies or studios. For something the size of a postage stamp. Here’s the surprising part - it doesn’t have to be that expensive.
If you ask most seasoned parents, they’ll tell you the same thing: there’s a smarter way to do this. And yes, it can cost less than $10.
Why Infant Passport Photos Are So Tricky
Adults can follow directions. Babies? Not so much.
Infants can’t sit upright. They won’t “look straight at the camera.” They don’t understand what a neutral expression means. And asking them not to move? That’s like asking the ocean to pause mid-wave.
The official passport photo requirements in the U.S. are strict. The image must:
- Be 2x2 inches in size
- Have a plain white background
- Show the full face clearly
- Avoid shadows and objects
- Meet specific head size proportions
For infants, there’s a bit of flexibility. Eyes can be partially open. The mouth doesn’t have to be perfectly closed. But the photo still has to meet technical standards. That’s where many parents hit a wall.
The Real Cost of Traditional Passport Photo Services
Walk into a big-box store or pharmacy and you’ll likely pay between $15 and $20 for infant passport photos. Some photography studios charge even more - especially if they classify it as a “baby session.”
And here’s the kicker: if the baby wiggles, cries, or turns away, you may need multiple attempts. More time. More stress. Sometimes even another appointment.
It adds up.
Honestly, for something so standardized, those prices feel outdated.
A Smarter Option - Professional Quality for Under $10
This is where online services quietly changed the game.
Parents can now take a photo at home using a smartphone and upload it to a specialized service like BabyPassportMaker.com. The platform automatically formats, crops, and adjusts the image to meet official passport guidelines.
The result? A professional infant passport photo for less than $10.
Simple. Efficient. Budget-friendly.
How It Works
- Take a clear photo of your baby against a white background.
- Upload it to the website.
- The system adjusts sizing and positioning to meet passport standards.
- Download the ready-to-print file.
- Print it at a local store for a few cents.
That’s it.
No waiting rooms. No appointment slots. No standing under harsh fluorescent lighting while trying to balance a newborn.
Tips for Taking the Perfect Infant Passport Photo at Home
Now, taking the photo at home doesn’t mean “wing it and hope.” A little preparation goes a long way.
1. Use Natural Light
Place the baby near a window during daytime. Soft daylight reduces harsh shadows and gives even skin tone. Avoid direct sunlight - it creates sharp contrast.
2. Lay Them Down on a White Sheet
For newborns who can’t sit up, lay them flat on a white blanket or sheet. Make sure it’s smooth. Wrinkles can cast shadows.
3. Remove Accessories
No hats. No bows. No pacifiers. Even cute ones.
The face must be fully visible.
4. Keep the Camera Directly Above
Hold the phone parallel to the baby’s face. Tilting creates distortion, and passport software may reject the image.
5. Take Multiple Shots
Babies move constantly. Take 10 to 20 photos quickly. One of them will likely be usable.
Think of it like fishing. You don’t cast once and walk away.
Why Under $10 Makes Sense
Let’s break it down.
When parents use an online infant passport photo service:
- The digital formatting costs under $10.
- Printing at a local store can cost less than $0.50.
- No transportation expenses.
- No premium studio fees.
That’s a significant difference compared to traditional photo counters.
And here’s a practical truth - the government doesn’t care where the photo was taken. They care that it meets requirements.
Common Mistakes That Lead to Passport Photo Rejection
Saving money is great. Having the passport application rejected? Not so much.
A few common issues include:
- Shadows behind the head
- Background not fully white
- Baby’s head turned sideways
- Another person’s hand visible
- Incorrect cropping
This is exactly why using a formatting service matters. It acts like a final checkpoint before submission.
Skipping that step can be like baking a cake and forgetting to preheat the oven. Everything looks fine - until it isn’t.
Is It Really “Professional”?
Some parents hesitate. They assume that if it costs less, it must look less polished.
Here’s a hot take: professional doesn’t mean expensive. It means compliant.
If the dimensions are correct, lighting is balanced, and the image meets biometric standards, the passport office treats it exactly the same as a pharmacy photo.
In fact, many in-store services simply use automated cropping software themselves. The difference? Overhead costs. Rent. Staffing. Equipment.
Online services eliminate those layers.
When You Might Still Choose a Studio
To be fair, there are scenarios where a professional photographer makes sense:
- If the baby has medical equipment that needs special handling
- If repeated at-home attempts fail
- If parents prefer hands-on assistance
But for most families? A smartphone and a white blanket are more than enough.
The Bigger Picture - Convenience Matters
Travel preparation with an infant is already a juggling act. Diaper bags. Feeding schedules. Sleep routines. Adding an in-store photo appointment to that list feels unnecessary in 2026.
Digital solutions simply fit modern life better.
Instead of planning around store hours, parents can take the photo during a calm moment at home. Early morning. After a nap. Whenever the baby seems cooperative.
That flexibility alone is worth something.
Step-by-Step Checklist for Stress-Free Infant Passport Photos
For quick reference:
- Choose a well-lit room with natural light.
- Use a smooth white sheet as background.
- Lay baby flat or seat them upright if able.
- Remove all accessories.
- Take multiple clear shots.
- Upload the best one to BabyPassportMaker.com.
- Download the formatted file.
- Print at a local store.
Done.
Final Thoughts on Affordable Infant Passport Photos
Professional infant passport photos for less than $10 are not a gimmick. They’re simply the result of smart technology applied to a rigid process.
Parents don’t need to overspend for compliance. They need clarity, correct formatting, and a clean image.
That’s achievable at home.
And really, in a world where nearly everything can be handled from a phone - banking, shopping, booking flights - why should passport photos be any different?
Sometimes the best solution isn’t louder or flashier. It’s just practical.
Less stress. Less cost. Same official approval.
That’s a win any parent can appreciate.