Taking a Baby Passport Photo without Hands Showing
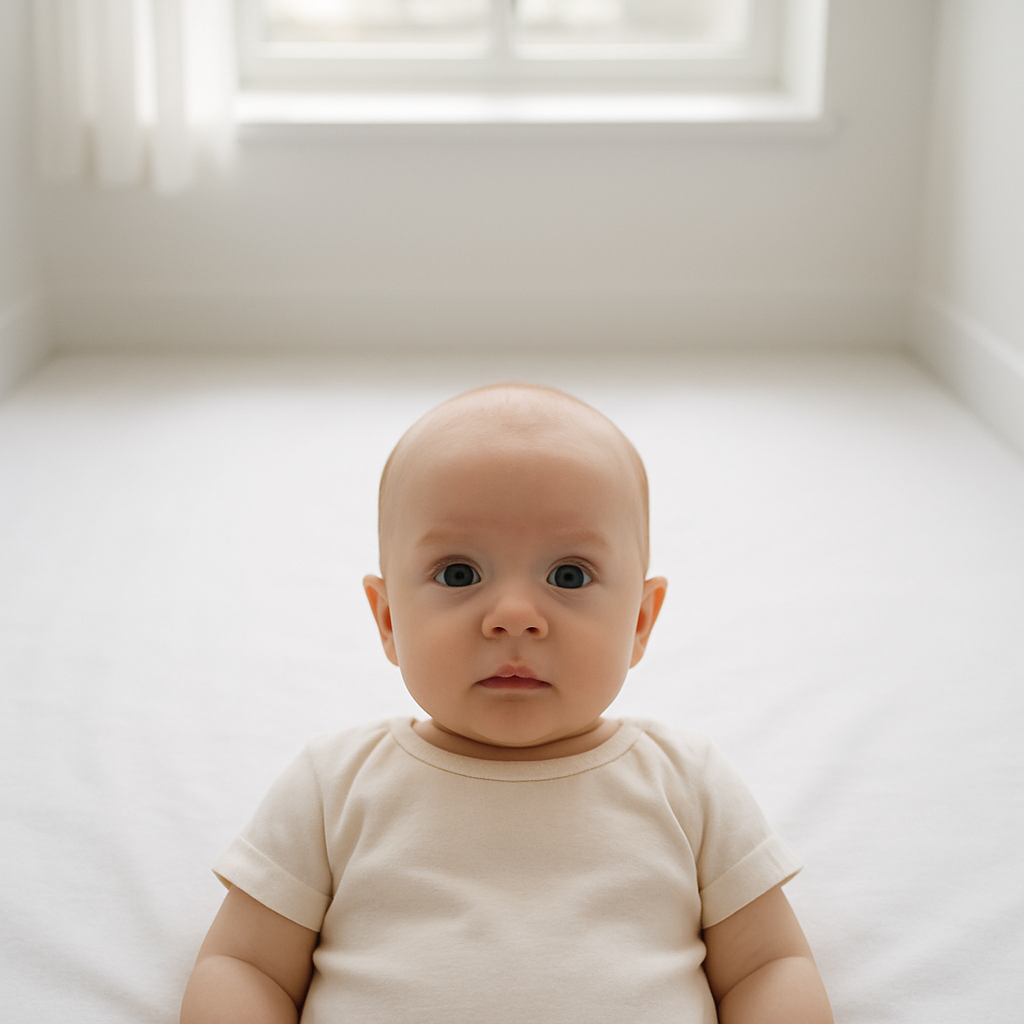
Anyone who has ever tried photographing a baby knows one thing - babies have their own agenda. They wiggle. They stretch. They grab at invisible things in the air. And when it’s time for an official passport photo? Suddenly those tiny hands become the star of the show. Here’s the tricky part: passport regulations are strict. No hands in the frame. No shadows. No smiling mid-giggle with a blurry fist creeping into the corner. Just a clean, clear image of your baby’s face against a plain background. Sounds simple, right? Not exactly. This guide walks through how to take a baby passport photo without hands showing, while keeping the process smooth, compliant, and far less stressful than it might seem.
Why Hands Cannot Show in a Baby Passport Photo
Passport authorities require a clear, unobstructed view of the baby’s face. That means: - No hands touching the face - No fingers in the frame - No adult hands supporting the head - No visible props or toys The image needs to show the baby alone, centered, and fully visible. Even a tiny thumb peeking from the bottom edge can cause rejection. If you ask many parents, they’ll admit this rule feels slightly unfair. Babies are not exactly known for posing skills. But these regulations exist for security reasons. Facial recognition systems need symmetry and clarity. A half-hidden cheek can disrupt that. And rejected photos? They delay travel plans. Nobody wants that.
Preparing the Setup - Before the Camera Comes Out
Preparation is half the battle. Trying to fix problems after snapping 37 blurry photos is exhausting.
Choose the Right Background
The background should be plain white or off-white. No patterns. No shadows. No textures. A simple trick many experienced parents use is placing a clean white sheet over a firm mattress or laying it smoothly on the floor. Make sure it’s pulled tight. Wrinkles can create shadow lines that look suspiciously like movement. Another option? Use a white poster board. It creates a clean surface and keeps lighting even.
Lighting Matters More Than You Think
Natural light is your best friend. Position the setup near a window, but avoid direct sunlight. Harsh light creates shadows under the chin and around the hands. Soft daylight is ideal. It’s like nature’s built-in photo filter. Avoid overhead lighting that casts shadows downward. Shadows near the shoulders can look like hidden hands.
How to Keep Baby’s Hands Out of the Frame
Now we get to the real challenge. Keeping hands invisible requires strategy, patience, and sometimes a bit of creativity.
1. Lay the Baby Down
This is often the easiest method. Place the baby flat on their back on the prepared white sheet. Position the camera directly above them. Make sure their head is straight and centered. Why does this work so well? Gravity. When lying down, babies naturally rest their arms by their sides. It reduces flailing. It limits upward reaching. It simplifies everything. Just be careful to frame the photo from shoulders upward. Crop properly so arms stay outside the visible area.
2. Use a Car Seat - Carefully
Some parents use a car seat covered with a white blanket. The seat supports the baby upright, while the blanket hides the structure. But here’s the catch. No visible straps. No shadows from side padding. And absolutely no adult hands holding the head. It takes adjustment. Sometimes multiple attempts. But it can work beautifully if done carefully.
3. Time It Right
Trying to photograph a hungry or overtired baby? That’s a recipe for chaos. The sweet spot is right after feeding, when the baby is calm but alert. Not sleepy. Not mid-cry. Just relaxed. Calm babies move less. Less movement means fewer surprise hands in the frame.
4. Swaddling - With Caution
For very young infants, a gentle swaddle under the shoulders can help keep arms contained. Important detail: the blanket cannot appear in the final image. It must sit below the frame line. Only the baby’s head and upper shoulders should be visible. Think of it like stage design. The audience only sees what’s in the spotlight.
Common Mistakes That Lead to Rejection
Even small errors can mean starting over. Here are the most frequent issues: 1. Adult fingers visible behind the head 2. Baby’s hand touching their face 3. Shadow that looks like a hand 4. Cropping too loosely 5. Uneven lighting creating dark patches Honestly, many parents don’t realize how strict officials can be until the photo gets rejected. That’s why some choose professional online services like BabyPassportMaker.com, which reviews images to ensure compliance before submission. It saves time, stress, and repeat attempts.
Framing the Perfect Baby Passport Photo
Composition matters more than people expect.
Head Position
The baby’s head must be straight. Not tilted. Not leaning. Eyes should be open if possible. For newborns, slightly closed eyes are sometimes acceptable, but fully shut eyes may lead to rejection depending on regulations.
Facial Expression
Neutral expression works best. No big smiles. No crying faces. No tongue sticking out mid-giggle. It sounds rigid, but think of it this way - passport photos are more like ID scans than family portraits.
Camera Angle
Shoot directly above the baby if lying down. If upright, keep the camera at eye level. Avoid tilting. Avoid creative angles. This isn’t the time for artistic flair.
Editing - What’s Allowed and What’s Not
Basic adjustments are fine. - Cropping to correct size - Slight brightness correction - Background cleaning if minor But do not: - Remove hands digitally - Blur sections - Alter facial features Digital manipulation can result in rejection or delays. If the hand appears in the frame, it’s better to retake the image.
Step-by-Step Summary for Success
For clarity, here’s a simple roadmap: 1. Prepare a smooth white background. 2. Use natural, soft lighting. 3. Lay baby on their back for best control. 4. Ensure hands are below shoulder level and outside the frame. 5. Check for shadows carefully. 6. Capture multiple shots. 7. Review closely before submission. Simple list. Big difference.
Patience Is the Secret Ingredient
No one talks about this enough. Taking a baby passport photo without hands showing is less about photography skill and more about timing and persistence. Babies move in bursts. One second they’re still. The next second, both arms shoot up like they’re celebrating something only they understand. Waiting for that calm two-second window is key. Sometimes the best approach is stepping away and trying again later. Stress shows up in the room. Babies sense it. A relaxed environment leads to better results.
When to Consider Professional Help
There’s no shame in outsourcing. Between diaper changes, nap schedules, and daily chaos, spending hours perfecting a passport image can feel overwhelming. Services that specialize in baby passport photo compliance exist for a reason. They understand the regulations. They know the exact dimensions required. They review for errors before submission. And frankly, that peace of mind can be worth it.
Final Thoughts on Getting It Right the First Time
Capturing a compliant baby passport photo without hands showing may sound complicated at first. But with the right setup, proper lighting, and a little patience, it becomes manageable. Think of it like assembling a puzzle. Each piece - lighting, background, timing, framing - must fit together. Miss one detail, and the whole picture feels off. Get them aligned, though, and it works beautifully. Clean background. Calm baby. Hidden hands. Clear face. That’s the formula. And once it’s done? You can move on to planning the trip instead of retaking photos for the third time. Much better use of energy, wouldn’t you agree?