SG Passport Photo Requirements in 2026: A Step-by-Step Guide
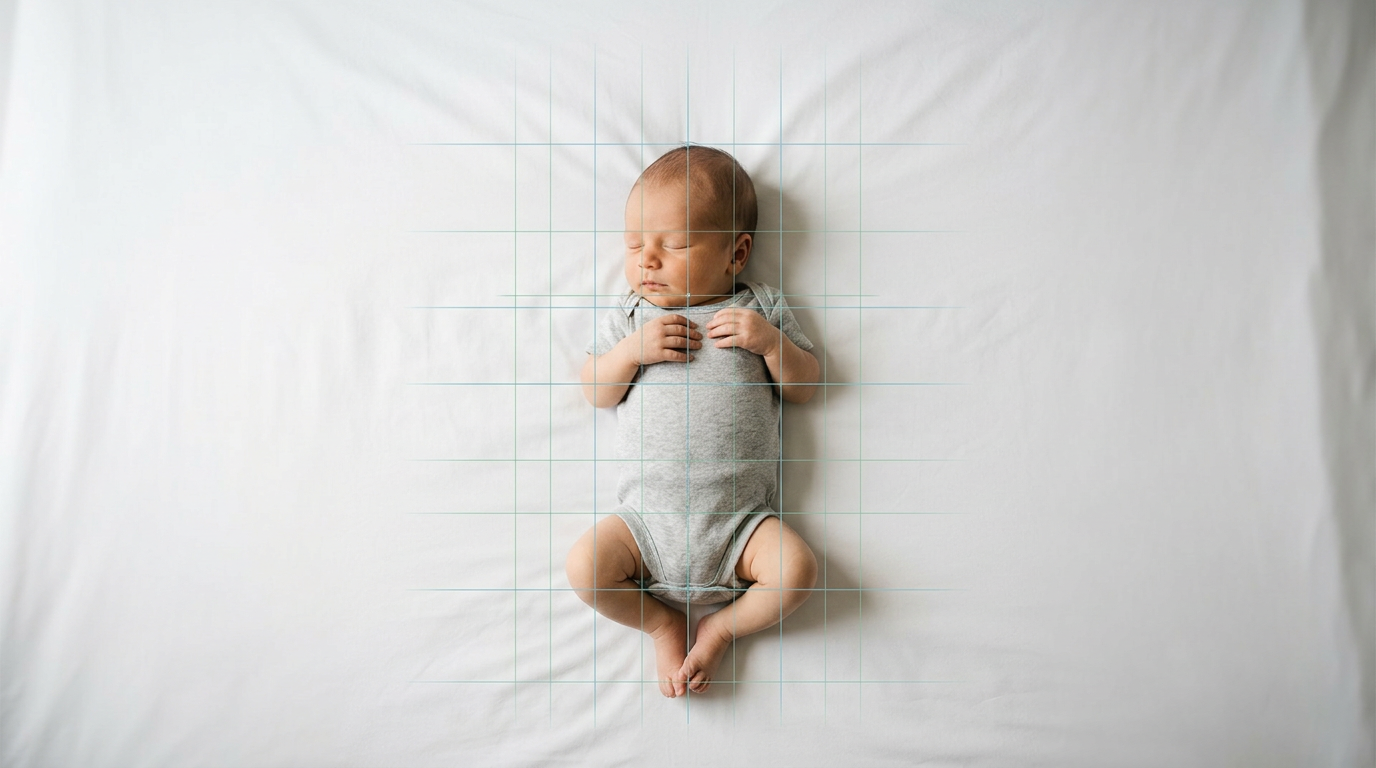
The most common assumption parents make when uploading an infant's document image to the Immigration & Checkpoints Authority (ICA) portal is that the digital system will forgive minor lighting errors or slight off-center framing because photographing a baby is difficult. It does not. The ICA utilizes automated biometric scanning that measures facial landmarks before a human officer ever sees the file, meaning a shadow under the chin or a fractional shift in head height triggers an immediate error code. Navigating sg passport photo requirements means treating the image capture as a strict data collection exercise rather than a standard portrait session. By understanding the mechanics of how these systems scan for facial geometry, you can prepare an image that clears the automated checkpoints on the first attempt.
Quick Summary
Meeting sg passport photo requirements demands precise adherence to the ICA's biometric specifications, specifically regarding dimensions, lighting, and facial positioning. For infants, this requires careful control of the environment to eliminate shadows and ensure unobstructed facial features against a pure white background.
- The physical photograph must measure precisely 35mm by 45mm without borders.
- Digital submissions require a resolution of 400 by 514 pixels, strictly under 1MB in file size.
- The chin-to-crown distance must occupy between 25mm and 35mm of the vertical frame.
- Backgrounds must be pure white with an even matte finish to prevent glare.
- Eyes must be open and clearly visible, with no hands, pacifiers, or supporting objects in the frame.
Table of Contents
- Step 1: Setting Up the Pure White Background
- Step 2: Configuring the Lighting to Eliminate Biometric Shadows
- Step 3: Managing Infant Positioning and Expression
- Step 4: Executing the Exact Digital and Physical Crop
- Navigating Dual Citizenship and Conflicting Dimensions
- Common Pitfalls & Troubleshooting
- FAQ
- Recommended Reads
Step 1: Setting Up the Pure White Background
The ICA mandates a plain white background with a matte or semi-matte finish. This is not simply an aesthetic choice; the biometric software relies on high contrast between the edge of the applicant's head and the background to calculate the total head width and height. If the background is off-white, cream, or heavily textured, the algorithm struggles to find the edge of the hair, leading to a "background not plain white" rejection.
For infants, achieving this at home usually means placing the child on their back. The common mistake is using a wrinkled bedsheet or a blanket with a subtle weave. Even if the material is white, folds and creases create micro-shadows that the camera sensor reads as grey or black lines. The biometric scanner interprets these lines as background clutter.
To fix this, use a thick, untextured piece of white poster board or heavy craft paper, placing it under a sheer white cloth if padding is necessary. Ensure the material is pulled completely taut.
Practical rule: If you can see the texture of the fabric in your camera's viewfinder before zooming in, the biometric scanner will register it as background interference.
Step 2: Configuring the Lighting to Eliminate Biometric Shadows
Lighting is the single highest failure point for DIY travel document photography. The facial recognition software measures the distance between the eyes, the width of the nose, and the depth of the eye sockets. Hard shadows cast across the face distort these measurements. A shadow falling from the nose across the cheek will trick the system into miscalculating the nose width, prompting an immediate failure.
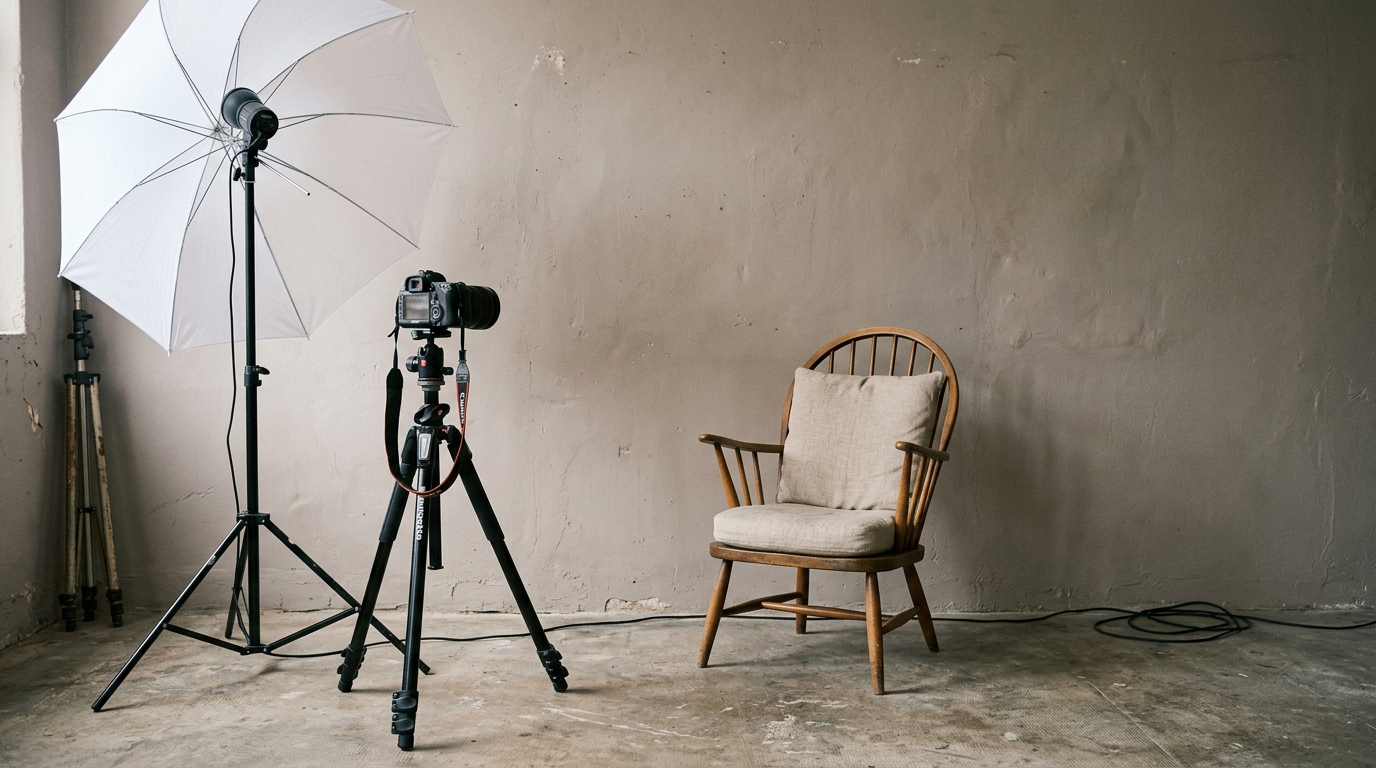
Overhead indoor lighting typically creates "raccoon eyes" (dark shadows in the eye sockets) and a heavy shadow under the chin. Flash photography, conversely, flattens the facial features entirely or causes a harsh red-eye effect, both of which are unacceptable for biometric mapping.
The optimal approach is flat, even, natural light. Position the child perpendicular to a large window so the light washes evenly across their face, but do this on a bright overcast day or use a sheer white curtain to diffuse direct sunlight. If one side of the face is slightly darker, place a white reflective surface (like another piece of poster board) on the shadow side to bounce the light back onto the face.
Check for the "catchlight" - a small reflection of the light source in the applicant's eyes. This catchlight proves the eyes are open and helps the algorithm lock onto the pupil location.
Step 3: Managing Infant Positioning and Expression
Infant positioning introduces variables that adult photography never encounters. The ICA requires a neutral expression, mouth closed, with the subject looking directly at the camera lens. Both ears and eyebrows must be visible, and the shoulders must be square to the camera.
For newborns, a closed mouth is often physically impossible. The ICA provides slight leniency for infants under one year old regarding closed mouths, provided the expression is neutral (not crying or laughing). However, they offer absolutely zero leniency for obstructions.
The most frequent failure mode here involves a parent's hand entering the frame to support the baby's head, or the infant raising their own fists to their face. The biometric software scans for a continuous jawline. Any object breaking that line - a finger, a pacifier, or a high collar - causes a rejection.
To manage this, place a rolled-up towel beneath the white background material to create a shallow, hidden channel that cradles the baby's head, keeping it straight without requiring physical support from your hands. Dress the child in a dark, solid-colored shirt (navy or black) to create a sharp contrast with the white background, and ensure the neckline sits well below the collarbone.
Step 4: Executing the Exact Digital and Physical Crop
Singapore requires a final physical print size of 35mm wide by 45mm high. However, the internal proportions are far more critical than the outer boundary. The head (measured from the bottom of the chin to the top of the head, excluding hair volume) must occupy between 25mm and 35mm of the vertical space.
If you are uploading directly to the ICA e-Service portal, the digital file requirements dictate a dimension of 400 by 514 pixels. The file size must not exceed 1MB, and it must be in JPEG format.
The mistake practitioners make is framing the photo too tightly in the camera, leaving no room to adjust the crop later. Because you must achieve a perfect vertical measurement of the head while maintaining sufficient space above the crown and below the chin (showing the top of the shoulders), you need peripheral padding.
Shoot wider than you need. Leave plenty of white space around the infant's head and shoulders. Once the image is captured with perfect lighting and posture, you can use cropping software to lock the aspect ratio and scale the head size precisely into the 25-35mm required zone.
Navigating Dual Citizenship and Conflicting Dimensions
Expatriate families and those managing dual citizenship often attempt to use one master photograph for multiple international applications to save time. This rarely works due to strictly divergent biometric models used by different governments. A crop that clears the ICA software will frequently fail European or South Asian digital portals.
For example, while Singapore mandates 35x45mm, you will find that dutch passport photo requirements demand a different set of facial proportion tolerances, often requiring the head to fill more of the frame vertically. Similarly, an italian passport photo size adheres to the standard European 35x45mm physical boundary but enforces distinct digital upload constraints regarding background shading and eye-level placement.
When applying for South Asian travel documents, the discrepancies become even starker. A nepali passport photo size often demands a 2-inch by 2-inch (51x51mm) square format, meaning the vertical crop you prepared for Singapore simply will not fill the horizontal frame required by Kathmandu without cutting off the subject's ears. Attempting to stretch or pad the background to force a 35x45mm image into a nepalese passport photo size framework will distort the biometric data, leading to instant rejection at the embassy.
You cannot build a one-size-fits-all file. You must start with the original, uncropped wide shot and create a dedicated crop for each specific national standard. For deeper guidance on managing multiple formats, see this Global Passport Size Photo Requirements: 7 Regional Specifications for 2026 overview.
Common Pitfalls & Troubleshooting
Even with careful setup, digital portal rejections occur. The ICA portal will usually return a generic error regarding "biometric unsuitability." Here are the distinct failures that look identical from the outside and how to fix them.
The File Size Compression Blur
Symptom: The portal rejects the photo for "image not clear" or "low resolution," even though it looked perfect on your phone. Diagnosis: The original image was too large (over 1MB), and you relied on a generic web compressor or a messaging app (like WhatsApp) to shrink it before uploading. These tools use lossy compression, which destroys the micro-contrast around the eyes and nose that the biometric software needs. Fix: Use dedicated image editing software to resize the image to exactly 400x514 pixels before saving it as a JPEG at a medium-high quality setting. This keeps the file size under 1MB without introducing compression artifacts.
The Invisible Shadow Rejection
Symptom: The portal rejects the photo for "uneven lighting" or "shadows across the face," but the face looks evenly lit to your naked eye. Diagnosis: The camera's automatic white balance or ISO adjustment masked a harsh shadow, usually cast by the subject's own chin onto their neck. The biometric scanner reads grayscale values, and a dark neck prevents it from establishing the bottom of the jawline. Fix: Move the light source slightly lower (closer to the subject's eye level) and place a white reflector directly beneath the subject's chest to bounce light up under the chin.
The Asymmetrical Shoulder Crop
Symptom: The system flags "shoulders not square" or "head tilted," despite the head appearing straight. Diagnosis: This is most common with infants. The baby was looking straight at the lens, but their torso was twisted. If the crop shows one shoulder dropping out of frame while the other is highly visible, the algorithm interprets the entire body posture as tilted, which invalidates the head measurement. Fix: Re-crop the original wide image. Rotate the crop slightly so the visible tops of both shoulders are perfectly parallel to the bottom edge of the frame, even if it means the head is tilted one or two degrees. The algorithm prioritizes shoulder alignment as the baseline for the vertical axis.
FAQ
Do infant passport photos need to have the child's eyes fully open?
Yes. While minor leniency exists for newborns under one year regarding a closed mouth, the eyes must be open and clearly visible so the automated system can calculate the distance between the pupils.
Can I remove the background of my baby's photo using a mobile app?
Only if the app maps the hair perfectly. Many consumer-grade background removal tools aggressively clip the edges of the hair or leave a faint halo of the original background. The ICA biometric software will detect these artificial borders and reject the image for digital tampering.
What happens if my digital upload is accepted by the portal, but the physical application is rejected?
This typically occurs when your local printer applies "auto-enhance" or "color correction" to the file before printing. This alters the contrast and skin tones. Always instruct the print shop to print the file exactly as provided without any automatic adjustments.
Is a pacifier allowed if the baby won't stop crying?
No. Pacifiers, hands, toys, or high-collared bibs all obscure the jawline and mouth. The photo will be rejected immediately. You must wait for the child to settle.