How to Prepare a Compliant Passport Size Photo: Officeworks and Home Tool Setup Guide
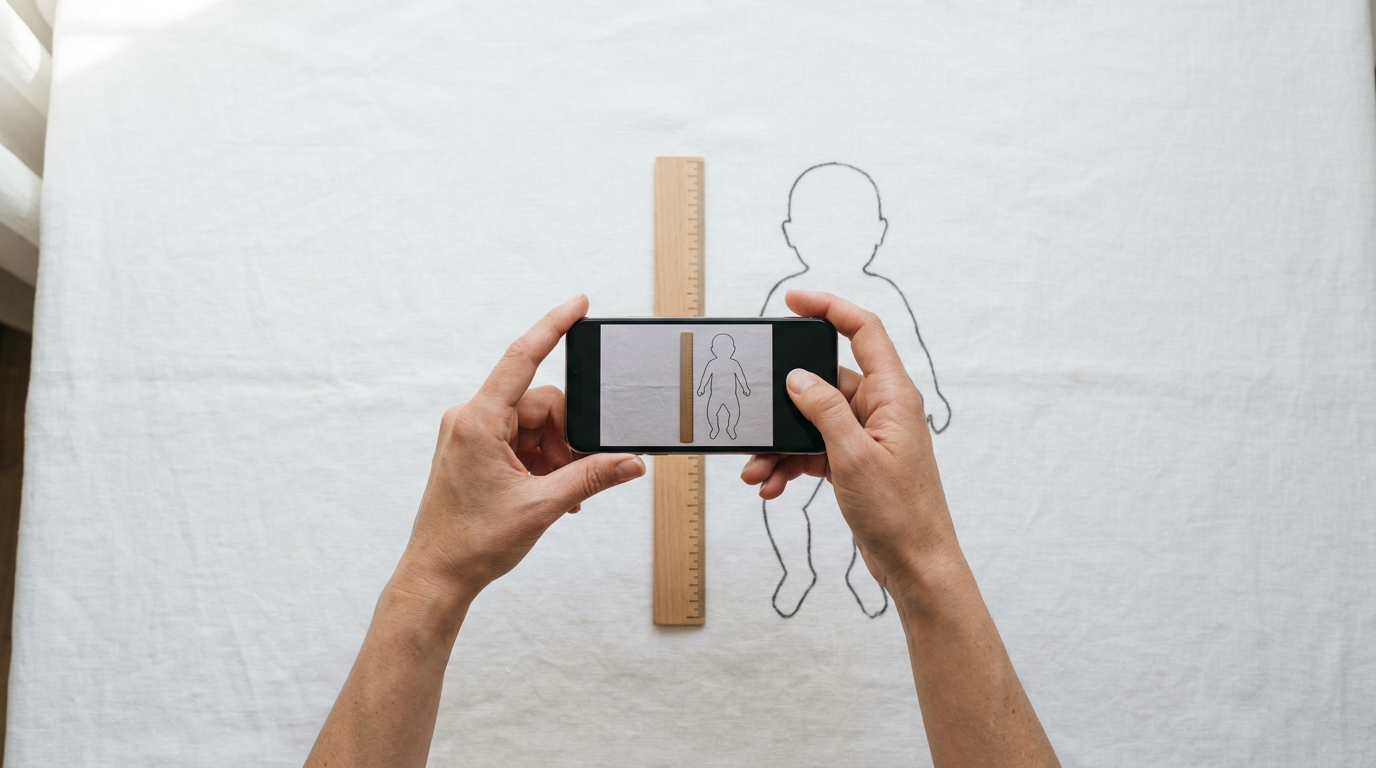
You have the wriggling infant settled, the white sheet draped over the car seat, and the smartphone camera focused. You take the shot, print it out, and the passport office rejects it because the chin-to-crown measurement is off by three millimeters. Infant passport photos fail constantly on the technicalities of biometric formatting, not on the quality of the photography itself.
Quick Summary
Formatting an infant passport photo at home requires matching smartphone photography with strict biometric standards for head size, background color, and printing resolution.
- Government agencies reject photos primarily for incorrect head sizing or background shadows.
- Digital tools automate the chin-to-crown measurements required for compliance.
- Printing at retail locations requires specific digital layouts to avoid automatic cropping.
- Natural lighting is the only reliable way to eliminate background shadows without professional equipment.
Table of Contents
- 1. Clear the Background and Secure the Lighting
- 2. Frame for Digital Cropping
- 3. Format with Compliance Tools
- 4. Prepare the Digital File for Retail Printing
- Common Pitfalls & Troubleshooting
1. Clear the Background and Secure the Lighting
An infant cannot sit up straight under overhead studio lighting. Parents typically solve this by laying the baby on their back, which introduces a new problem: shadows pooling directly behind the head. Biometric scanners flag these shadows as background inconsistencies, leading to immediate rejection.
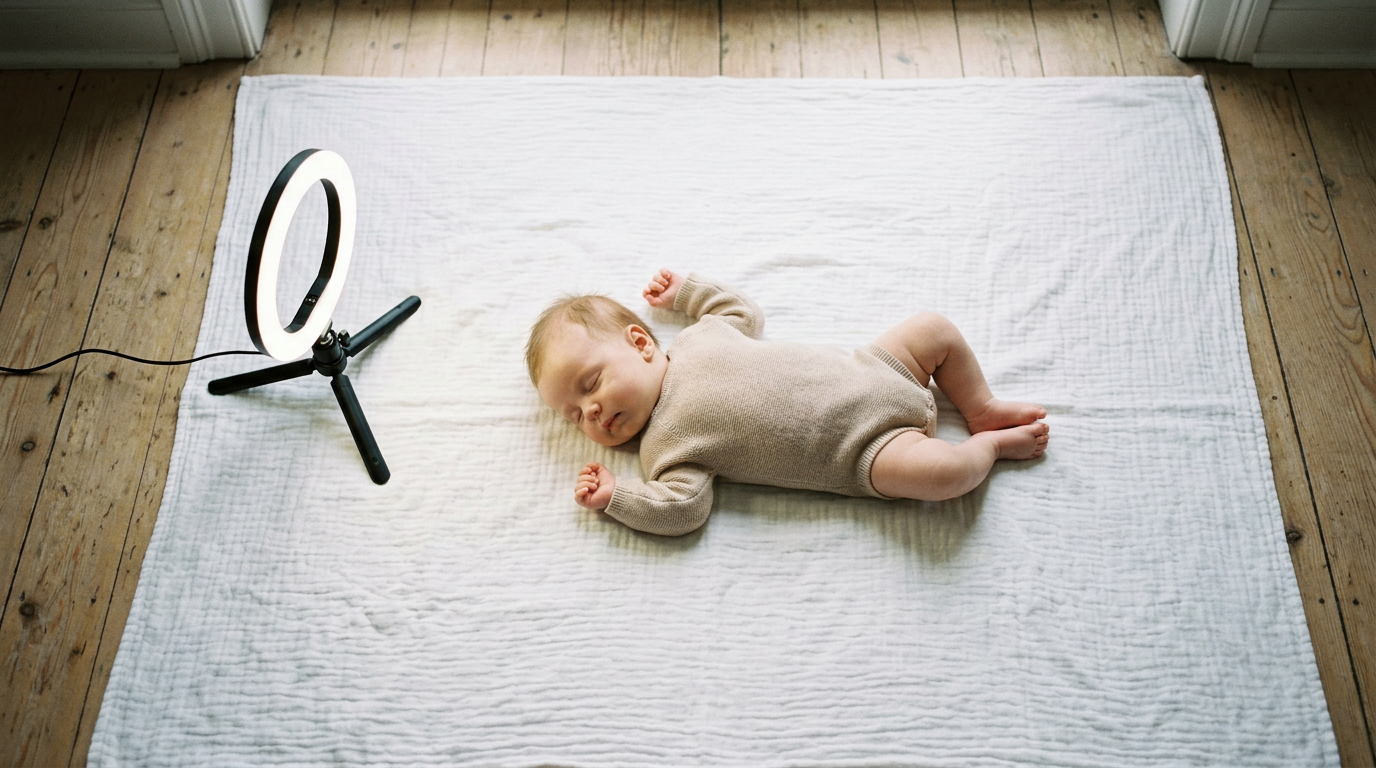
The mechanical fix is to rely entirely on diffuse, natural light. Place the infant on a plain white or light grey sheet near a large window, turning off all artificial lights in the room. Overhead lights create harsh directional shadows; natural light from a window wraps around the subject. If the window light is too direct, hang a sheer white curtain over it to diffuse the source.
Practical rule: If you can see the shadow of the infant's head on the sheet, the biometric scanner will see it too.
The mistake parents make here is attempting to artificially light the subject with a smartphone flash. The flash flattens the facial features - removing the depth necessary for biometric mapping - and casts a sharp, black shadow directly behind the baby's neck.
2. Frame for Digital Cropping
A compliant passport photo requires specific proportions: for an Australian passport, the head must take up between 32mm and 36mm of the total 35mm by 45mm image height. When taking the initial photo, parents often frame the shot too tightly, attempting to capture the final crop in the camera lens.
When you frame too tightly, you leave no room for digital adjustment. If the head is slightly off-center, or if the digital formatting tool needs to rotate the image to align the eyes horizontally, a tightly framed shot will crop out the infant's shoulders or the top of their head, rendering the photo invalid.
Instead, shoot wide. Capture the infant from the mid-chest up, ensuring there is plenty of white space above the head and on both sides. The goal is to capture high-quality raw material that a digital tool can manipulate, not the finished product.
3. Format with Compliance Tools
Once you have the raw image, you must convert it into a government-compliant format. This is where passport photos online tools and AI formatting services replace the manual work of measuring pixels.
A compliance tool does three things: it strips out minor background imperfections, centers the face along the vertical axis, and scales the image so the chin-to-crown distance meets the specific national standard. These tools rely on facial recognition algorithms to identify the eyes, chin, and top of the head (excluding hair), applying the correct ratios automatically.
The failure mode at this step is using generic photo editing software instead of a purpose-built formatting tool. A generic editor allows you to crop to a 35x45mm ratio, but it does not verify that the head size within that frame is correct. You might print a perfectly proportioned rectangle containing a head that is 5mm too small for the government scanner to process. Always use a tool designed to output specific passport biometrics.
4. Prepare the Digital File for Retail Printing
Print kiosks use standard 4x6 inch paper. You cannot print a single 35x45mm file directly. If you feed a 35x45mm file into a 4x6 printer, the software automatically stretches the tiny image to fill the paper. This stretching destroys your precise biometric measurements.
To print correctly, you must generate a 4x6 inch digital collage. It contains multiple copies of the properly sized photo. This layout is standard when preparing a passport size photo officeworks run or using any other retail photo center. The 4x6 inch digital file acts as a carrier. The printer outputs it exactly as formatted. You cut the individual photos out with a ruler and craft knife later.
Many parents assume an officeworks digital passport photo kiosk will handle the formatting for them. While some locations offer full services, self-serve kiosks only print what you provide. If you do not provide a pre-formatted 4x6 inch template, the resulting prints will be unusable for an application.
Common Pitfalls & Troubleshooting
Symptom: The printed photo looks pixelated or blurry. Diagnosis: The original smartphone image was compressed before formatting. This most commonly happens when transferring the photo from a phone to a computer via messaging apps (like WhatsApp or iMessage), which aggressively downsize files to save data. Fix: Transfer the original file via email at its "Actual Size" setting or use a direct cloud transfer. The formatting tool requires a high-resolution starting image to output a 600 DPI print file.
Symptom: The infant's eyes appear closed or "red-eye" is present. Diagnosis: Either the camera flash was used, or the infant was distracted during the shot. Red-eye renders the photo invalid because it alters the natural eye color required for biometric identification. Fix: This is the most common reason for a complete reshoot. Turn off the flash, ensure the room is brightly lit with natural light, and use a toy behind the camera lens to capture the infant's attention. Digital red-eye removal tools are not permitted on official passport photos.
Symptom: The background is white, but the edges of the infant's head look jagged or unnatural. Diagnosis: A low-quality background removal tool was used. Poorly calibrated tools struggle with fine details like wisps of hair, creating a "cut-out" effect that government agencies reject as digital manipulation. Fix: Use an AI formatting service specifically calibrated for passport compliance, which uses edge-detection algorithms to cleanly separate the subject from the background without altering the outline of the head.