A 2026 Setup Guide for the nepali passport photo size and South African Specs
Parents routinely assume that an infant passport application triggers leeway from consular officials, leading to inevitable processing delays when automated biometric scanners reject their submissions. Mastering the precise nepali passport photo size and navigating international documentation standards requires strict adherence to physical geometry, not just a clear picture. Consular systems do not evaluate the difficulty of photographing a newborn; they measure background contrast, dimensional ratios, and shadow thresholds. When you submit an image that fails these algorithmic checks, the application halts regardless of the applicant's age. This guide details the exact mechanical requirements for these official documents, how the capture environment influences algorithmic acceptance, and what you can measure at home to guarantee compliance before submission.
Quick Summary
Meeting official biometric standards requires matching strict dimensional ratios and background purity rules that vary sharply between jurisdictions. While both Nepal and South Africa share base dimensions, their contrasting background processing and facial framing rules demand specific capture techniques.
- The base physical dimension for both countries is exactly 35x45 mm.
- Nepal mandates a pure white background, whereas South Africa accepts pale grey or white.
- The chin-to-crown measurement must consume 70 to 80 percent of the total image height.
- Automated biometric scanners will instantly reject images with shadows behind the ears or under the chin.
- Infant photos require specific posture adjustments to keep parental hands and shoulders entirely out of the frame.
Table of Contents
- Why the nepali passport photo size dictates your background choices
- How facial proportions restrict your framing setup
- What lighting reveals about your capture environment
- Where infant posture overrides standard adult rules
- When digital resolution mismatches distort the final print
- Common Pitfalls & Troubleshooting
- FAQ
- Recommended Reads
Why the nepali passport photo size dictates your background choices
The background of a biometric image is not merely a blank space; it is the baseline that automated consular software uses to extract the facial geometry. The nepali passport photo size specification requires a purely borderless, flat white background. In contrast, South African specifications allow for either white or pale grey. This distinction is critical because smartphone cameras natively apply auto-exposure algorithms that attempt to average an entirely white scene down to 18 percent gray. If you shoot against a bright white sheet for a South African application, the camera's processing might render it as an acceptable pale grey. However, submitting that same underexposed grey background to the Nepalese consulate triggers a rejection for failing the pure white requirement.
Automated background extraction relies on high contrast between the subject's edges - specifically hair and clothing - and the backdrop. When a background contains wrinkles, fabric textures, or uneven lighting gradients, the extraction software cannot differentiate where the background ends and the subject begins. This is why using a lightly textured wall or a draped blanket often fails the compliance check, even if it looks white to the naked eye.
The actionable check for this step requires evaluating the digital file before printing. Open the image on a computer monitor and use a digital color picker tool on four different corners of the background. If the hex codes vary wildly or drop into dark grey values, your lighting is too uneven for the extraction algorithm. For a deep dive into how these specific country requirements compare across the board, reviewing the Nepal and South Africa Passport Photo Size Requirements reveals the exact tolerances permitted by each consulate.
How facial proportions restrict your framing setup
Both Nepal and South Africa rely on a standardized outer physical boundary of 35 millimeters in width and 45 millimeters in height. However, the outer dimension is only the container; the internal geometry dictates whether the photo passes. The nepalese passport photo size guidelines mandate that the face must occupy between 70 and 80 percent of the total vertical space. This means the measurement from the bottom of the chin to the crown of the head must land strictly between 32 and 36 millimeters.
A common mistake parents make is leaving too much headroom above the child. Because infants have proportionally larger heads relative to their bodies, framing them like adults often pushes the chin-to-crown measurement outside the acceptable bounds. If the face measures only 25 millimeters high, the biometric template matcher cannot identify enough defining facial points, resulting in an automated failure.
Conversely, zooming in too tightly crops out the upper shoulders, which are required to anchor the portrait. The physical lens geometry of modern smartphones adds another layer of complexity. If you hold the camera closer than 1.2 meters to fill the frame, the wide-angle lens introduces barrel distortion. This stretches the nose and curves the jawline, creating a facial map that will not match the child's actual proportions at the border.
To ensure your internal geometry is accurate, print a draft copy on standard paper at 100 percent scale. Take a physical millimeter ruler and measure from the base of the chin to the top of the skull - ignoring the hair. If the measurement falls outside the 32 to 36 millimeter window, you must re-crop the digital file. Understanding these strict official guidelines and standards for getting the correct passport size photo prevents the most common dimensional rejections at the consulate.
What lighting reveals about your capture environment
Biometric software maps a face by analyzing the physical depth between features, primarily relying on the uniform distribution of light. Consular scanners interpret shadows not as lighting conditions, but as physical facial structures. A deep shadow under the nose is read as a structural anomaly, and a shadow behind the ear blends into the hairline, altering the perceived width of the head.
Using an on-camera flash or a single overhead room light creates harsh directional shadows. Flash photography also produces stark circular catchlights in the pupils. While minor catchlights are expected, a high-intensity burst can obscure the iris color, which is a required biometric data point. Natural, diffused light is the only reliable way to achieve the flat, even illumination required for these documents.
The most frequent failure point occurs when the subject is placed too close to the background, causing their body to cast a hard drop shadow on the white sheet behind them. This immediately violates the background purity rule discussed earlier.
To verify your lighting setup, perform the hand test before bringing the infant into the frame. Hold your hand exactly where the child's head will rest and look at the background directly behind it. If you see a distinct, sharp-edged shadow, you must move the subject further away from the backdrop or introduce a reflector to fill the shadow side. Following a structured step-by-step guide to getting the perfect passport size photo ensures your lighting environment mimics a professional studio's flat illumination.
Where infant posture overrides standard adult rules
Photographing an adult for a travel document requires them to sit straight, look at the lens, and maintain a neutral expression. Applying these rules to a newborn is physically impossible due to their lack of cervical spine control. The south africa passport photo size requirements, like international standards, strictly forbid the presence of any supporting hands, parental clothing, or toys in the frame.
When parents attempt to hold a baby upright, their fingers invariably slip into the frame around the baby's waist or shoulders. Even if the fingers are obscured, the adult's torso often peaks out from behind the child's neck, ruining the background isolation. The mechanics of capturing a compliant infant photo require changing the axis of the camera rather than forcing the child into an adult posture.
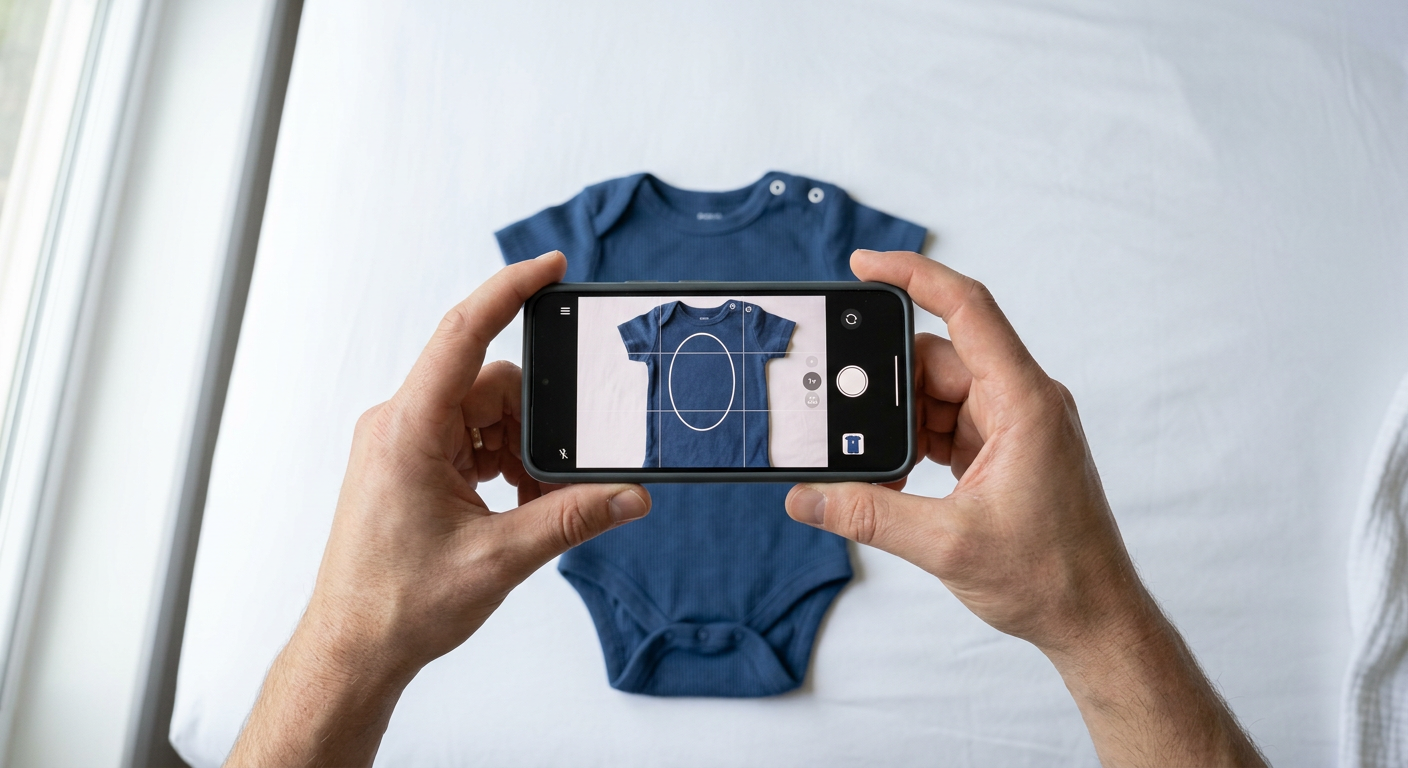
The most reliable method is laying the infant on their back on a flat, firm surface draped in a heavy, non-textured white sheet. The camera is then held directly parallel to the floor, shooting straight down. This completely eliminates the need for physical support and allows gravity to naturally center the head.
Practical rule: Align the camera lens exactly parallel to the infant's face; if the phone tilts even slightly forward or backward, the resulting perspective distortion will artificially lengthen the forehead or chin and trigger a biometric rejection.
One actionable step to enforce this geometry is to monitor the child's shoulder line. Look through the camera screen and ensure the shoulders form a perfectly horizontal line across the bottom quarter of the frame. If one shoulder is higher than the other, the spine is curved, which subtly rotates the jaw off-center. Exploring the 10 best ways to get your newborn passport photo taken provides specific environmental setups that keep the infant safely supported while remaining completely out of the camera's view.
When digital resolution mismatches distort the final print
A perfectly framed and lit image will still fail if the digital file is improperly prepared for physical printing. Photographic kiosks use dye-sublimation printers that require a minimum resolution of 300 Dots Per Inch (DPI) to render sharp edges. For a 35x45 millimeter print, the digital file must be at least 413 by 531 pixels.
However, sending an image directly from a smartphone often triggers aggressive JPEG compression, especially if transmitted via messaging apps or email clients optimized for speed. This compression introduces artifacts - tiny, blocky distortions around high-contrast areas like the eyes and the hairline. When the consular scanner attempts to trace the exact curve of the jaw, these artifacts confuse the software, leading to a rejection for "poor image quality" or "blur."
To prevent this, you must check the exact file size of your finalized digital image before sending it to a print kiosk. Right-click the file (or view file info on your phone) and verify the size. A clean, uncompressed biometric photo should generally range between 500 KB and 2 MB. If your file is under 100 KB, it has been compressed and will print with visible pixelation around the eyes.
Common Pitfalls & Troubleshooting
Navigating biometric standards means dealing with rejections that rarely explain the root cause. Consular software generates generic error codes, leaving parents guessing which variable failed. Diagnosing these errors requires isolating the symptoms accurately.
The Symptom: The application is rejected for "harsh shadows" on the face, but the room was brightly lit and you cannot see shadows in the digital file. The Real Cause: Sensor noise. When shooting indoors with a smartphone, the camera compensates for lower light by increasing the ISO. This creates digital grain (noise) across the image. The biometric scanner misinterprets the dense, darker pixels of the grain as structural shadows. The Fix: Move the setup directly next to a large, unobstructed window during daylight hours. Turn off the room's artificial overhead lights, which clash with natural daylight and force the camera to guess the white balance.
The Symptom: The infant's photo is rejected for "mouth open" despite the child not crying or smiling. The Real Cause: Natural infant jaw relaxation. Newborns lack the muscle tone to keep their mouths completely shut. While slight separation of the lips is generally tolerated by human reviewers, automated systems flag any visible dark space between the lips as an open mouth. The Fix: Wait until the infant has just woken up from a nap and fed. Lightly tap the area above their upper lip immediately before snapping the photo; this triggers a natural reflex that briefly closes the jaw.
The Symptom: The photo is flagged for "poor background contrast" even though you used a pure white sheet. The Real Cause: Exposure averaging on light clothing. If the infant is wearing white or pale pastel clothing against a white sheet, the camera blends the edges of the shoulders into the background. The software cannot locate the outer boundaries of the subject. The Fix: Dress the infant in a solid, dark, and highly contrasting color like navy blue or deep maroon. This guarantees a sharp boundary line for the extraction software. Understanding these nuanced interactions is the core of navigating passport photo criteria and avoiding rejection.
The Symptom: The print shows strange color banding or a yellow tint, leading to an "unnatural skin tone" rejection. The Real Cause: Mismatched color profiles at the local print kiosk. Kiosks are calibrated for sRGB color spaces, while some high-end smartphones shoot in Display P3 or HDR formats that kiosks cannot accurately translate. The Fix: Always export your final digital file strictly in the standard sRGB color space and save it as a baseline JPEG before plugging your device into a retail printing kiosk.
FAQ
Do infants need to have their eyes open for a passport photo? Yes. Biometric standards universally require the eyes to be open and clearly visible. However, some consulates offer slight leeway for newborns under a few weeks old, but an automated scanner will always default to rejecting closed eyes. It is highly recommended to capture the image while the child is fully awake.
Can I wear glasses in a South African or Nepalese passport photo? No. Both Nepal and South Africa strictly prohibit the use of glasses in passport photos. Even if the frames are thin and the lenses lack glare, the hardware obscures the orbital bone structure required for facial mapping.
What kind of paper should I use to print the final images? Official requirements dictate that passport photos must be printed on high-quality, photographic-grade paper. It must have a smooth, glossy finish with no watermarks, text, or texture on the front. Standard office printer paper is entirely unacceptable and will result in immediate rejection.
How recent does the passport photo need to be? Both jurisdictions mandate that the photograph must have been taken within the last six months to reflect your current appearance. For rapidly changing infants, it is safer to capture the photo within two weeks of the actual application submission.