A Complete Guide to Passport Photo Renewal Requirements for 2026
Many parents assume that updating a child's travel document is just a matter of basic paperwork, believing that any clear, recent snapshot will work for a passport photo renewal. The reality is that immigration authorities do not grade on a curve for age. A toddler's application image is subject to the exact same biometric facial mapping algorithms as an adult's. If the pupils are not perfectly aligned within the specific middle third of the frame, or if shadows obscure the jawline, the software rejects the file before a human clerk ever reviews it. Understanding how these automated systems measure and validate an image is the only way to prevent application delays, missed flights, and the frustration of repeated submissions.
Quick Summary
Renewing a travel document requires an image that passes strict automated biometric checks, even for infants and young children. You must provide a perfectly lit, unedited file that maps precise facial proportions, backed by a verified identity check.
- Automated scanning software measures interpupillary distance and head-to-chin ratios before human review.
- Shadows, textures, or uneven background lighting trigger immediate rejections.
- Smartphone beauty filters and heavy file compression alter biometric data and invalidate the image.
- Identity verification requires a professional to legally endorse the likeness.
Table of Contents
- 1. Passing the Passport Photo Renewal Algorithm
- 2. Preparing the Physical Environment
- 3. Executing the Capture
- 4. Managing the Identity Verification
- 5. Final Sizing and Formatting
- Common Pitfalls & Troubleshooting
- FAQ
- Recommended Reads
1. Passing the Passport Photo Renewal Algorithm
Algorithms Do Not Grade on a Curve for Age
Modern border control systems rely on facial recognition software to verify identity. When you submit a new image, the portal evaluates specific biometric markers: the exact distance between the pupils, the vertical measurement from the crown of the head to the tip of the chin, and the visible symmetry of the jawline. These mathematical ratios are compared against the database to confirm the applicant's identity. If you are updating a document for a child whose appearance has drastically changed since infancy, getting these measurements right is critical.
The mechanics of this evaluation are rigid. In most regions, the software requires the head to occupy a specific percentage of the frame, usually requiring the head size to measure between 25 and 35 millimeters on the final physical print. If a child is tilting their head even slightly, or if a wide smile alters the natural resting distance between the nose and the chin, the software cannot calculate the required biometric markers. The most frequent mistake applicants make here is treating the requirement like a school portrait rather than a data capture. You are not trying to capture a pleasant expression; you are providing a flat, neutral topographical map of a face. You can learn more about how systems evaluate this data by reviewing How to Meet Strict Government Passport Photo Requirements at Home.
2. Preparing the Physical Environment
Creased Backgrounds Create Automatic Failures
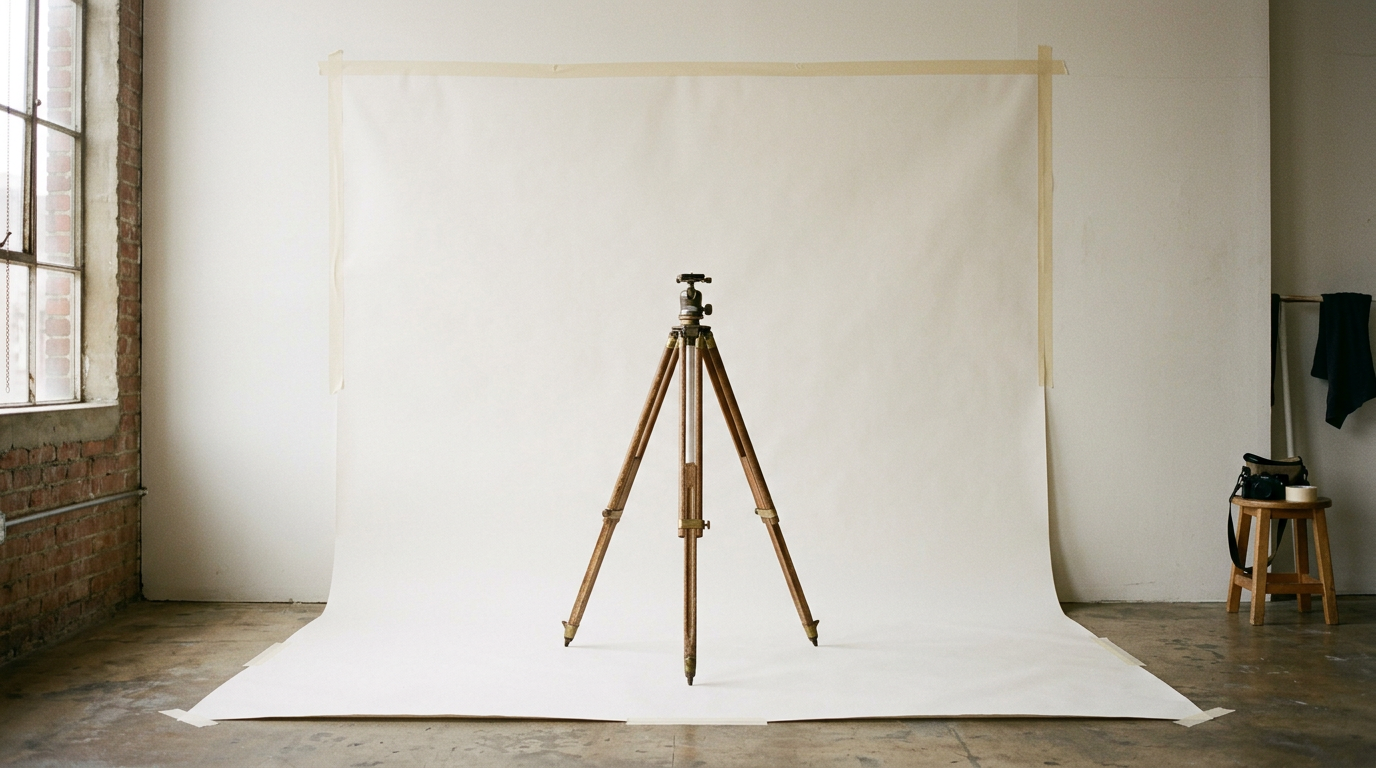
Achieving the required flat, shadowless lighting requires controlling the environment entirely. Automated systems struggle to separate the subject from the background if there is not enough contrast, or if the background itself contains texture. Laying an infant on a white bedsheet is the standard home-studio advice, but it usually fails. Fabric creases cast micro-shadows that the scanning software interprets as background noise or irregular facial features, prompting an immediate bounce from the system.
The mechanical solution is to use rigid, non-reflective materials. A piece of white poster board or a smooth, matte presentation board provides the stark, uniform background that algorithms expect. Position this setup near a north-facing window to utilize diffuse, indirect daylight. Direct sunlight creates harsh, directional shadows across the bridge of the nose, rendering one side of the face darker than the other and breaking the symmetry the software searches for. The mistake people actually make here is relying on overhead room lighting, which casts deep shadows under the eyes and chin, making the applicant look fatigued and obscuring the jawline boundary. If you are unsure about how much white space is required around the subject, refer to the Passport Size Photo Dimensions in 2026: How to Meet Standard Requirements and Avoid Rejection guide.
3. Executing the Capture
Proximity Distorts Facial Proportions
Capturing an image of an uncooperative infant or toddler requires speed and correct camera placement. The physical distance between the camera lens and the subject's face dictates focal length, which directly impacts the apparent shape of the head. Holding a smartphone 30 centimeters from a child's face creates a fisheye effect: the nose appears disproportionately large, the ears recede, and the crown-to-chin ratio distorts entirely.
To capture accurate biometric data, step back. Position the camera at least 1.2 to 1.5 meters away from the subject, ensuring the lens is perfectly parallel to the child's face. Shooting from a slight high angle foreshortens the chin, while shooting from below exaggerates the jaw.
Practical rule: Expose for the skin tones; a gray background can be brightened later in software, but biometric facial shadows cannot be removed without failing image manipulation checks.
The fatal mistake during capture is physical interference by the parent. Hands supporting the infant's neck, a piece of a parent's shirt in the corner of the frame, or a pacifier string resting on the collarbone will all trigger a rejection. The subject must be entirely isolated in the frame. Understanding these technical nuances is easier when you review the Digital Resolution Standards for American Passport Photo Requirements.
4. Managing the Identity Verification
Professional Standing Carries Legal Liability
Securing a guarantor for passport photo verification is often the longest delay in the application pipeline. Because a young child's appearance changes so rapidly, immigration authorities cannot rely solely on comparing the new image to the old one. They require a verified third party to legally endorse the likeness. This person acts as a witness, confirming that the image accurately represents the applicant at this current moment in time.
The mechanics of this verification are strict. The individual must hold a recognized professional standing - such as a police officer, pharmacist, dentist, or registered teacher - and must have known the applicant (or the parent, in the case of infants) for a minimum specified period, usually 12 months or more. For physical prints, they must write a specific legal declaration on the back of the image and sign it. For digital portals, they are sent a secure email link requiring them to log in and digitally attest to the likeness. The mistake applicants make is choosing a relative or someone who lives at their same address, which automatically invalidates the endorsement. The process of managing this step is detailed in How to Handle a Passport Photo for Passport Renewal and Guarantors in 2026.
5. Final Sizing and Formatting
Heavy Compression Destroys Biometric Detail
Submitting a passport photo for passport renewal requires strict adherence to final file specifications. Once you have a compliant capture, the raw file must be cropped and formatted to meet exact regional standards. Different jurisdictions require different physical dimensions: the European standard is typically 35x45 millimeters, while others require a square 51x51 millimeter layout.
The digital mechanics matter just as much as the physical dimensions. The file must meet minimum resolution thresholds, usually mandated at 600 dots per inch (DPI), ensuring that iris patterns and facial contours remain sharp when the image is zoomed in. The specific mistake people make at this stage is sending the image to themselves via WhatsApp or an email client that automatically compresses attachments. Compression algorithms save space by merging adjacent pixels of similar colors, which softens edges and destroys the sharp biometric data the automated scanner relies on. The resulting file looks fine on a smartphone screen but fails instantly in the application portal. Ensure you are outputting a high-quality JPEG or PNG directly from the source. To see how these exact dimensions are applied, consult the Canadian Passport Photo Standards for 2026.
Common Pitfalls & Troubleshooting
The Red-Eye Removal Rejection
Symptom: You receive a rejection notice stating "Altered Image" or "Unnatural Skin Tones," despite the lighting looking perfect to the naked eye. Fix: Turn off all smartphone beauty filters and automated flash processing before taking the shot. Many modern camera apps automatically attempt to remove red-eye by painting dark pixels over the pupil, or they apply a smoothing filter to the skin. Immigration software detects these localized pixel manipulations immediately. If a flash causes red-eye, you cannot fix it in software; you must retake the image using diffuse natural light instead of the device's flash.
The Floating Head Effect
Symptom: The application portal returns an error regarding "Irregular Background" or "Subject Edge Detection Failure." Fix: This occurs when poor background removal tools aggressively clip the subject's hair, ears, or shoulders, making the head look like a cut-out pasted onto a pure white canvas. If you must remove a background, ensure the tool preserves the natural anti-aliasing (the soft edge) of the hair. Better yet, shoot on a stark white poster board so that no digital background manipulation is required at all.
The Off-Center Gaze
Symptom: The file is flagged for "Eyes Not Visible" or "Incorrect Head Orientation." Fix: When photographing a child, parents often point at the camera lens, causing the child to look at the parent's finger rather than the lens itself. Even a five-degree deviation in eye tracking breaks the required symmetry. To correct this, cut a small hole in the center of a brightly colored piece of paper, place it over your phone, and have the camera lens peek through the hole. The child will naturally stare directly down the barrel of the lens.
For an overview of how these failures impact international applications, review the Global Passport Size Photo Requirements: 7 Regional Specifications for 2026.
FAQ
How recent must the passport renewal photo be?
Most government agencies require the image to have been taken within the last six months. However, the true requirement is that the image reflects the applicant's current appearance. If a toddler has significantly changed in appearance over just three months, a newer image is required to pass facial recognition checks.
Do infants need to keep their eyes open for the capture?
Most jurisdictions grant an exemption for newborns under six months, allowing their eyes to be closed or partially open. However, any child older than this threshold must have both eyes fully open and looking straight ahead, without squinting or blinking during the capture.
Can my child wear a headband or a bow?
No. Hair accessories, bows, oversized clips, and pacifiers are strictly prohibited. The entire outline of the face, including the edges of the forehead and the jawline, must be visible. Clothing should also contrast with the background; dressing a child in a white shirt against a white background causes the shoulders to blend into the canvas, resulting in a rejection.
Does a digital renewal application still require a signature?
Yes, but the mechanism has changed. Instead of signing the back of a physical print, digital portals trigger an automated email to your chosen professional. They must click a secure link, log in, view the submitted file, and legally attest that it is a true likeness of the applicant.