Where to Get Digital Passport Photos: A Complete Guide for 2026
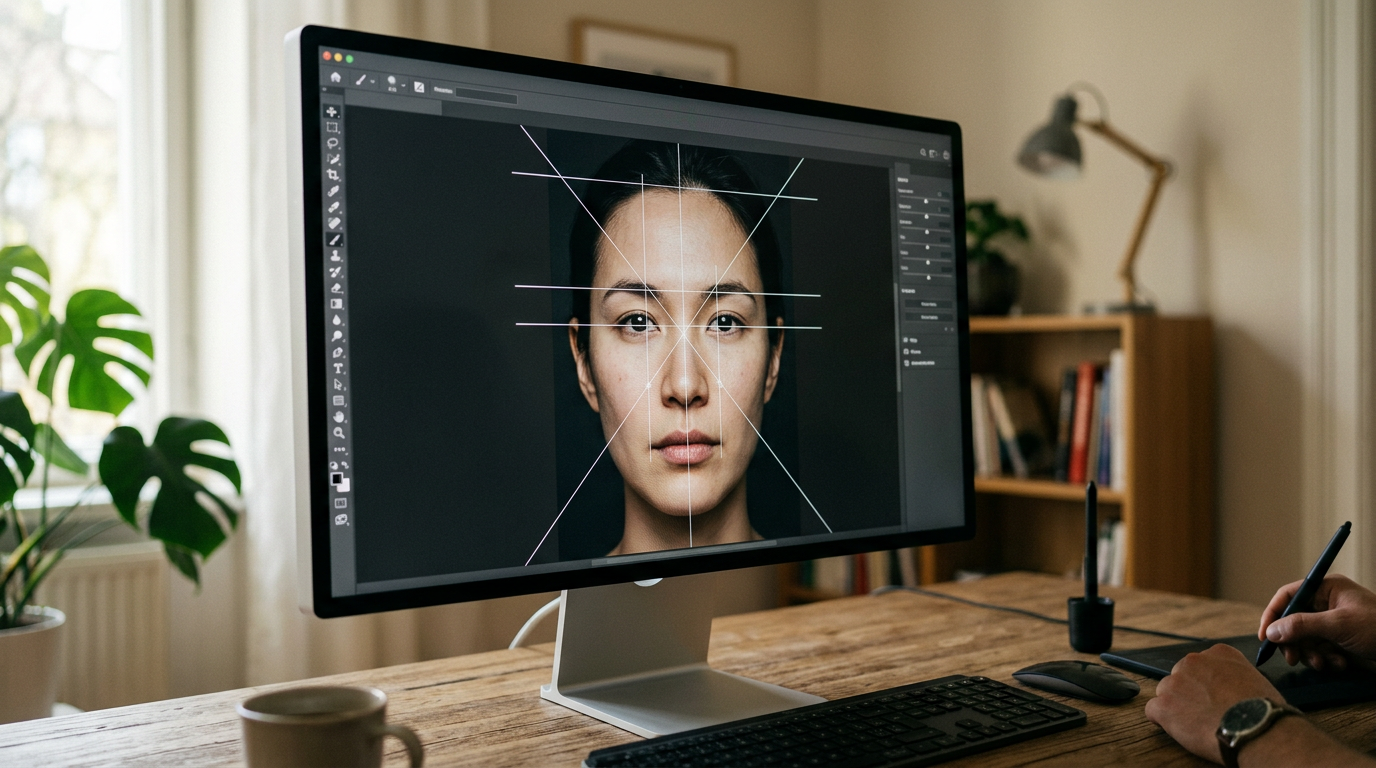
Most digital passport applications fail at the upload screen not because the applicant looks different, but because the file metadata or compression artifacts trigger the biometric scanner's automatic rejection threshold. When figuring out where to get digital passport photos, applicants often assume any well-lit smartphone image will bypass these checks. In reality, government authorities operate strict digital gating mechanisms that evaluate head-to-image ratios, color space, and pixel density before a human examiner ever sees the file. This guide breaks down exactly how to format, capture, and process biometric images that pass automated compliance gates the first time.
Quick Summary
A digital passport photo is a high-resolution, biometrically compliant image file formatted specifically for online government application portals. Obtaining one requires balancing strict physical lighting conditions with precise digital formatting standards.
- Optical distance: Cameras must sit at least 1.5 meters from the subject to prevent facial distortion.
- Lighting standards: Flat, diffuse lighting prevents automated rejections caused by facial mapping errors.
- Digital compression: Avoid uploading heavy files that portals will automatically compress and degrade.
- Compliance tools: Dedicated AI processors map biometric points more accurately than manual cropping tools.
Table of Contents
- 1. Determine Your Regional Authority Requirements
- 2. Choose Your Digital Capture Method
- 3. Light and Frame the Subject
- 4. Process the Raw Image for Compliance
- 5. Verify and Submit the Digital File
- Common Pitfalls & Troubleshooting
- FAQ
- Recommended Reads
1. Determine Your Regional Authority Requirements
Baseline Biometrics Dictate the Process
Before capturing an image, you must identify the exact biometric parameters set by the issuing authority. While the International Civil Aviation Organization (ICAO) provides a global baseline for machine-readable travel documents, individual nations modify these parameters for their own systems. If you submit a file formatted for the US State Department to the Australian Passport Office, the automated system will reject it immediately due to dimensional mismatch.
The core variables you must check are the aspect ratio, the background color, and the required head size within the frame. For example, digital resolution standards for American passport photo requirements mandate a square 2x2 inch (51x51 mm) format where the head measures between 1 and 1 3/8 inches. In contrast, Australian and European systems require a 35x45 mm portrait aspect ratio where the head occupies 32 to 36 mm of the vertical space.
The mistake applicants make here is treating these dimensions as guidelines rather than absolute technical thresholds. When a portal requests a 600 DPI file at a maximum of 250 KB, providing a 300 DPI file that is 500 KB will either cause an upload failure or trigger aggressive server-side compression. This compression introduces JPEG artifacts around the eyes and nose, confusing the facial recognition software and leading to a manual rejection days later.
2. Choose Your Digital Capture Method
Optics Matter More Than Megapixels
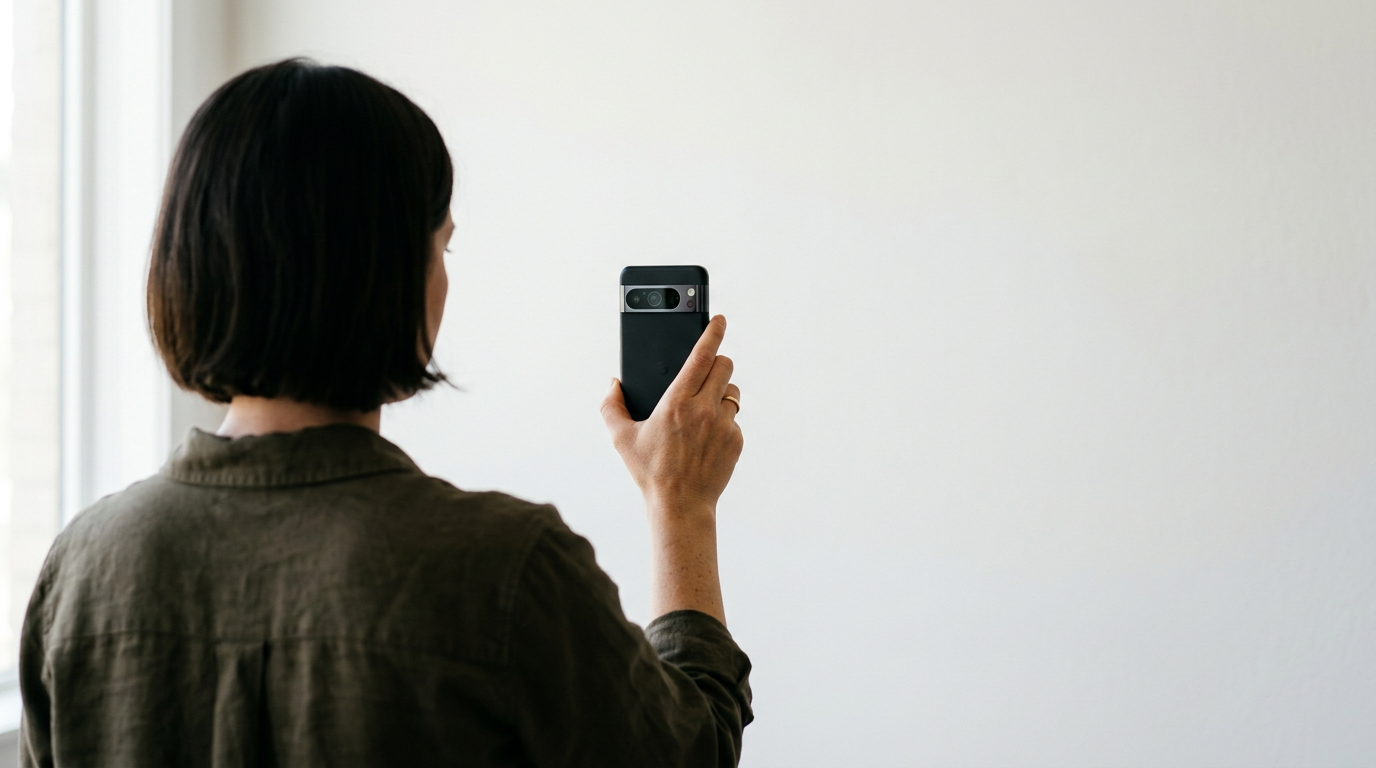
When deciding where can I get a digital passport photo, many applicants turn to their smartphone cameras. Modern smartphones possess sufficient sensor resolution to capture passport photos, but their wide-angle lenses introduce optical distortion. A lens placed too close to the subject enlarges the nose and narrows the ears, altering the biometric map of the face.
To capture a flat, undistorted image, the camera must be positioned no closer than 1.5 meters (about 5 feet) from the subject. At this distance, the optical compression flattens the facial features into a biologically accurate representation. Because you are standing further back, you must use a device that allows you to lock focus and exposure manually. Relying on auto-focus often results in the camera locking onto the background rather than the subject's eyes.
For applicants wondering how can I get a digital passport photo of a wriggling infant, the optical challenge multiplies. Infants cannot support their own heads or maintain eye contact with a lens 1.5 meters away. The solution is positioning the camera directly overhead while the infant lies on a flat, compliant surface, ensuring the sensor plane remains perfectly parallel to the face. Read more about how to capture a compliant digital passport photo in Australia for 2026 to understand the specific focal mechanics required for complex captures.
3. Light and Frame the Subject
Contrast Isolation Prevents Edge Bleed
Lighting is not about aesthetics; it is about data capture. Biometric scanners evaluate the distance between the pupils, the width of the mouth, and the shape of the jawline. Shadows cast across the face hide this data, while shadows cast on the background confuse the software into reading the shadow as part of the subject's head.
The technical requirement is flat, diffuse, even illumination. You achieve this by positioning the subject facing a large, indirect light source, such as a window on an overcast day. Direct sunlight creates harsh specular highlights on the skin (which scanners interpret as missing data) and dense shadows under the chin and nose.
Practical rule: Position your subject exactly 50 centimeters away from the background wall to allow background shadows to drop out of the frame entirely.
When framing, leave abundant negative space around the head and shoulders. Do not attempt to frame the shot tightly in the camera. Digital formatting tools require peripheral image data to calibrate the crop accurately. If you cut off the top of the hair or the edges of the shoulders in the raw image, no processing tool can reconstruct that missing data to satisfy the authority's centering requirements.
4. Process the Raw Image for Compliance
AI Background Removal Versus Manual Cropping
Once you have a raw, undistorted, well-lit image, the file must be mathematically converted to meet government specifications. Many applicants attempt to crop the image themselves using standard desktop software. This approach usually fails because manual cropping tools lack biometric overlays. Guesstimating the exact millimeter height of a chin-to-crown measurement on a digital canvas results in immediate rejection.
The standard modern approach utilizes AI-driven processing engines. These systems identify the biometric markers on the face, calculate the correct aspect ratio, and scale the head precisely within the required bounds. Furthermore, these processors handle the background. Even if you shot the image against a white wall, minor color variations or textures can trigger a rejection. An AI processor isolates the subject down to the pixel level and replaces the original background with a pure, uniform hex-code color (usually #FFFFFF or a specific light grey).
If you are evaluating where to get a digital passport photo in 2026, the distinction between a basic cropping tool and a biometric processor is the difference between an accepted application and a six-week delay. The processor must output a file in the correct color space (sRGB) and strip out unnecessary Exif data that might cause portal upload errors.
5. Verify and Submit the Digital File
File Compression Ruins Valid Photos
The final hurdle in understanding where do I get a digital passport photo is file delivery and submission. You possess a perfectly formatted, high-resolution JPEG. The mistake applicants make at this stage is transferring that file from their desktop to their mobile device via a messaging app (like WhatsApp or iMessage) before uploading it to the government portal.
Messaging platforms automatically compress image files to save bandwidth. This compression permanently destroys the pixel density. A 600 DPI image transmitted through a messaging app will arrive as a 72 DPI artifact-heavy file. When the government scanner examines the compressed file, the edges of the face will appear jagged, and the file will be flagged as heavily edited or digitally altered.
Always transfer the finished digital passport photo using a lossless method. Emailing the file to yourself as an attachment (choosing 'Actual Size' or 'Original'), or using a direct cloud storage link, preserves the exact file structure generated by the processing tool. Before hitting submit on the portal, check the file size. If the portal requires a file between 50KB and 500KB, and your lossless file is 1.2MB, you must use a dedicated image compressor that retains pixel dimensions while reducing byte size, rather than relying on a blind compression algorithm.
Common Pitfalls & Troubleshooting
Even with a rigid process, digital applications fail due to subtle file characteristics. Here is how to diagnose and fix the most common automated rejections.
- The "Subject Not Found" Error: The portal rejects the photo claiming it cannot detect a face, despite the face being clearly visible. This occurs when the subject's clothing perfectly matches the background color, causing the software to read the head as floating. The fix: Reshoot the image with the subject wearing a high-contrast, dark-colored shirt.
- The "Digital Alteration Detected" Rejection: The system flags the image for unauthorized manipulation. This is most often caused by smartphone cameras applying automatic 'beauty filters' or skin-smoothing algorithms that blur the texture of the skin. The fix: Disable all AI enhancement, HDR, and portrait mode settings in your native camera app and capture a standard, unprocessed JPEG.
- The "Improper Background" Failure: The image is rejected for background texture despite being taken against a plain wall. The camera lens resolved the stipple pattern of the paint or the grain of the plaster. The fix: Run the original raw file through a compliant digital background replacement tool to generate a perfectly uniform, digitally pure background.
- The "Incorrect Head Size" Flag: The applicant manually cropped the photo to the required pixel dimensions, but the face occupies almost the entire frame instead of the mandated proportional range. The fix: Do not manually crop. Provide a wider raw image to a global passport size photo requirements processor that automatically scales the chin-to-crown ratio to the exact millimeter standard.
FAQ
Can I use a selfie for a digital passport photo?
No. Selfies are taken from arm's length (usually under one meter), which introduces severe lens distortion that alters the biometric mapping of your facial features. You must use a tripod or a second person to capture the image from at least 1.5 meters away.
What file format is required for online digital passport submissions?
The vast majority of government portals require standard JPEG (.jpg) files encoded in the sRGB color space. PNG and HEIC files are almost universally rejected by automated upload systems.
How do I know if my digital passport photo resolution is high enough?
Most authorities require a minimum resolution of 600 pixels by 600 pixels (for square formats) or equivalent minimums for rectangular formats, rendered at 300 DPI. Check the file properties on your computer to verify the pixel dimensions before uploading.
Why did the application portal compress my photo and then reject it?
Government portals enforce strict file size limits (often under 250KB or 500KB). If you upload a 5MB image, the server applies aggressive automatic compression, which introduces digital artifacts that fail the subsequent biometric scan. You must resize the file correctly before uploading.