How to Take Professional Passport Photos at Home in 2026
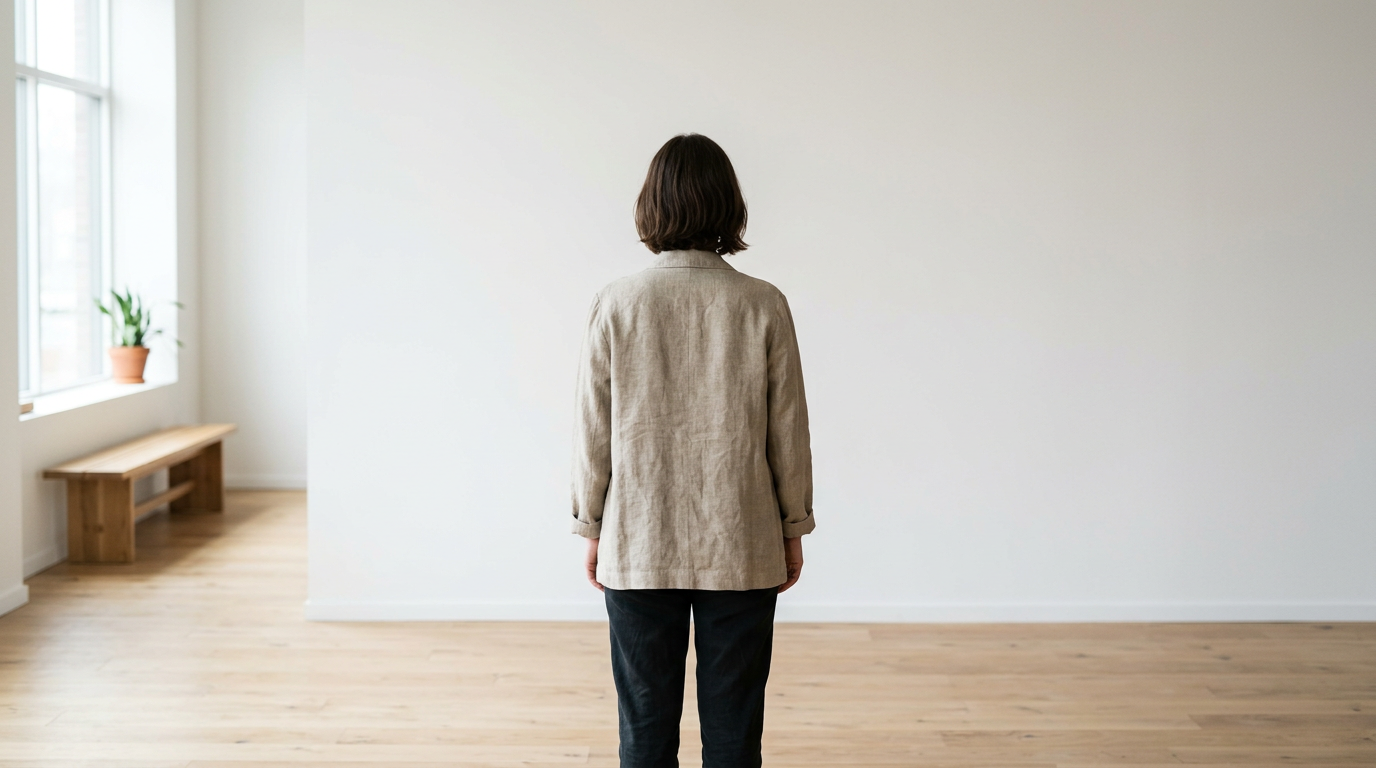
You stand at the government processing counter, application perfectly filled out, only to have the clerk slide your documents back because a faint grey shadow sits behind your left ear. Government biometric scanners reject thousands of applications daily over imperceptible lighting gradients, background textures, or minor focal distortions. Taking passport photos at home puts you entirely in control of this process, provided you understand the mechanical tolerances these systems require. You do not need a studio strobe setup, but you do need to treat your living room wall exactly like a biometric scanning environment.
Quick Summary
Producing passport photos at home means configuring your lighting, focal length, and subject distance to satisfy strict automated biometric compliance checks before you print or upload the file. Getting a passport photo approved requires flat lighting, specific facial proportions, and zero background interference.
- Use diffused natural light to eliminate background shadows.
- Shoot with a telephoto lens setting (2x or 3x) to prevent facial feature distortion.
- Position the subject at least 1.5 meters from the background wall.
- Crop the final image to exact regional head-height ratios (usually 32-36mm).
Table of Contents
- Step 1: Engineering the Lighting Environment
- Step 2: Selecting the Right Focal Length
- Step 3: Subject Positioning and Contrast
- Step 4: Adapting the Process for Infants
- Step 5: Formatting the Final Image
- Common Pitfalls & Troubleshooting
- FAQ
- Recommended Reads
Step 1: Engineering the Lighting Environment
Biometric systems measure the exact distance between facial landmarks like the pupils, the tip of the nose, and the chin. When one side of the face is heavily shadowed, the software cannot accurately map the jawline, leading to an immediate automated rejection. The goal of passport photography is entirely flat, shadowless illumination.
The mechanism to achieve this at home relies on broad, diffused light. Direct sunlight casts hard, sharp-edged shadows. You must use indirect window light. An overcast day provides the perfect natural diffusion. Position the subject facing a large window, allowing the light to hit them squarely. If the light comes from the side, you will create a shadow on the opposite side of the nose and neck.
The mistake most people make here is standing directly against the wall. When a subject's shoulders touch the backdrop, any light hitting them casts an immediate, dense shadow directly onto the wall behind them. Government guidelines forbid background shadows. To fix this, pull the subject 1.5 meters (about 5 feet) away from the wall. The light hitting the subject will fall off before it reaches the background, rendering the wall shadowless.
Practical rule: Turn off all overhead room lights and lamps before shooting; mixing the yellow color temperature of indoor bulbs with the blue tint of daylight confuses camera sensors and creates uncorrectable color casts on the skin.
Step 2: Selecting the Right Focal Length
Smartphones default to wide-angle lenses, typically equivalent to a 24mm or 26mm focal length on a full-frame camera. A wide-angle lens exhibits barrel distortion when placed close to a subject: it artificially enlarges whatever is closest to the lens (usually the nose) and shrinks the ears and sides of the head. This distortion alters the physical geometry of the face. A biometric scanner will reject a distorted face because the ratios between the eyes and the nose will not match the applicant's actual physical structure.
To figure out how to take the best passport photo with a phone, you must defeat this lens distortion. Do not use the default camera zoom level. Instead, switch to your phone's telephoto lens - usually marked as 2x or 3x optical zoom. This narrower field of view compresses the features, rendering facial geometry exactly as the human eye perceives it.
Because you are using a telephoto lens, the camera operator must physically step back. You will likely need to stand 2 to 3 meters away from the subject. The camera must be held exactly at the subject's eye level. Shooting slightly upward exposes the nostrils and adds weight to the jawline, while shooting downward artificially enlarges the forehead. Use a tripod if available, or brace your arms against a doorframe to ensure the lens remains perfectly perpendicular to the subject's face.
If you want a deeper look into the exact lens mechanics and setup distances, you can review this guide on How to Capture Professional Passport Photos at Home in 2026.
Step 3: Subject Positioning and Contrast
Biometric software relies on high contrast to separate the subject from the background. The background must be plain white or off-white (depending on specific country requirements). If the applicant wears a white shirt against a white wall, the shoulders blend into the background, and the automated cropping software cannot find the edge of the torso.
Always wear dark, solid colors. Avoid heavy patterns, logos, or textured fabrics that distract the scanning algorithm. The subject must sit or stand with their spine completely straight, shoulders down, and head leveled. The expression must be entirely neutral. A smile raises the cheeks, squints the eyes, and alters the mapped distance between the lips and the nose. The mouth must be fully closed.
For readers trying to determine exact clothing compliance, checking What to Wear for Passport Photos: A 2026 Guide to Professional Standards can help eliminate wardrobe-based rejections.
The most common positioning failure involves glasses. Even if your country permits prescription glasses in passport photos (and many, including the US, now strictly forbid them), the lenses introduce two massive risks: glare that obscures the pupil, and frame shadows cutting across the cheekbone. The safest approach, and the one required by most modern biometric standards, is to remove all eyewear entirely.
Step 4: Adapting the Process for Infants
Securing a compliant image of a newborn or toddler requires changing the physical axis of the shot. Infants lack the neck strength to sit upright, making the traditional against-the-wall approach impossible.
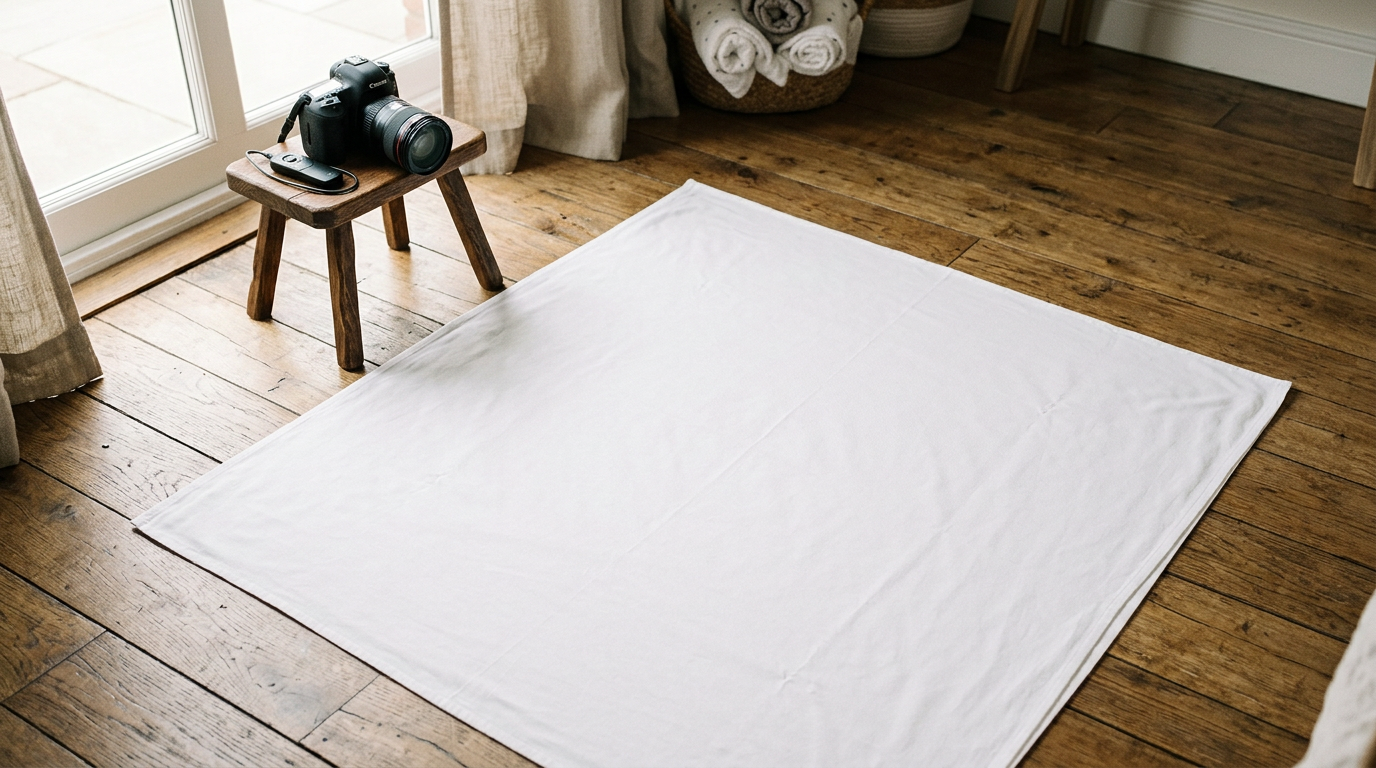
The correct mechanical approach is the lay-down method. Place a plain white, untextured sheet over a firm surface, such as a changing table or a flat rug. Position the baby on their back. The lighting rules from Step 1 still apply, but the light source must now flow across the floor. Place the baby so the light from a large window hits the top of their head and flows down their body.
The photographer must shoot from directly overhead. The failure point here is the photographer's own shadow blocking the light. You must shoot from an angle that keeps your body out of the light path, using the telephoto (2x or 3x) lens so you do not have to hover too closely over the baby's face.
If you are struggling with keeping the baby still or awake, reading How to Take a Perfect Newborn Passport Photo at Home in 2026 offers strategies for timing the session around sleep cycles. Ensure no pacifiers, hands, or toys are visible in the frame. The infant's eyes must be open, though many governments are slightly more lenient on the exact neutrality of a newborn's expression compared to an adult's.
Step 5: Formatting the Final Image
Capturing the image is only half the process; you must now format it to the specific geometric requirements of the issuing government. You cannot simply crop the photo into a square or rectangle and hope for the best.
Governments specify both the outer dimensions of the physical print (e.g., 2x2 inches for the US, 35x45mm for the UK and Australia) and the internal biometric ratios. For example, a 35x45mm photo typically requires the head to measure exactly 32mm to 36mm from the bottom of the chin to the crown of the head. If you make passport photo crops that ignore this internal head-sizing rule, the image will be rejected even if the outer borders are perfectly sized.
To understand the exact millimeter tolerances required by various governments, you can consult the specifications outlined in Passport Size Photo Dimensions in 2026: How to Meet Standard Requirements and Avoid Rejection.
The most common formatting mistake is applying digital filters or destructive compression. Do not use skin-smoothing algorithms, portrait mode artificial blurring, or contrast enhancement sliders. The image file must retain its original grain and sharpness. If you compress the image heavily to email it to a printer, compression artifacts will distort the edges of the facial features, leading to scanner rejection. Always save and print the file at a minimum resolution of 600 DPI (Dots Per Inch).
Common Pitfalls & Troubleshooting
Failures in biometric photography often look identical to the untrained eye - usually presenting as a vague "poor quality" rejection reason from the government portal. Here is how to diagnose and fix the specific mechanical failures.
Symptom: The face looks washed out, or the background appears grey instead of white. Diagnosis: Uneven exposure due to backlighting. Fix: This happens when the window is behind the subject rather than in front of them. The camera exposes for the bright window, plunging the face into shadow. Turn the setup 180 degrees so the subject faces the light source.
Symptom: The top of the head seems unusually large, or the chin recedes unnaturally. Diagnosis: Incorrect camera height. Fix: The camera was held too high and angled downward. Lower the camera to exactly match the horizontal plane of the subject's eyes. Keep the phone perfectly vertical, not tilted.
Symptom: Small, harsh shadows appear directly under the nose and chin. Diagnosis: Overhead lighting contamination. Fix: The ceiling lights in the room were left on, driving hard light straight down onto the face. Turn off all artificial room lighting and rely solely on ambient window light coming from the front.
Symptom: The subject's shoulders are uneven or one ear is hidden. Diagnosis: Body rotation off the central axis. Fix: The subject is not facing the lens squarely. Have the subject square their chest completely to the camera and ensure both ears are equally visible. This is the most common cause of geometric rejections.
FAQ
Can I use a selfie to get a passport photo?
No. Holding the phone in your hand positions the lens far too close to your face, resulting in severe barrel distortion that alters biometric measurements. The camera must be at least 1.5 to 2 meters away from your face, which requires a tripod or a second person.
Do I need special photo paper for printing?
If you are submitting physical copies, you must use high-quality, professional-grade photographic paper. Plain printer paper or low-weight cardstock will be immediately rejected. The paper finish must generally be matte or glossy, depending on specific country guidelines, but it must be capable of holding a 600 DPI resolution without ink bleeding.
How recent must the photo be?
Getting passport photos approved requires the image to reflect your current appearance. Almost all issuing authorities mandate that the photo be taken within the last six months. If your appearance has changed significantly (e.g., severe facial trauma, dramatic weight loss), you must take a new photo even if your current passport is still valid.
Can I digitally remove the background if it is not white?
Manual background removal using standard photo editing tools often leaves jagged pixel artifacts around the hair and shoulders, which biometric scanners detect as tampering. If the background must be altered, it requires specialized algorithmic processing designed specifically for biometric compliance, rather than manual eraser tools.