A 2026 Guide to Passport Size Photo Dimensions and DIY Printing Standards
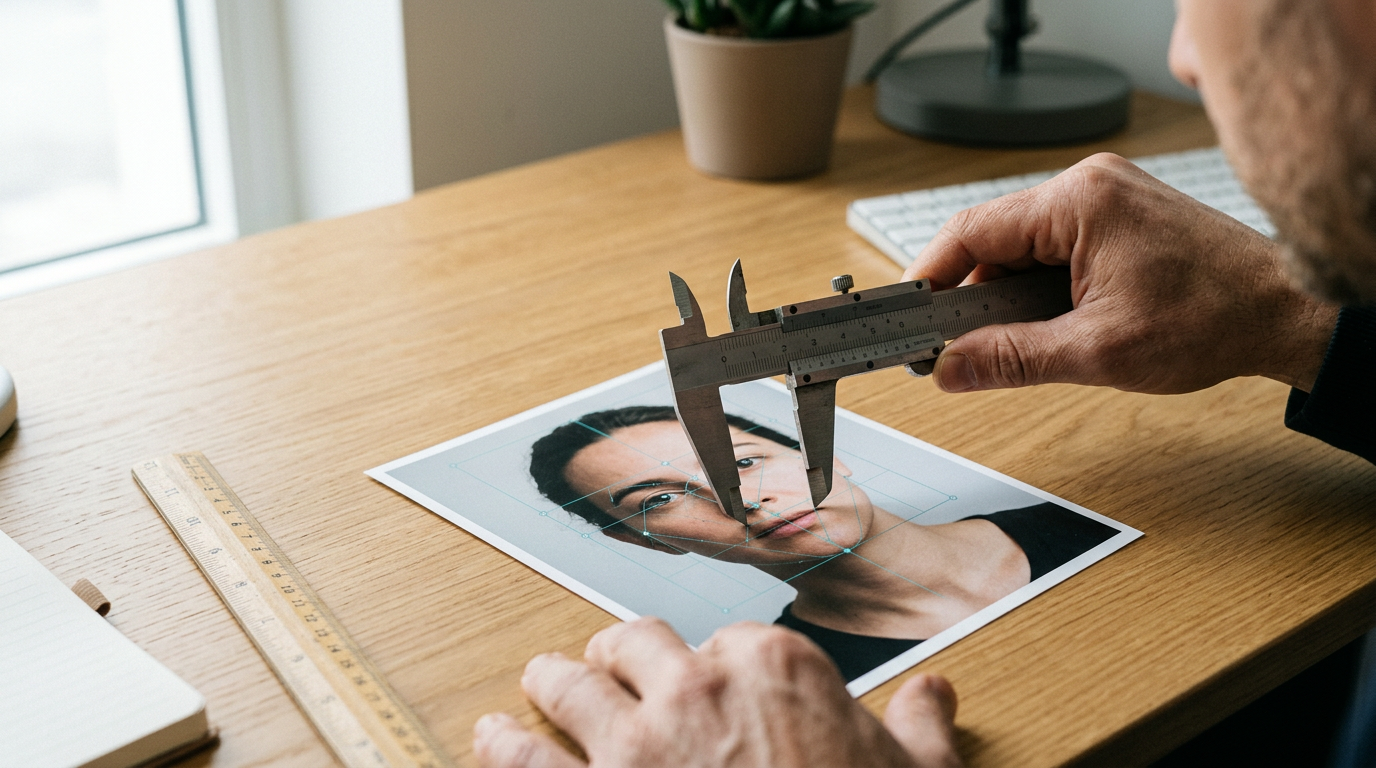
Most DIY applicants assume that typing specific dimensions into their layout software guarantees the image will emerge from the printer exactly at those measurements. In reality, consumer photo printers automatically apply microscopic scaling adjustments to prevent edge-bleeding, routinely shrinking or stretching a carefully measured passport size photo by just enough to trigger a biometric rejection at the processing office. Successfully navigating home printing requires bypassing driver software defaults, strictly controlling your digital canvas, and understanding how processing algorithms evaluate facial geometry.
Quick Summary
Generating a compliant travel document image requires precise alignment between digital canvas settings, printer driver behavior, and global biometric standards. A minor scaling error during the printing process alters the required distance between the crown of the head and the chin, guaranteeing rejection by automated scanning systems.
- Consumer photo printers automatically stretch images by 3 to 5 percent to avoid white borders.
- Biometric compliance depends entirely on facial proportions within the frame, not just the outer paper edge.
- Formatting for a 4x6 inch standard print requires disabling all automatic scaling features in the print spooler.
- Digital submissions undergo automated JPEG artifact checks that physical prints bypass entirely.
Table of Contents
- Why biometric facial mapping overrides the physical paper edges
- How international scanning hardware fractures standard measurements
- Why consumer print drivers silently distort carefully measured layouts
- Where the infant scaling problem complicates facial extraction
- What hardware dictates the final biometric crop
- Why digital uploads require different geometry than paper prints
Why biometric facial mapping overrides the physical paper edges
The outer boundary of the paper is merely a carrier for the biometric data inside it. When an application reaches a processing facility, automated optical character recognition and facial mapping software analyze the image before a human ever looks at it. These systems rely on the ISO/IEC 19794-5 standard, which governs the exact positioning of facial features within the frame.
The most critical measurement is the crown-to-chin distance. In a standard Australian or European format, the head must occupy between 32mm and 36mm of the total vertical space. If a layout is slightly cropped during preparation, the overall passport photo size might remain physically correct, but the face inside it becomes functionally oversized. A head measuring 38mm on a 45mm high photo fails the biometric check immediately because it leaves insufficient background space above the crown, which the scanning software needs to separate the hair from the backdrop.
Eye height is the second point of failure. The horizontal axis drawn straight through the pupils must sit at a specific distance from the bottom edge of the paper. This ensures that when the image is fed through a batch scanner, the applicant's eyes align perfectly with the software's geometric grid. A common mistake during DIY preparation is centering the head based on the nose. Centering by the nose pushes the eyes too high into the upper quadrant of the frame. Understanding these internal proportions is detailed thoroughly in Passport Size Photo Dimensions in 2026: How to Meet Standard Requirements and Avoid Rejection.
Practical rule: Always measure the printed face from the top of the skull (excluding hair volume) to the bottom of the chin with an analog ruler before trimming the paper.
How international scanning hardware fractures standard measurements
There is no single universal standard for a passport dimensions photo. Different national authorities operate proprietary database systems requiring specific focal lengths and paper ratios. Attempting to use a single template for multiple international applications results in a high rejection rate because the underlying scanning hardware expects entirely different geometry.
The United States and India utilize a square format, strictly enforced at 2x2 inches (51x51mm). Within this square canvas, the head must sit centrally, measuring between 1 inch and 1 3/8 inches from chin to crown. The background must be completely devoid of texture and ideally plain white.
Conversely, the United Kingdom, Europe, and Australia mandate a rectangular 35x45mm format. The background requirements also shift; while Australia demands plain white or light grey, other nations explicitly prohibit pure white backgrounds, requiring cream or light grey to ensure a high-contrast boundary against pale skin tones. Attempting to trim a 2x2 inch print down to 35x45mm manually destroys the eye-height alignment because the proportions of the original capture were mapped for a square frame. A detailed breakdown of these regional variances is available in Global Passport Size Photo Requirements: 7 Regional Specifications for 2026.
Furthermore, the resolution standard changes based on the submission type. If an image is being scanned from paper, it must be printed at a minimum of 600 dots per inch (DPI). At 35x45mm, a 600 DPI print requires a digital canvas of exactly 827 by 1063 pixels. Printing a lower-resolution file at the correct physical size results in microscopic pixelation around the jawline, which the government software interprets as digital manipulation.
Why consumer print drivers silently distort carefully measured layouts
The highest hurdle in DIY preparation happens at the print spooler. Most consumer photo printers, as well as retail kiosks found in pharmacies, are designed to produce consumer snapshots. By default, these machines enable a feature called "borderless printing." To ensure no white lines appear at the edges of a 4x6 inch photographic sheet, the print driver automatically magnifies the entire digital layout by 3 to 5 percent, stretching the image beyond the physical boundaries of the paper.
When printing a grid of compliant images on a single sheet, this automatic stretch ruins the biometrics. A head that was perfectly measured at 34mm on your monitor emerges from the printer at 35.7mm. For strict government standards, this millimeter discrepancy is a guaranteed rejection.
To bypass this, you must build a digital canvas that matches the exact physical dimensions of the photo paper, usually 4x6 inches (100x150mm), at 300 or 600 DPI. You then drop your compliant images onto this canvas with generous white margins around them. When configuring the print job, calculating the exact passport size photo size in inch is necessary to ensure the grid aligns perfectly with the printable area. You must dive into the advanced printer preferences and explicitly disable borderless printing, forcing the machine to output the file at exactly 100 percent scale. Only then will the output match the screen. Further technical steps for formatting these print grids are outlined in How to Prepare a Compliant Passport Size Photo: Officeworks and Home Tool Setup Guide.
Another failure mode during printing is color space conversion. Consumer printers expect images formatted in the sRGB color space. If a file is saved in CMYK or Adobe RGB, the printer will misinterpret the color profile, leading to severe color shifts. Skin tones may print with a heavy magenta or green cast. Automated processing systems flag unnatural skin tones as heavily altered, rejecting the application on the grounds of digital manipulation.
Where the infant scaling problem complicates facial extraction
Generating compliant documentation for infants introduces a severe technical bottleneck. Adults can sit upright against a well-lit wall, keeping their chin parallel to the floor. Infants lack the necessary neck control, meaning they must often be photographed lying down on a flat surface, captured from above.
This overhead angle creates profound perspective distortion. If a smartphone lens is positioned too close to the infant's face, the resulting barrel distortion makes the nose appear disproportionately large while shrinking the ears and forehead. This optical illusion alters the physical distance between the eyes and the chin on the flat photograph, breaking the strict biometric ratios required for approval.
To correct this, the camera must be positioned further back, utilizing a 2x or 3x optical zoom to flatten the facial features into a mathematically accurate representation. Moreover, the act of supporting the infant often introduces hands, shadows, or wrinkles into the background. While automated tools can extract the subject from a cluttered background, they cannot artificially rotate a head that is tilted off-axis. If the infant's chin is tucked into their chest, the jawline disappears, rendering the crown-to-chin measurement impossible to calculate. Specific strategies for overcoming these capture challenges are addressed in Australian Passport Photo Size and Guidelines: A 2026 Setup Guide.
Practical rule: When capturing an infant from above, the camera lens must remain perfectly parallel to the child's face; any tilt in the device will foreshorten the jawline and trigger a geometric rejection.
What hardware dictates the final biometric crop
Once a perfectly scaled 4x6 sheet leaves the printer, the final risk vector is the physical cut. The tools used to separate the images dictate the integrity of the paper edges. Standard office scissors apply uneven shear stress to heavy photographic paper (typically 200gsm to 250gsm). This stress cracks the chemical coating along the cut line, exposing microscopic white fibers.
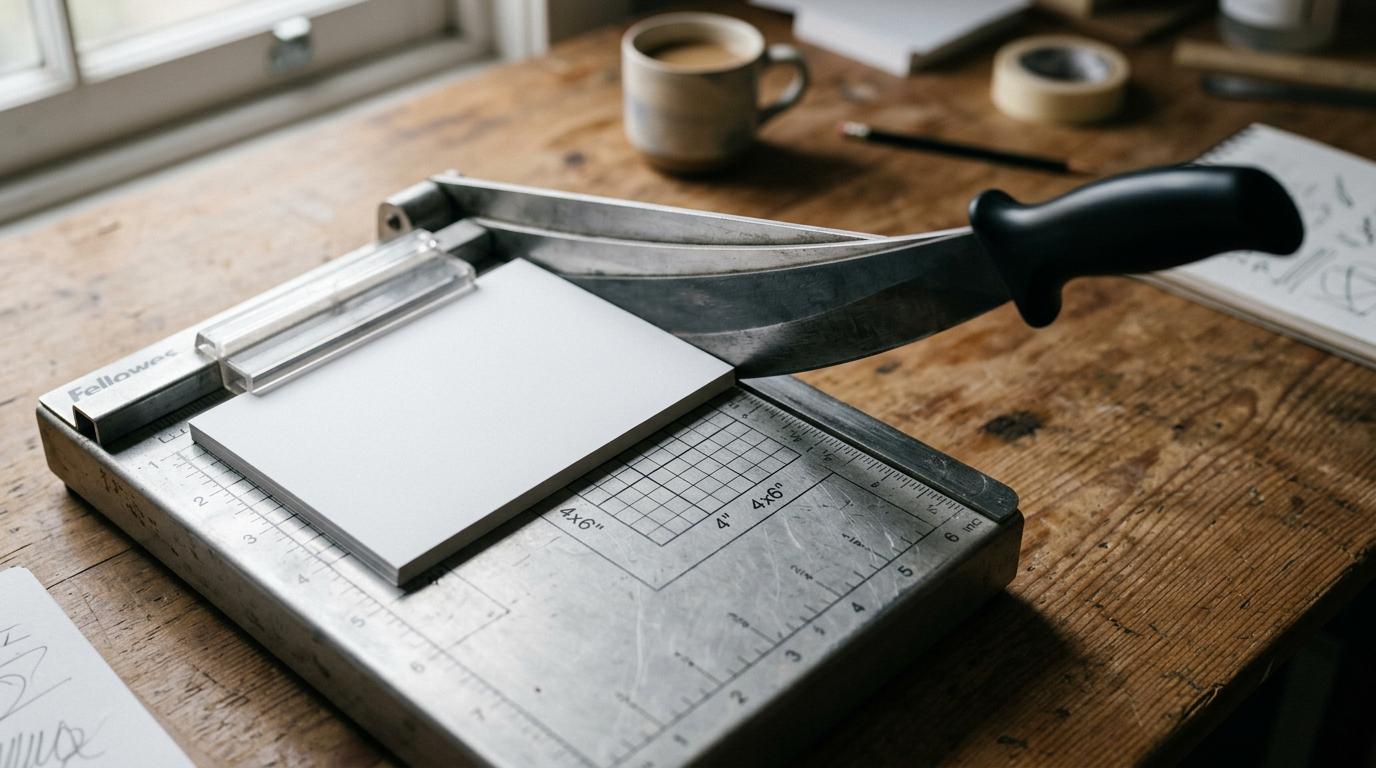
When a government clerk feeds the severed image into a high-speed batch scanner, the machine's optics pick up these jagged white micro-tears against the dark background. The software interprets these irregular edges as "border artifacts" or physical damage, which immediately invalidates the document. The scanner expects a mathematically perfect 90-degree corner.
To achieve the exact passport picture size without destroying the paper emulsion, professionals use heavy-duty die cutters or guillotine trimmers designed specifically for photography. A metal die cutter stamps the image out with equal pressure on all four sides simultaneously, guaranteeing sharp, uncracked edges. If relying on home tools, a sliding rotary cutter applied over a self-healing mat is the only way to mimic this precision. Cutting must always be performed just inside the printed boundary lines to ensure no faint white borders remain on the final submission.
Why digital uploads require different geometry than paper prints
As government portals migrate heavily toward online renewals, the failure points transition from physical printing errors to digital compression artifacts. Uploading a file to a government server is not simply a matter of dragging and dropping a JPEG; the file must conform to rigid data limits and pixel densities that physical prints bypass entirely.
A common digital specification requires the image to be between 50KB and 250KB in file size, with a minimum width of 600 pixels. If an applicant uses a smartphone to capture a massive 12-megapixel image (often exceeding 4MB) and relies on standard web compression to shrink it down to 100KB, the resulting JPEG quantization destroys the image quality.
JPEG compression works by grouping pixels into 8x8 blocks. When compressed too aggressively, these blocks become visible, particularly in high-contrast areas like the boundary between dark hair and a light background. Automated checking systems view these blocky artifacts as digital noise or evidence of aggressive background manipulation, leading to a swift rejection.
Furthermore, the aspect ratio of the digital upload must be perfect. If a system requires a 4:5 ratio and an applicant uploads a 3:4 image, the government portal will either stretch the image to fit the container or apply forced cropping. Stretching distorts the facial geometry instantly. Forced cropping usually lops off the top of the head or the shoulders, breaking the required framing rules. Controlling the exact pixel dimensions and compression algorithms before the file ever touches a government server is the only way to guarantee the upload passes the automated validation gates.
FAQ
Can I print my own application images on standard A4 copy paper?
No. Government regulations strictly require high-quality, glossy or matte photographic paper. Standard printer paper lacks the coating necessary to hold a high-resolution 600 DPI print, resulting in ink bleed that ruins facial clarity and causes immediate rejection.
Why does my home printer shrink the layout when I print?
Printers naturally apply margins or activate borderless scaling to fit standard paper sizes. If you do not explicitly set the scale to 100 percent in the advanced print spooler settings, the driver will alter your carefully measured dimensions to accommodate the paper's physical feed mechanisms.
Is it acceptable to remove the background using digital tools?
While the background must be plain and uniform, government guidelines strictly prohibit digital alteration of the face or subject. Automated background removal tools must only replace the backdrop without smoothing skin, removing shadows from the face, or altering the natural jawline.
What causes an infant application to fail the most?
The most frequent failure is incorrect facial geometry caused by off-axis photography or improper cropping. Because infants cannot sit upright, capturing the correct crown-to-chin distance without camera distortion requires precise overhead alignment.