How to Prepare a Compliant Passport Size Photo: Officeworks and Home Tool Setup Guide
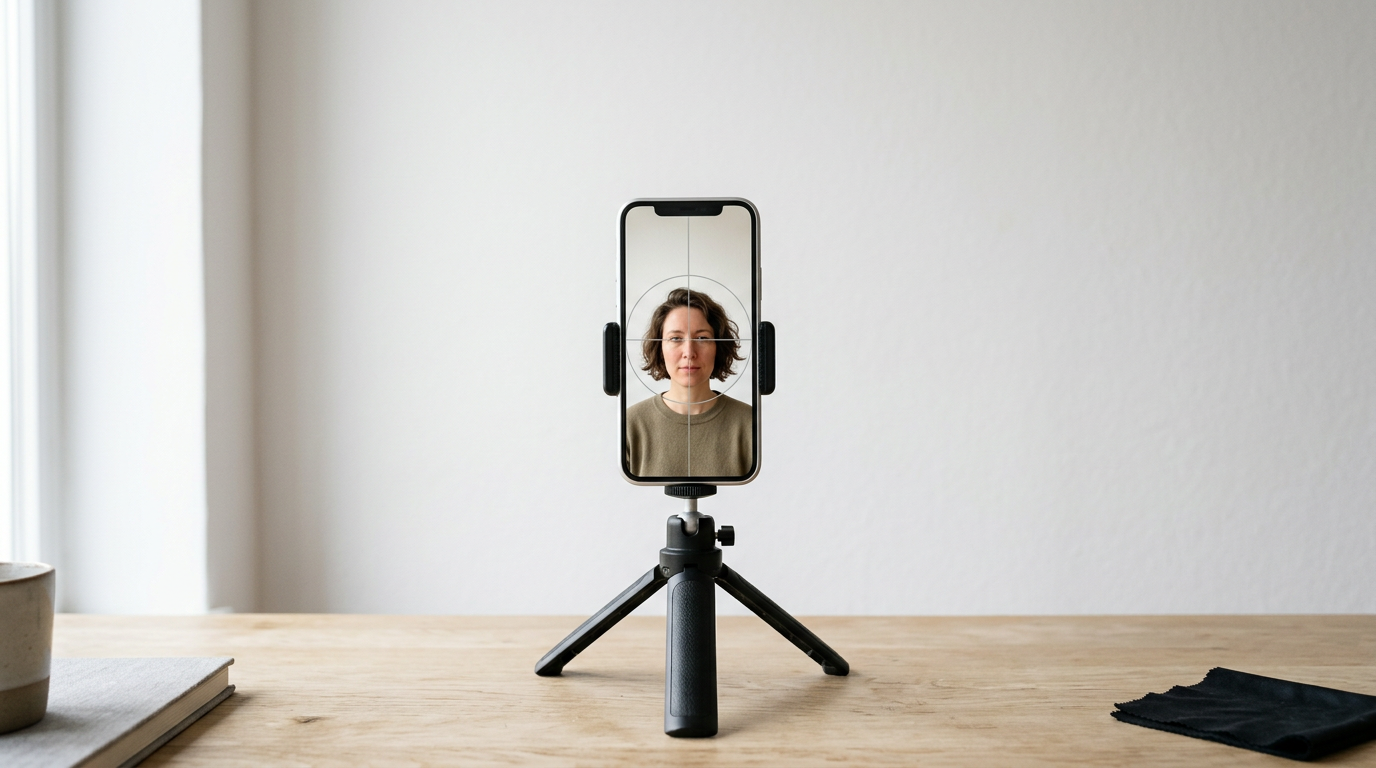
You are holding your smartphone above a wriggling six-month-old on a white bedsheet, trying to capture a neutral expression before they start crying. You get the shot, but taking the picture is only the beginning of the process. Converting that raw image into an application-ready file requires precise biometric scaling, background processing, and strict formatting. Deciding between uploading a digital file, navigating home inkjet limitations, or preparing an Officeworks passport size photo on a standard print template will dictate whether your application is accepted or delayed. This guide explains the mechanics of creating a compliant image from start to finish, ensuring your print meets government specifications on the first try.
Quick Summary
Preparing a government-compliant passport image requires more than simply standing in front of a white wall; it demands exact millimeter sizing, specific head-to-image proportions, and high-resolution output. By combining automated digital formatting tools with professional kiosk printing, you can convert a raw smartphone picture into an official document-ready print without a studio visit.
- Direct overhead lighting creates shadows that cause automatic rejection.
- Standard smartphone lenses distort facial features unless you step back and use optical zoom.
- Manual background removal tools leave digital artifacts that fail biometric scans.
- Single-image files stretch and distort when sent directly to a commercial print kiosk.
- Dye-sublimation printing is strictly required to pass government archival standards.
Table of Contents
- 1. Preparing the Environment for an Officeworks Passport Size Photo
- 2. Capturing the Raw Image Using Smartphone Capabilities
- 3. Processing Backgrounds and Aspect Ratios
- 4. Formatting the Digital File for Print Requirements
- 5. Printing and Cutting the Final Output
- Common Pitfalls & Troubleshooting
- FAQ
- Recommended Reads
1. Preparing the Environment for an Officeworks Passport Size Photo
Artificial Overhead Lighting Creates Rejection-Worthy Shadows
The most frequent cause of rejection at the initial submission stage is uneven illumination across the subject's face or background. Government guidelines mandate that the face must be evenly lit with no shadows in the eye sockets, under the nose, or beneath the chin.
Standard residential lighting fails this requirement because ceiling fixtures cast directional light downwards, creating heavy shadows that biometric scanners interpret as facial deformities. Furthermore, mixing a warm incandescent room light with cool daylight coming from a window creates a split color temperature. This results in unnatural skin tones on one side of the face, triggering automated quality flags during the passport review process.
The mechanism to correct this is flat, diffuse illumination. You must turn off all artificial room lights and rely entirely on indirect sunlight. Position your subject facing a large window during the day, ensuring the sun is not directly hitting their face. If you are photographing an infant lying on their back, place a firm white board or a tightly stretched bedsheet over a hard surface directly beside the window. Soft mattresses allow the infant to sink, creating valley shadows around the ears. To fill in any remaining shadows under the chin, have a second person hold a piece of plain white cardboard below the camera lens to bounce the window light back onto the subject's face.
2. Capturing the Raw Image Using Smartphone Capabilities
Default Wide-Angle Lenses Distort Facial Proportions
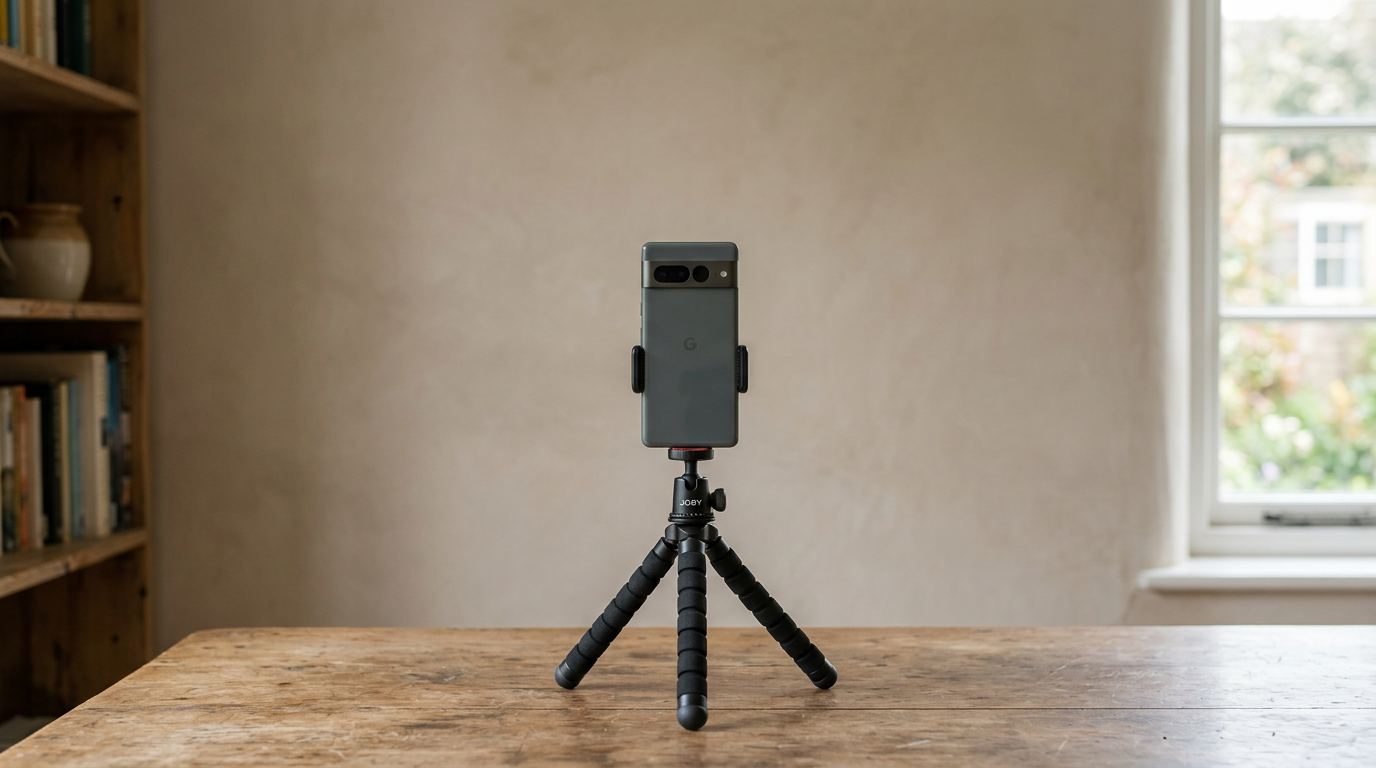
Modern smartphones are engineered to capture wide, sweeping scenes. Their default primary lenses typically have a 24mm equivalent focal length, which suffers from optical barrel distortion when placed close to a subject. If you hold the phone half a meter away from a person's face to fill the frame, the lens will artificially enlarge the nose and push the ears backward. Government facial recognition software compares the mathematical distance between facial landmarks, and this optical distortion causes the software to reject the photo as an inaccurate representation.
To bypass this hardware limitation, you must utilize lens compression. Move yourself backward until you are approximately 1.5 meters away from the subject. At this distance, the barrel distortion disappears. From there, switch your camera to its 2x or 3x optical telephoto setting to reframe the subject without moving closer. Do not use digital zoom by simply pinching the screen on the standard 1x lens, as this only crops the sensor data and destroys the image resolution required for printing.
For more techniques on controlling your environment, reviewing how to successfully take passport photos at home in 2026 provides additional strategies for managing focus and exposure lock on modern devices. Always tap and hold the subject's face on your screen to lock the auto-exposure; otherwise, the camera will constantly attempt to expose for the bright white background, leaving the subject's face underexposed and muddy.
3. Processing Backgrounds and Aspect Ratios
Manual Pixel Masking Leaves Trace Artifacts
Once the image is captured, the background must be converted to a pure, uniform tone (usually white or light grey, depending on the specific national standard). Attempting to achieve this by using free eraser apps or Photoshop lasso tools consistently fails. Government verification algorithms actively scan for manipulated edge pixels. Manual digital erasing erodes hair follicles and creates sharp, jagged borders that scanners immediately flag as fraudulent image tampering.
The correct approach involves using purpose-built AI biometric processors that execute non-destructive edge detection. These systems distinguish between stray hairs and background textures, replacing the background with a mathematically pure color code (such as #FFFFFF) without altering the facial data. Beyond the background, the subject must be scaled to exact millimeter dimensions. In Australia, for instance, the final physical image must measure 35x45mm, with the chin to crown measurement occupying precisely 32 to 36mm of that space. This leaves a tiny margin of error for centering the face and ensuring the correct amount of space remains above the head.
Practical rule: Never use digital filters, red-eye reduction tools, or manual clone stamps on a biometric image, as government verification algorithms actively scan for manipulated edge pixels and will automatically fail the application.
If you want to understand the exact mathematical ratios involved, a breakdown on how to get the perfect passport size photo: a step-by-step guide explains the specific dimensions required by different agencies and how to verify them digitally before you ever reach a printer.
4. Formatting the Digital File for Print Requirements
Single-Image Digital Files Scale Incorrectly on Commercial Printers
A standard mistake occurs when applicants isolate their 35x45mm image and send that single file directly to a print center. Commercial kiosks load 4x6 inch (10x15 cm) paper rolls by default. If you feed a single 35x45mm digital file into the system, the printer software will attempt to stretch your tiny image to cover the entire 4x6 canvas. This destroys the millimeter-perfect chin-to-crown ratio you just spent time formatting, resulting in a massive, blurry print that is completely unusable.
To bridge the gap between digital sizing and physical printing, you must generate a print template. This involves placing multiple 35x45mm images onto a digital 4x6 inch canvas at 600 DPI (Dots Per Inch). A 4x6 canvas at 600 DPI translates exactly to 2400 by 3600 pixels. By embedding your correctly sized passport images onto this specific digital grid, you dictate exactly how the printer handles the file. When the kiosk prints the 2400x3600 pixel image, it reads the file at its native resolution, preserving the 35x45mm boxes at their exact real-world dimensions.
For a definitive look at exactly how many millimeters you need to leave around the head, consulting an Australian passport photo size and guidelines setup guide will ensure your digital canvas maps perfectly to the physical print output, complete with the necessary crop marks for trimming.
5. Printing and Cutting the Final Output
Standard Office Paper Fails Archival Quality Benchmarks
The final hurdle is the physical medium itself. Home inkjet printers spray liquid CMYK ink onto porous paper. Even on heavy cardstock, liquid ink bleeds at a microscopic level, softening the sharp edges required for facial recognition. Furthermore, standard inkjet prints lack UV protection and water resistance, causing them to fail the strict archival tests required for travel documents that must last for ten years.
Commercial kiosks utilize dye-sublimation printing technology. Instead of spraying liquid, these machines use heat to transfer dry dye onto plastic-coated, heavy-weight photographic paper (typically above 200gsm). This process seals the image under a protective laminate layer, preventing moisture damage and ensuring pixel-perfect sharpness.
When evaluating where to produce the physical sheet, reading an analysis of passport size photo Officeworks vs. DIY options reveals the stark difference in ink durability and color reproduction. When you arrive at the kiosk to print your 4x6 template, you must manually disable any "Fit to Page" or "Borderless Printing" settings on the terminal screen. These settings apply a 2-3% digital zoom to eliminate white margins, which slightly enlarges your 35x45mm boxes and ruins your biometric compliance. Print the file at its exact original size, and use a metal ruler and craft knife to cut along the template's crop marks, rather than using scissors which often warp the edges of thick photographic paper.
Common Pitfalls & Troubleshooting
Even with a perfect setup, minor mechanical errors during capture or printing can result in rejected applications. Identifying the root cause of these failures requires examining the symptoms carefully.
Symptom: The physical print is rejected for "incorrect proportions" despite careful digital editing. This is the most common cause of rejection. The print kiosk applied an automatic borderless scaling effect, enlarging the entire 4x6 template by a few percentages. The fix is to re-print the file at the kiosk, ensuring that all auto-correct, borderless printing, and fit-to-page settings are completely disabled on the touch screen before submitting the job.
Symptom: The infant's photo is rejected for "visible support or foreign objects." The application was flagged because a hand, finger, or the edge of a rolled towel used to prop up the baby is visible in the frame. The fix is to remove all external supports from the camera's view. If you are struggling specifically with infants, examining how to take a compliant newborn passport photo at home highlights the best ways to support the subject from entirely underneath a solid white blanket.
Symptom: The image background prints with a grey or grainy texture, despite looking pure white on the phone. This occurs because the print kiosk automatically applied a "color enhancement" or "auto-contrast" filter to the file, which attempts to recover details in bright white areas by darkening them. The fix is to navigate the kiosk's edit menu and turn off all automatic color correction or enhancement features before printing.
Symptom: The application is rejected for "altered biometric data" after background removal. The smartphone's "Portrait Mode" was left on during capture. This software artificially blurs the background but often accidentally blurs the edges of the hair or ears. When the background is removed later, the edge data is missing. The fix is to reshoot the image using the standard photo mode, completely disabling any depth-effect or portrait settings.
FAQ
Can I print a digital passport photo file directly on my home printer? While it is technically possible, it is highly discouraged. Standard home inkjet printers use liquid ink that bleeds microscopically, failing the sharpness requirements for biometric scanning. Furthermore, standard printer paper lacks the archival coating necessary to survive ten years of document usage, leading to near-certain rejection.
How do I ensure my baby's eyes are open for the photo? Capture the image immediately after a nap when the infant is alert. Use a rattle or a high-contrast toy held right next to the smartphone lens to direct their gaze upward. Do not use the camera flash to get their attention, as the sudden burst of light will cause them to squint or close their eyes entirely.
Will a commercial print kiosk automatically format my single photo to the correct size? No. If you upload a single 35x45mm image to a commercial kiosk, the software will stretch it to fill the entire 4x6 inch paper roll. You must generate a 4x6 inch digital template containing multiple correctly sized passport images before you approach the printing terminal.
Can I wear prescription glasses in a passport picture? In almost all major jurisdictions, including Australia and the US, glasses are strictly prohibited in passport photos. Even if you wear them daily, the lenses create glare and the frames cast micro-shadows that interfere with facial recognition algorithms. Remove all eyewear before capturing the image.