How to Optimize a Digital Passport Photo Australia Demands in 2026
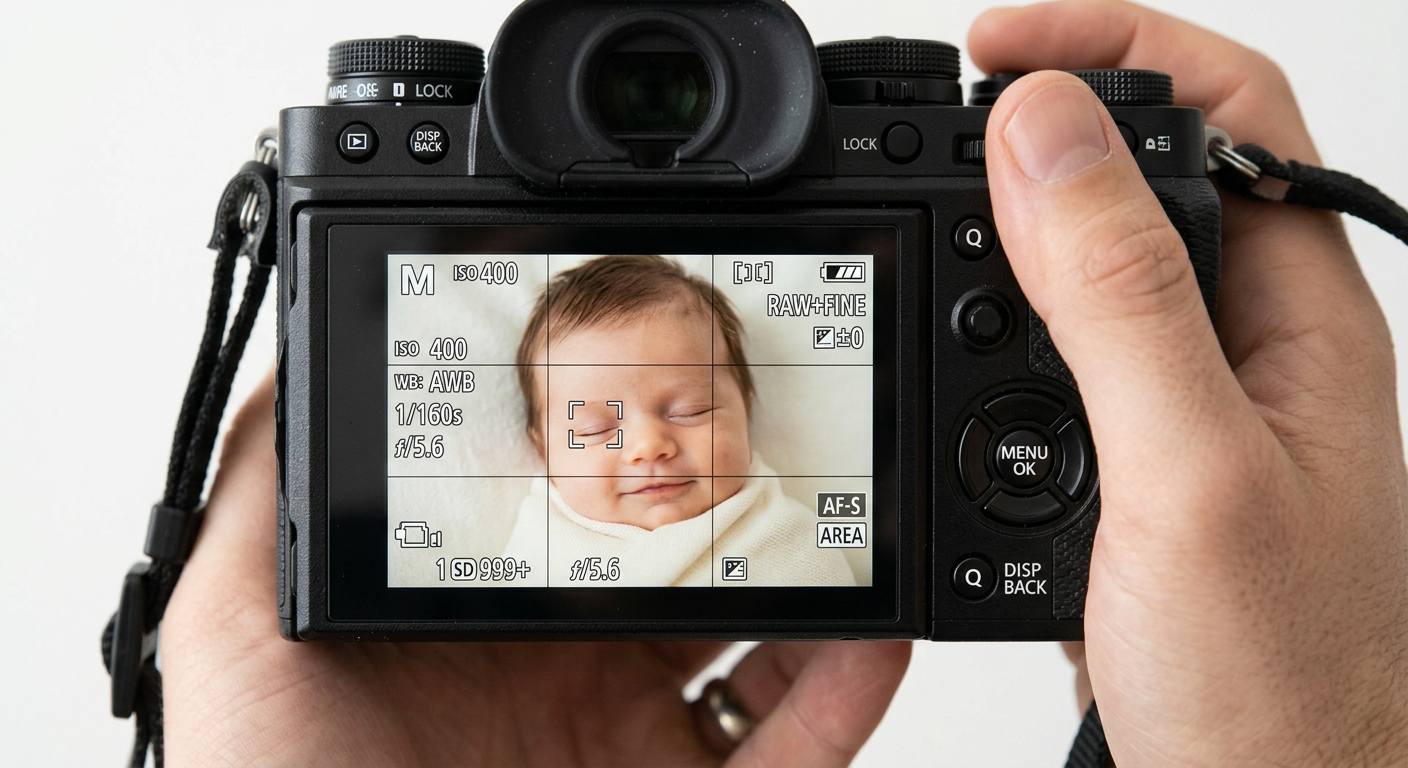
You carefully position your infant on a white sheet, wait for a moment of stillness, and capture the image on a modern smartphone equipped with a 48-megapixel sensor. You upload the file to the portal, only to immediately trigger an automated rejection for insufficient resolution. This happens constantly when preparing a digital passport photo australia submissions require, because smartphone camera hardware and government portal software prioritize completely different things. Your device applies computational enhancements to make portraits look dramatic, while government algorithms scan for flat lighting, strict ratios, and unaltered background pixels. Bridging that gap requires technical intervention before the file ever reaches the submission queue.
Quick Summary
A digital passport photo for Australian applications requires specific optical and file-level configurations that default smartphone cameras do not natively provide. Achieving technical compliance means disabling computational photography features, controlling light diffusion manually, mapping the subject to strict millimeter ratios, and verifying color depth metadata.
- Native settings fail: Default camera apps compress files and apply aggressive edge smoothing that triggers biometric rejections.
- Lighting dictates noise: Low-light environments force sensors to increase ISO, generating artifact grain that ruins pixel clarity.
- Cropping requires math: Filling the frame destroys the vertical buffer needed to achieve the mandatory 32-36mm chin-to-crown measurement.
- Metadata matters: The final file must maintain a 24-bit sRGB color space and weigh between 50KB and 10MB without stripped EXIF data.
Table of Contents
- 1. Capturing a Digital Passport Photo Australia Will Accept
- Default device compression triggers biometric rejections
- 2. Lighting and Sensor Exposure
- Mixed color temperatures confuse hardware white balance
- 3. Subject Framing and Proportions
- Tight physical crops destroy the mandatory vertical buffer
- 4. Background Standardization
- Manual erasing leaves a detectable pixel halo
- 5. File Validation and Metadata
- Transferring files strips essential formatting data
- Common Pitfalls & Troubleshooting
- FAQ
- Recommended Reads
1. Capturing a Digital Passport Photo Australia Will Accept
Default device compression triggers biometric rejections
Modern smartphones are engineered to save storage space, not to preserve the raw biometric data required for identity verification. When you press the shutter, the device's image signal processor immediately applies aggressive JPEG compression or converts the file to Apple's High-Efficiency Image Container (HEIC) format. Neither of these default behaviors serves a passport application. The Australian portal requires a standard JPEG, and it actively scans the image for artifacts caused by compression algorithms. When a compressed file is uploaded and subsequently stretched or analyzed by the biometric scanner, the micro-blocking in the pixels causes the system to flag the image as "low resolution," even if it was taken on a high-end camera.
To bypass this, you must configure the camera manually before capturing the subject. Disable any setting labeled "Portrait Mode" or "Cinematic Mode." These features use depth mapping to artificially blur the background, which aggressively degrades the pixel clarity around the edges of the subject's hair and ears. A passport photograph requires an infinite depth of field where the tip of the nose and the background are in identical, sharp focus.
Next, dive into your camera settings. Force the device to capture in the "Most Compatible" format rather than "High Efficiency." Set the aspect ratio to 4:3 rather than the default 16:9 widescreen format. This maps much closer to the final 35x45mm vertical crop. Check the file size of a test photo immediately. If the image weighs under 1MB straight out of the camera, your device is applying aggressive background compression. You must switch to a third-party camera application. It needs to allow raw or uncompressed JPEG capture. For more detailed baseline settings, A Complete Guide to Australian Passport Photo Guidelines for 2026 breaks down the device-specific toggles.
2. Lighting and Sensor Exposure
Mixed color temperatures confuse hardware white balance
Government software evaluates lighting uniformity as strictly as it evaluates facial features. If an image features a shadow across half the face, or a distinct drop shadow on the background behind the ears, the biometric scanner cannot accurately map the depth of the facial structure. The mechanical failure here usually stems from a misunderstanding of how digital sensors react to ambient light. When a room is dimly lit, the camera sensor compensates by raising its ISO sensitivity. A high ISO introduces digital noise - a fine grain that reduces the sharpness of the eyes and edges.
To keep the ISO low and the image sharp, you need a high volume of ambient light. However, mixing different light sources is a fatal error. The warm yellow cast of an overhead tungsten bulb combined with the cool blue light of a nearby window forces the camera's auto-white-balance to guess the correct color temperature. It frequently guesses wrong, resulting in unnatural skin tones that fail the government's color-accuracy mandate.
Practical rule: Turn off every artificial light in the room and rely exclusively on indirect sunlight from a single large window to prevent conflicting color temperatures from washing out the subject's skin tone.
Position the subject facing the window directly, roughly one meter back from the glass. This ensures the light falls flat across the face, eliminating the harsh shadows under the chin and nose that directional side-lighting causes. If you are photographing an infant lying on a light grey sheet, position yourself so your own body does not block the window light, which would cast a heavy shadow over the baby's torso and background.
3. Subject Framing and Proportions
Tight physical crops destroy the mandatory vertical buffer
The most frequent spatial error applicants make is attempting to frame the photo perfectly in the camera lens. The Australian passport standard dictates that the final printed or digital image must measure exactly 35mm to 40mm in width and 45mm to 50mm in height. Within that specific rectangle, the subject's head - measured directly from the bottom of the chin to the crown of the head - must sit strictly between 32mm and 36mm.
If you step too close to the subject and fill the smartphone screen with their face, you eliminate the negative space required to scale the image later. When the processing software attempts to shrink the head to meet the 36mm maximum, the shoulders will pull upward, separating from the bottom edge of the frame. The government requires the top of the shoulders to be visible and anchored to the bottom of the image. To guarantee you have enough data to build the final file, you must leave a substantial buffer around the subject.
Frame the shot from the mid-chest upward, leaving ample space above the subject's head and on both sides of the shoulders. Do not use the digital zoom function on your phone to achieve this framing. Digital zoom does not change the optical focal length; it merely crops the center of the sensor and artificially inflates the remaining pixels, instantly destroying the resolution required for a compliant file. Instead, physically move the camera backward or forward. How to Get Passport Photos Ready for Online Submission in 2026 details exactly how to measure this physical distance.
4. Background Standardization
Manual erasing leaves a detectable pixel halo
The technical standard for the background requires a plain white or light grey canvas without any patterns, textures, or cast shadows. Achieving this natively in a home environment is exceptionally difficult. Even if an infant is laid flat on a pristine white sheet, the folds in the fabric create gradient shadows, and the camera sensor will inevitably capture the texture of the cotton threads.
Many applicants attempt to fix this by using basic smartphone photo editing apps to erase the background manually. This is a severe failure mode. Manual erasing tools use basic edge detection that leaves a jagged, pixelated halo around the subject, particularly through wispy infant hair or along the curve of the jaw. When this modified file is subjected to an official digital passport photos australia review, the automated system immediately flags the altered pixels as image manipulation, resulting in a rejected application.
Instead of manual erasure, the raw image must be processed through an engine designed specifically for biometric extraction. Dedicated AI processors evaluate the file at the pixel level, mapping the foreground depth and cleanly stripping the background data without degrading the edge clarity of the subject. It then replaces the void with a pure, mathematically flat white or light grey hex code that meets the exact contrast ratios the portal demands. If you require a verified australian passport photo online, this automated extraction is the only reliable way to clear the background without triggering an alteration flag.
5. File Validation and Metadata
Transferring files strips essential formatting data
The final hurdle occurs not during the editing process, but during the transit of the file to the computer used for the application. The government portal expects a file that weighs between 50KB and 10MB, saved as a standard JPEG, and mapped to the sRGB color space.
A perfectly framed, beautifully lit image will fail if you transfer it from your phone to your computer using a messaging app like WhatsApp, Facebook Messenger, or iMessage. These platforms are designed for speed, and they automatically compress the file, strip the EXIF metadata, and reduce the color depth to save bandwidth. An image that was 4MB on your phone will arrive on your computer as a 120KB file with heavy artifacting.
To preserve the integrity of the file, you must use a lossless transfer method. AirDrop, a direct USB cable connection, or emailing the file to yourself at "Actual Size" are the only reliable mechanisms. Once the file is on the machine you will use to submit the application, right-click the image and check its properties. Confirm that the dimensions are mathematically proportional to a 35x45mm ratio (such as 827x1063 pixels at 600 DPI) and that the color representation is strictly sRGB. For a comprehensive walkthrough of the submission upload phase, consult Where to Get Digital Passport Photos: A Complete Guide to Australian Submission Methods.
Common Pitfalls & Troubleshooting
Even when following strict protocols, small missteps at the capture or export stage can cause cascading failures. These rejections often share similar generic error messages from the portal, making them difficult to diagnose. Here are the distinct failures that trigger them and the specific actions required to resolve each.
The Auto-Enhance Blur * Symptom: The portal rejects the photo for "low resolution" or "blur," even though the file is large and looks sharp on a mobile screen. * Diagnosis: The smartphone applied computational smoothing to the subject's skin, a default behavior in many Android devices to make portraits more flattering. This destroys the micro-contrast (pores, fine hairs) that biometric scanners use to map the face. * Fix: Turn off "Beauty Mode," "Face Retouching," and "HDR" in the native camera settings. You cannot reverse this effect once it is baked into the file; you must retake the image with enhancements disabled.
The Aspect Ratio Squeeze * Symptom: The subject's face appears slightly narrower or wider after uploading, and the system flags the proportions as non-compliant. * Diagnosis: The original image was captured in a 16:9 ratio and forced into a 35x45mm vertical crop without maintaining the aspect ratio, causing the pixels to stretch horizontally or vertically. * Fix: Never uncheck the "Constrain Proportions" or "Lock Aspect Ratio" box when resizing an image. Crop the image first to the correct vertical rectangle, and only then scale the overall file size down.
The Shadowed Sclera * Symptom: The file is rejected due to "eyes not clearly visible" despite the subject looking directly at the lens. * Diagnosis: Overhead lighting cast a shadow from the brow bone down over the eyes. While the iris is visible to a human, the biometric scanner cannot distinguish the whites of the eyes (the sclera) from the shadowed skin. * Fix: Most common when photographing infants looking up at a camera while overhead room lights are on. Turn off the ceiling lights and rotate the subject so their face is illuminated evenly by a vertical window.
The DPI Disconnect * Symptom: The file dimensions are technically correct (e.g., 35x45mm), but the portal rejects it for being under 50KB or lacking clarity. * Diagnosis: The physical dimensions were set correctly, but the pixel density (DPI) was left at a web-standard 72 DPI rather than the high-resolution 600 DPI required for official documents. * Fix: Re-export the raw file through formatting software and manually input 600 into the resolution field before saving the JPEG. How to Analyze a Passport Photo Example to Ensure Government Acceptance in 2026 offers a guide on verifying these exact export metrics.
FAQ
What is the minimum resolution for an Australian digital passport photo? The Australian government requires digital passport photos to be high quality, typically interpreted as a minimum of 600 DPI (dots per inch) when mapped to the standard 35x45mm physical size. The final file weight must sit cleanly between 50KB and 10MB to be accepted by the portal.
Can I use a photo taken on my smartphone? Yes, provided you disable all computational photography features like Portrait Mode, HDR, and automatic skin smoothing. The sensor itself is capable, but the software enhancements native to modern smartphones alter biometric data and will trigger a rejection if left enabled.
Why does the background have to be pure white or light grey? Biometric scanners rely on high contrast to locate the exact edges of the jawline, ears, and shoulders. If the background contains texture, gradients, or shadows, the algorithm cannot distinguish where the subject ends and the background begins, leading to a failed face-mapping process.
How strictly are the chin-to-crown measurements enforced? Extremely strictly. The distance from the bottom of the chin to the top of the head (excluding hair) must be between 32mm and 36mm. If the subject is zoomed in too far, or cropped too loosely, the automated portal will instantly flag the proportions and reject the upload.