Preparing Your Application Photo for a Passport: Digital Resolution and Format Checks
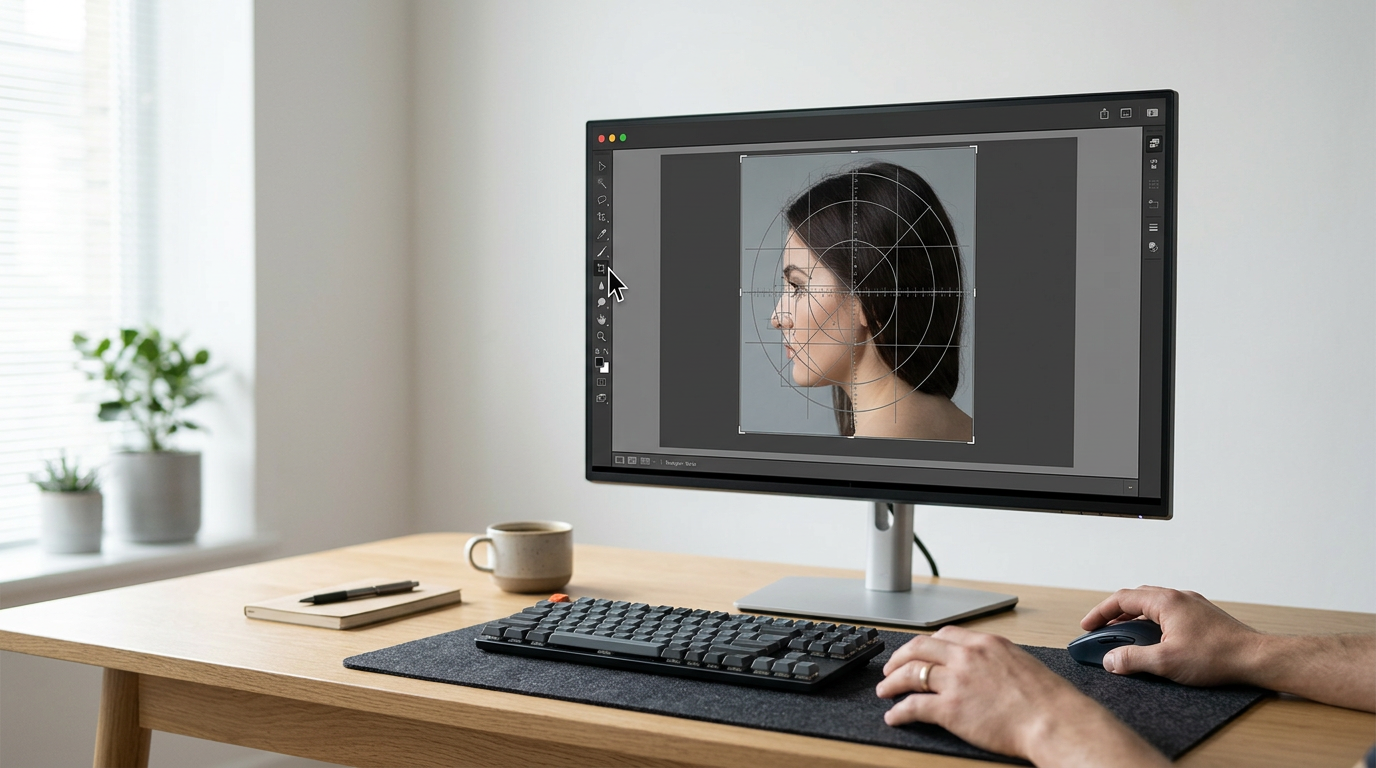
A government intake portal does not look at your face first. Before a human ever sees your file, an automated system scans the image header, reads the EXIF data, measures the compression artifacts, and calculates the exact pixel density between the chin and the crown of the head. When you upload an application photo for a passport, the most common reason for rejection is not how you look, but how the digital file was constructed. Stripping metadata by sending the file through a messaging app or cropping it aggressively on a smartphone destroys the mathematical structure the portal requires.
Quick Summary
The process of preparing a digital passport picture requires balancing biometric subject ratios, specific pixel dimensions, and strict file size limits without triggering destructive image compression. Success depends on maintaining edge contrast around the subject while adhering strictly to government portal specifications like minimum DPI thresholds.
- Start with a high-resolution raw capture to avoid upscaling artifacts.
- Crop non-destructively to maintain the required aspect ratio.
- Verify the pixel density meets the 600 DPI printing standard.
- Export in standard sRGB color space to prevent automated color shifts.
- Validate head-to-image proportions before final file compression.
Table of Contents
- Step 1: Capture the Raw Source Material Properly
- Step 2: Standardize the Resolution and Dimensions
- Step 3: Manage the File Format and Compression
- Step 4: Conduct a Technical Compliance Check
- Step 5: Specific Formatting for Infant Submissions
- Common Pitfalls & Troubleshooting
- FAQ
- Recommended Reads
Step 1: Capture the Raw Source Material Properly
You cannot add resolution to a file after the fact. The foundation of any valid biometric document is a source file that contains enough raw pixel data to survive the cropping and formatting process. Modern smartphones possess lenses fully capable of capturing the necessary detail, but their default software behaviors often ruin the usability of the image for official purposes. When capturing the passport image, the camera must be placed at a specific distance - typically 1.5 to 2 meters away from the subject - to avoid the barrel distortion inherent in wide-angle smartphone lenses. This distortion bulges the center of the face, altering the biometric distance between the eyes and the ears, which automated scanners flag immediately.
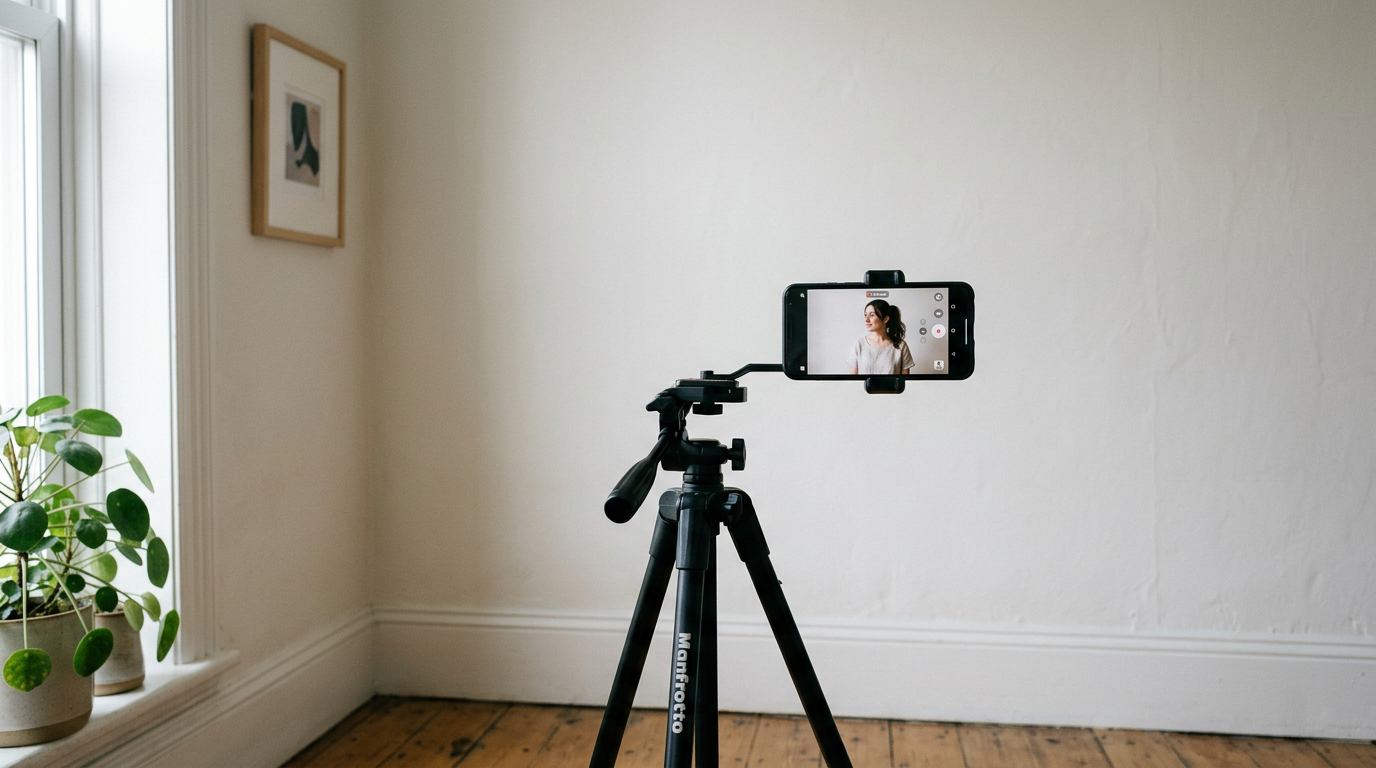
The mechanics of this step rely entirely on optical capture rather than digital enhancement. You need a flat, evenly lit background, and you must capture a wide enough field of view so that the subject's head occupies only about fifty percent of the raw frame. This leaves adequate room to manipulate the aspect ratio later.
The mistake people actually make here is using digital zoom to frame the face perfectly within the camera app before taking the shot. Digital zoom does not adjust optics; it merely crops the center of the sensor and artificially inflates those pixels. By the time you attempt to How to Optimize a Digital Passport Photo Australia Demands in 2026, the file will lack the density required for a 600 DPI output, resulting in a soft, grainy image that fails initial digital intake.
Step 2: Standardize the Resolution and Dimensions
Once the raw image is captured, you must calibrate the passport photo resolution. Government portals operate on physical printing standards translated into digital requirements. When a specification demands 600 DPI (dots per inch) at a physical size of 35x45 mm or 2x2 inches, it is asking for a specific pixel matrix. For a standard 2x2 inch US submission, 600 DPI translates exactly to 1200x1200 pixels. The intake software checks this matrix. If the image is 600x600 pixels, it is only 300 DPI at the required print size, and the system will reject it for insufficient density.
The mechanics involve mapping your raw pixels to the exact aspect ratio without resampling the image destructively. Resampling occurs when a program invents new pixels to fill a larger canvas or permanently deletes pixels to fit a smaller one. You must use software that allows you to specify the physical dimensions and the resolution simultaneously, forcing the crop tool to adhere to those boundaries.
Practical rule: Always set your crop tool's aspect ratio first, frame the head according to the chin-to-crown requirements, and only apply the specific pixel dimensions during the final export.
The named mistake here is cropping the image using a phone's default gallery app before moving it to a desktop for resizing. Phone gallery crops often discard the original high-resolution file and save a highly compressed, smaller version in its place. When you then try to enforce Digital Resolution Standards for American Passport Photo Requirements, the software has to stretch the compressed gallery crop, creating pixelation around the eyes and mouth that guarantees a rejection.
Step 3: Manage the File Format and Compression
Digital files must bridge the gap between high-fidelity image data and the restrictive file size limits of government servers. Most online application portals cap file sizes at a strict limit, typically between 240KB and 500KB, while still demanding high resolution and minimal compression artifacts. This requires careful management of the JPEG format and its underlying color space.
The mechanics of JPEG compression operate by discarding color data that the human eye struggles to perceive, grouping similar pixels into blocks. When compressing a file to meet a 240KB limit, aggressive algorithms will create "halos" or blocky artifacts along high-contrast edges - most notably where the subject's hair meets the solid background. Automated background removal tools look for a clean vector line here; if they find compression artifacts instead, the file fails. Furthermore, the image must be encoded in the sRGB color space. If your software exports in Adobe RGB or a CMYK print profile, the government portal will misinterpret the color data, washing out the skin tones or applying a heavy green cast.
The common mistake is exporting the image at 100% maximum quality, discovering it is 2MB, and then running it through a free online compressor to force it under the limit. These generic compressors destroy edge contrast. Instead, you must carefully adjust the quality slider during the initial export, checking the estimated file size before saving, ensuring you understand How to Get Passport Photos Ready for Online Submission in 2026 without utilizing destructive secondary compression tools.
Step 4: Conduct a Technical Compliance Check
Before uploading the file to a government server, you must perform a technical passport photo check to verify that all biometric and data requirements have been met. This is not a visual check of whether the subject is smiling; it is a structural audit of the file's properties. You are confirming the pixel matrix, the file size, the background uniformity, and the EXIF data.
The mechanics of this check require opening the file properties or using a dedicated validation tool. You must measure the distance from the bottom of the chin to the top of the head (including hair) and calculate its proportion against the total height of the image. For many regions, this head size must occupy the majority of the frame's vertical space. You must also check the background. A purely digital, flat white background (RGB 255, 255, 255) is often flagged by modern systems as manipulated. The background should be a natural, untextured light grey or off-white, retaining subtle, natural light gradients to prove the photo was not artificially altered.
The primary mistake in this step is over-smoothing the background or the subject's face using digital retouching tools to eliminate a shadow. Intake portals run algorithms specifically designed to detect the localized blurring characteristic of digital manipulation. If you alter the pixels behind the head to hide a shadow, the system will flag the image as forged. You must review the raw pixels, and if a heavy shadow exists, the only acceptable fix is taking a new photograph. For details on sourcing compliant local standards, review Where to Get Digital Passport Photos: A Complete Guide to Australian Submission Methods.
Step 5: Specific Formatting for Infant Submissions
Formatting digital files for infants and newborns introduces severe structural challenges because their physical proportions do not match the biometric templates governments use for adults. An infant's head is disproportionately large compared to their torso, and they often lack a defined neck. This alters the standard chin-to-crown ratio entirely.
The mechanics here involve adapting standard cropping matrices to accommodate shortened necklines and different eye-level percentages. When a standard template is applied, it assumes the eyes sit at roughly the vertical midline of the head. Because an infant's forehead is often larger, placing the chin at the bottom limit of the template will frequently push the eyes below the required line, triggering an automated rejection. You must manually measure the distance from the bottom of the chin to the top of the head, ensuring that the eyes fall within the strict band required by the specific country, often ignoring where the shoulders land in the frame.
The mistake people make is forcing an infant's image into a rigid desktop template built for adults, resulting in awkward crops that either cut off the top of the head or leave too much empty space above it. When relying on software to do this, ensure you select tools capable of handling specialized biometric ratios, such as those discussed in 8 Best Passport Photo ID Maker Options for Document Prep in 2026, rather than generic cropping squares.
Common Pitfalls & Troubleshooting
Even with meticulous preparation, files are routinely rejected during the upload process. These failures often return generic error messages that do not explain the actual technical fault. Here is how to diagnose and fix the specific structural issues.
The Halo Artifact
This is the most frequent cause of automated rejection. The symptom is an error stating the background is not plain, even when it looks white to the naked eye. The real cause is aggressive JPEG compression that has created a jagged, pixelated halo around the subject's head, which the scanner interprets as a textured pattern. The fix is to return to the uncompressed raw file and export it at a higher quality preset, ensuring the file size stays just under the portal's maximum limit without introducing blocky edges.
Incorrect EXIF Orientation Flags
The symptom is a file that appears upright on your computer but sideways or upside down when uploaded to the portal. The cause is smartphone EXIF data. Phones do not physically rotate the image sensor when you turn them; they simply add a metadata tag telling the software to display the image rotated. Many legacy government portals strip this metadata upon upload, causing the image to revert to its raw, sideways sensor orientation. The fix is to open the image in a desktop editor, physically rotate the pixel data, clear the orientation metadata, and save a new file.
Sub-pixel Color Bleed
The symptom is a rejection for "unnatural skin tones" despite the lighting being normal. The cause is usually exporting the file in the Adobe RGB color space. Web browsers and government intake portals assume all uploads are in sRGB. When they force an Adobe RGB file into an sRGB display profile, the colors compress, making the subject look severely washed out or green. The fix is to check your export settings and explicitly convert the color profile to standard sRGB before saving the final JPEG.
The Pure White Flag
The symptom is an immediate rejection citing "digital manipulation" or "altered background." The cause is using a background removal tool that replaces the natural background with a pure digital white (hex code #FFFFFF). Automated systems view large blocks of absolute zero-variance pixels as proof of digital forgery. The fix is to use a background that retains natural, subtle lighting variations (like a real white wall) or, if replacing the background is absolutely necessary for compliance, ensuring the replacement tone is a very light grey (such as #F2F2F2) rather than a blown-out pure white.
FAQ
Can I use a PNG file for my digital submission?
Most government portals strictly require JPEG (.jpg or .jpeg) files. While PNG files offer lossless compression and avoid edge artifacts, their file sizes are typically far too large for portal limits, and they do not support the specific EXIF metadata structures some intake systems look for.
What is the difference between 300 DPI and 600 DPI for digital uploads?
DPI determines print density. An image that is 2x2 inches at 300 DPI contains 600x600 pixels. At 600 DPI, it contains 1200x1200 pixels. Government portals require the higher density to ensure that if they need to crop or enhance the image for the physical document, they have enough underlying data to do so without it becoming blurry.
Why did the portal reject my file size when the dimensions were correct?
File size (measured in kilobytes) and image dimensions (measured in pixels) are completely separate metrics. You can have the correct 1200x1200 pixel dimensions, but if you saved the file at 100% quality, it might be 1.5MB, which exceeds the portal's upload limit. You must adjust the compression level to reduce the kilobytes while keeping the dimensions identical.
How do I fix a shadow on the background without using a blur tool?
You cannot fix a severe shadow digitally without risking a manipulation rejection. The only acceptable structural fix is to reshoot the image. Move the subject further away from the background wall to allow the shadow to fall out of the camera's frame, and ensure the primary light source is directly in front of the subject, not off to the side.